When you hear the words “sight word instruction”, what do you think of? I can honestly say that my idea of what “sight word instruction” means and looks like has drastically changed over the years. In fact, my definition of “sight words” has even changed.
For years, this term was used interchangeably to mean a few things: high-frequency words, irregular words, and words that students recognize on sight.
I used to think of sight words as words that couldn’t be sounded out and needed to be memorized. I also thought of them as words that needed to be memorized as a whole. I used the flash card method mostly, with the belief that if my students saw these words enough times, they would memorize them. I started to wonder why this wasn’t working for so many of my students. Then, I started to look into why. I eventually learned that the research points to more effective methods of teaching “sight words”.
What are Sight Words?
So what are sight words? Sight words are words that can be read instantly and effortlessly (“on sight”). The goal is to make every word a sight word.
- This includes words that are fully decodable and words that have some irregularities.
- The fancy word for “sight word” is orthographic lexicon, or the words that a reader can read automatically and without any effort.
Because the term “sight word” has been used differently in the past, I’ll define some other terms.
High-frequency words are words that are the most occurring in print. Because they are words that our students will most likely encounter in a text, we often work hard to help these become “sight words”. For this reason, teachers often call high-frequency words “sight words”. Technically, the goal is to make every word a “sight word” but in the beginning, it is helpful for students to know these particular high-frequency words since they account for 75% of words in print. Therefore, there is extra time spent on these words in the early grades.
Irregular Words: Words that do not have expected letters to represent certain sounds are considered “irregular” (see “heart words” below). Most irregular words have only one unexpected sound-symbol relationship (like ”from”). There are some words that are totally irregular, like “could”, “one”, and “some”. It is important to point out these irregularities to students so they can understand the structure of the word. This understanding will lead to accurate word recognition.
Other words are considered “irregular” because they may have a letter-sound combination or rule that has not been taught yet. For example, the word “have” may seem irregular before learning the rule that English words do not end in <v>, so there is always an <e> following the <v> at the end of a word. The word “play” may also be considered irregular before students learn that the letters <ay> represent the long a sound at the end of words.
Heart Words: This is a relatively new term. (In fact, this term didn’t exist to my knowledge when I originally wrote this post.) The term “heart words” was created to describe these irregular words because some part of the word will have to be “learned by heart.” When teaching heart words, instruct students to put a heart above the unexpected sound-symbol relationship. For example, you would put a heart above the letter <o> in “from” to remind students that that part just needs to be “learned by heart.”
Why is it Important to Turn High-Frequency Words into Sight Words?
Knowing that these high-frequency words appear more often in children’s texts means we should spend a little more time on these words so that our students can read them automatically and with little effort. Helping these high-frequency words become “sight words” will begin to improve their fluency because automatic word recognition is the first step toward fluency (followed by developing prosody, rate, expressing, and appropriate phrasing).
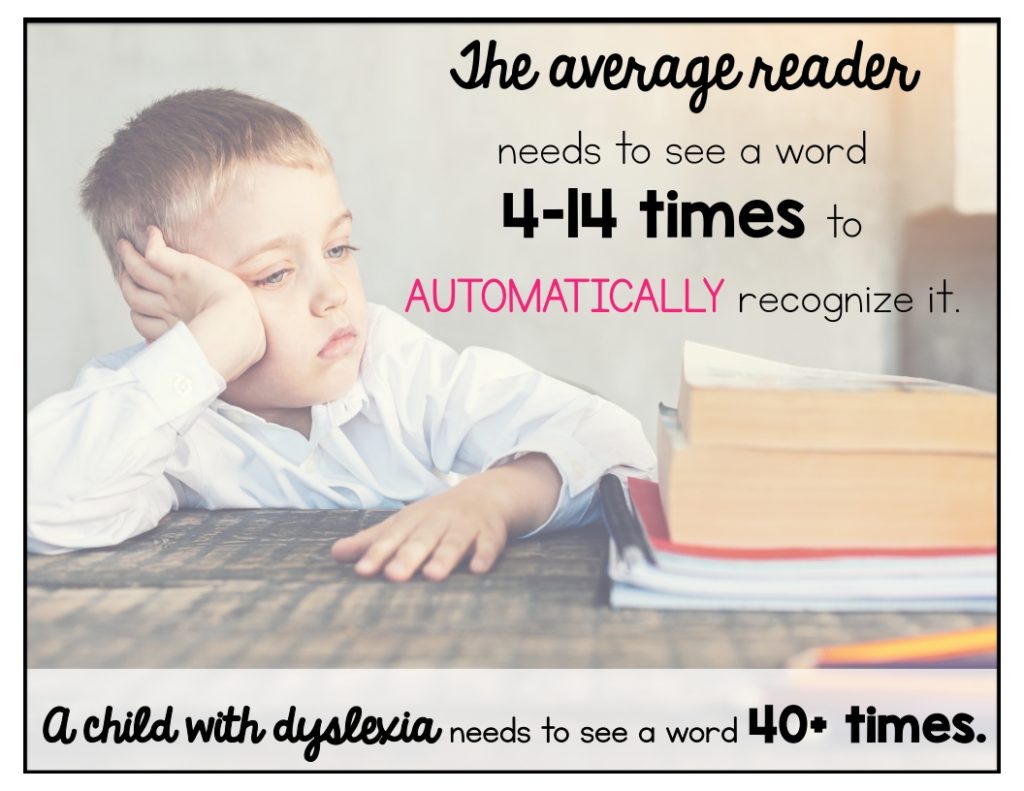
Even your average beginning reader needs to be exposed to a word several times in order to read it with automaticity. Students with dyslexia need SEVERAL more exposures to those words. We need to provide them with those opportunities to practice these words.
However, by second grade, your typically developing readers are able to store a new word permanently in only one to four exposures (Bowey & Miller, 2007). The exact number for readers with dyslexia is not known, although I can tell from experience, it’s a lot more than that and it varies from student to student.
Some Facts about Sight Words
Another thing we need to get out of the way is the idea that most “sight words” (high-frequency words) are all irregular.
- Many high-frequency words are decodable.
- The majority of irregular words actually only have only one irregular letter-sound relationship.
- Even though these words are irregular, they are still stored in our long-term memory using the same orthographic mapping process as regular words.
- Most of these irregular words have a history (etymology) and relatives that actually do explain the spelling.
How Do We Learn Sight Words?
When I started teaching, there were two main lists that most teachers pull from to “teach” high-frequency words: the Dolch and Fry Lists. These lists included the most frequently occurring words in children’s texts. Both of these lists were originally created to use the “look-say” method (essentially whole language approach).
We now have more research to draw from that tells us reading outcomes are stronger when beginning readers are taught to decode words using sound-symbol associations, rather than rote memorization. That goes for all words, including regular and irregular high-frequency words.
So how do our brains process and permanently store words into our sight memory? Orthographic mapping! According to David Kilpatrick, new readers map the phonemes (sounds) of words (that they already have in their phonological memory) to the sequence of the letters they see on the page. Once a word has been adequately mapped, it is there for quick, effortless retrieval.
Ortho means straight (correct, in order, sequence) and graph means writing. Together that makes correct writing.
We form connections between the pronunciation of a word (with the individual sounds) and the order of the printed letters. We are connecting sounds to the sequence of letters. This connection is called “mapping”. Orthographic mapping allows our brains to permanently store words, so we can retrieve them automatically.
We need three things for this to happen:
- Automatic sound-symbol awareness
- Phoneme awareness
- Word study: helping students see the connections between letters and sounds
Here’s a tidbit I just learned: According to David Kilpatrick’s book Essentials of Assessing, Preventing, and Overcoming Reading Difficulties, we actually do not memorize sight words using our visual memory. We use vision for input but not for storage. Instead, storage is orthographic, phonological (sound), and semantic (meaning). Mind blown, right? That means new words are not simply memorized just by seeing it over and over.
For more about orthographic mapping, click here.
Another study out of Stanford found that “beginning readers who focus on letter-sound relationships increase activity in the area of the brain best wired for reading. In other words, to develop reading skills, teaching students to sound out C-A-T sparks more optimal brain circuitry than instructing them to memorize the word cat.” This also debunks the idea that high-frequency words should be learned using the “look-see-learn” whole language method.
How to Teach Sight Words
Now that I have a better understanding of how our brains learn new words, I’ve made some changes to how I approach sight words. Now, the first thing I do is introduce the word orally and explicitly teach the sound-symbol connections.
Step 1: Match the Sounds to the Correct Letters
Here are the steps to take;
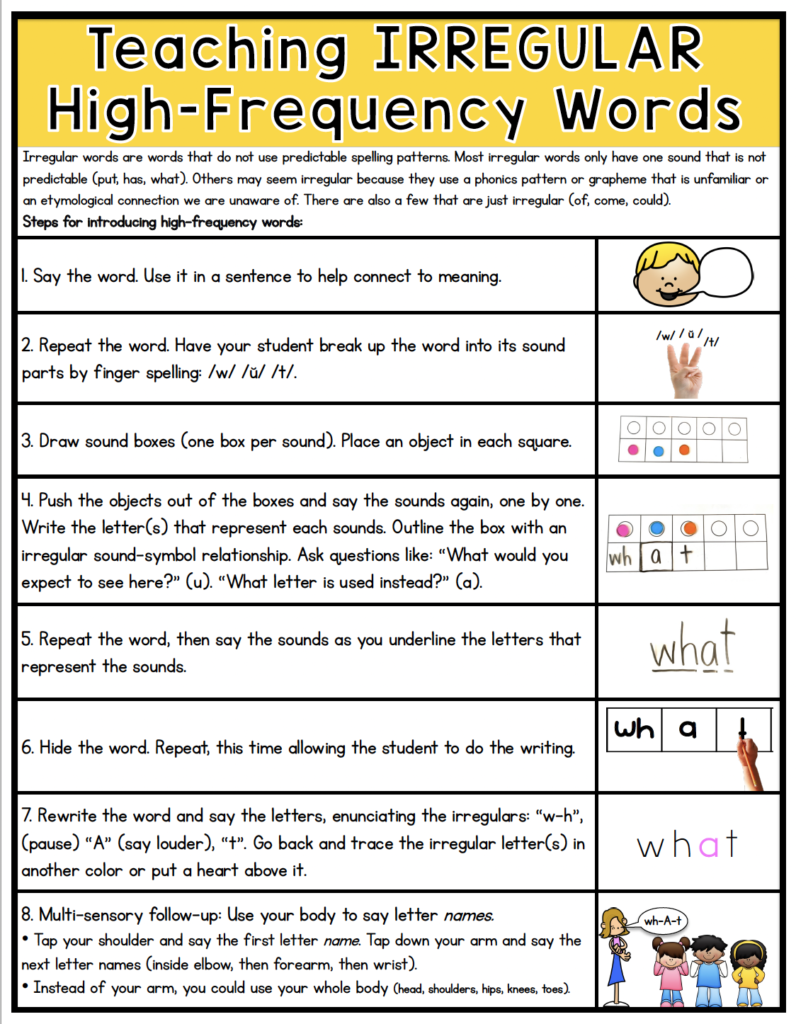
- Say the word.
- Have your students repeat the word
- Use the word in a sentence.
- Orally segment the word into its individual sounds.
- Draw dots, sound boxes, or use bingo chips to represent those sounds.
- Students will tap the sound boxes or slide the bingo chips as they say the sounds. For example: /w/ /u/ /t/.
- Discuss what letters you expect to see representing each sound. Write the letters to match the sounds.
- Have your students write the letters that go with each sound in the sound boxes or above the dots.
- If there is a word that has an irregular sound-symbol relationship, point out that irregularity. (Often people now put a heart above that letter or letters to show it is an unexpected sound-symbol relationship).
- Have your students rewrite the word. Underline the letters with a finger or marker as you say each sound. Point out the unexpected sounds.
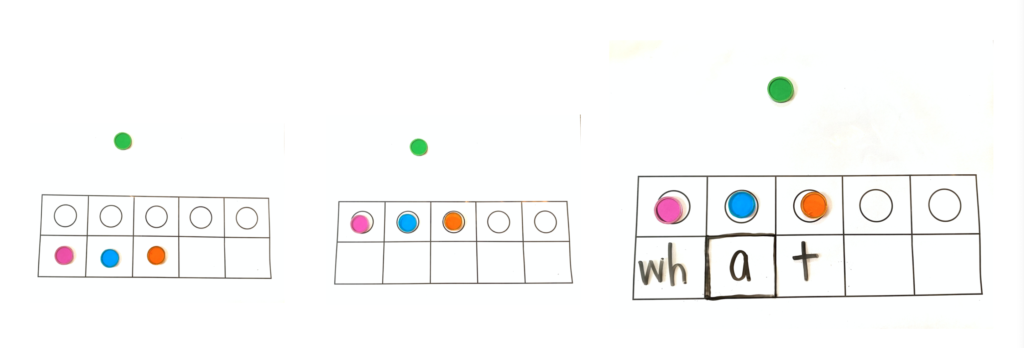

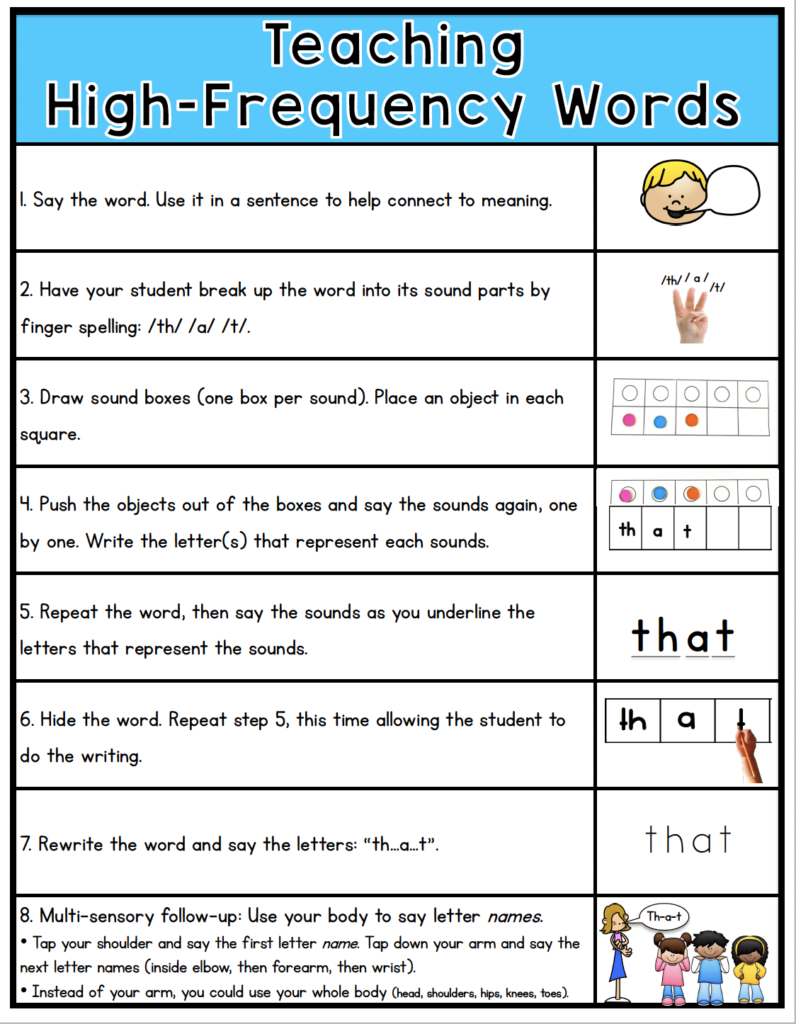
If you would like a printable version of the steps, click HERE to download the printable below.
Highlight the “Irregular” or Unexpected Sound
This is another tip that I find very helpful. Somehow highlight the unexpected letter-sound relationship on your flashcards.
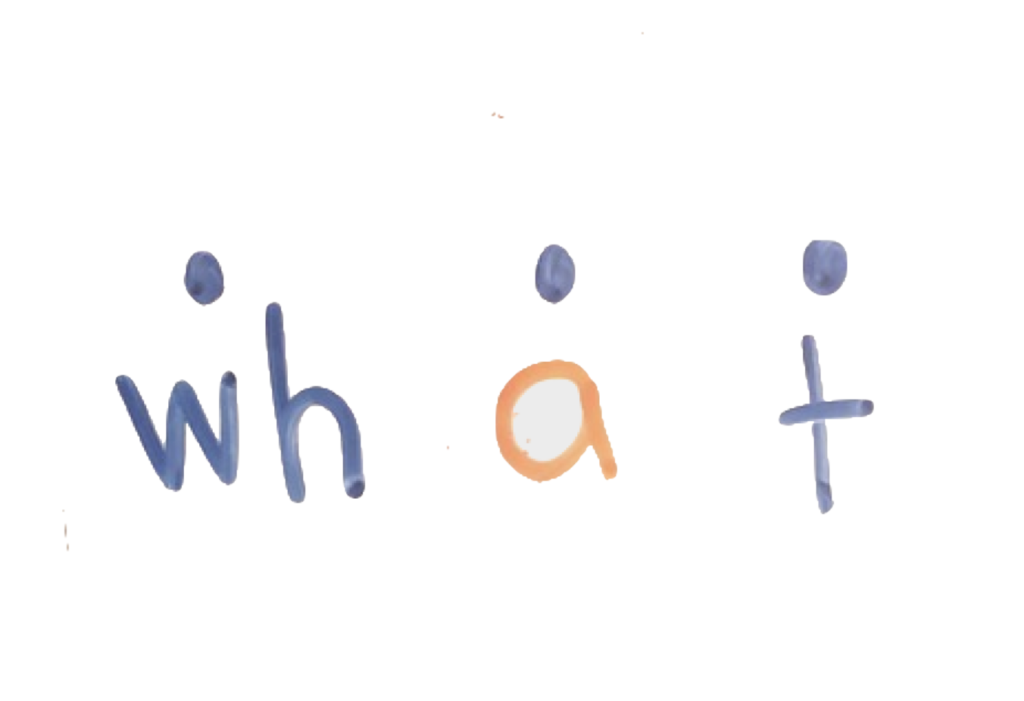
For example: Connect the sound /w/ with <wh>, /u/ with <a>, and /t/ with <t>. Then highlight, underline, or use another color for the letter <a>. You could also underline that letter.
Update: I have now learned of a method called “heart words” where people put a heart over the irregular sound-symbol relationship. When I originally wrote this post years ago, I had never heard of heart words, but I do love this idea!
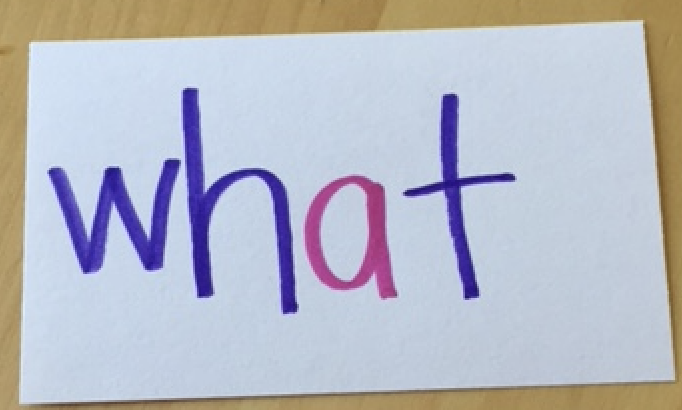
Show your students the word with the highlighted “odd” or unexpected letter(s). Practice spelling the word as you did earlier (in the above tip.) This time enunciate the odd letter(s) vocally. “Wh-A-t” You could enunciate it with a louder voice or with an accent or with a funny voice- anything to get that letter to stick! Notice how I also said wh together. That is intentional because I want them to group those two letters since they are one grapheme representing the sound /w/.
A lot of times, there may actually be a reason for the unexpected sound-symbol connection. In this case, teach your student why that letter is used.
- For example, the word give and have end in the letter e. This makes our students think that it is not fully decodable. But actually, there is a reason for that e. Did you know an English word should not end in v? So that silent e has a purpose, just not one that they are used to. (The e is there to make sure the v isn’t the last letter.) Click here for more about the “rules” of spelling.
- In the word, around and about, the a says /uh/ which makes it trickier. Well, that is also a phonic thing called Schwa.
Step 2: Make it Multi-Sensory
This is nothing new but it’s always worth saying. Students need to see it, say it, write it, feel it, and hear it.
- Have students say the letters in the word as they trace or write the letters.
- Repeat. Say the word again.
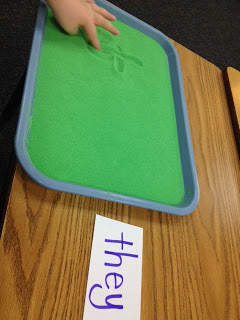
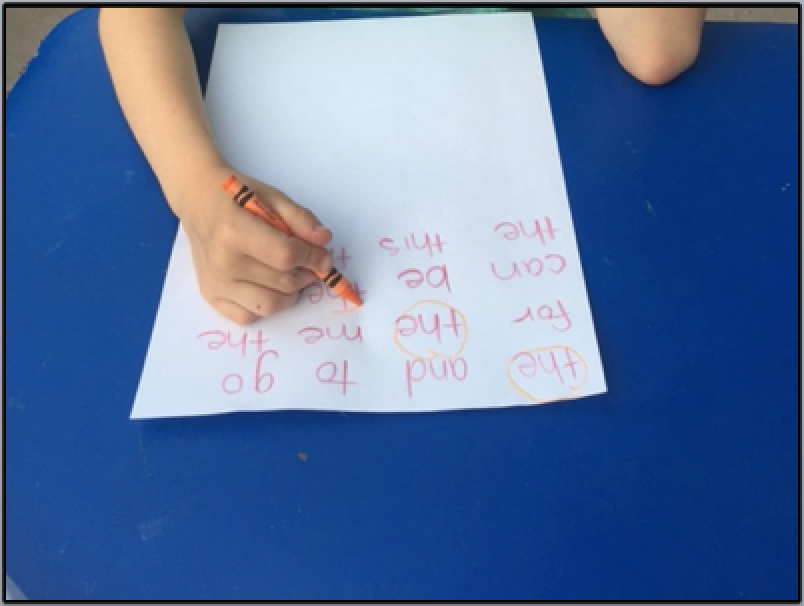
- Have the student write the letters in the air AND on the table or a bumpy surface, saying the letters as they trace, repeating the whole word when they are done.
- Look at the word, say the letters, then close your eyes and try to see the word repeating the letters. I try to group letters together that go with sounds. For example, wh-A-t. I say the <wh> together because they make one sound together. I say the <a> louder because it is irregular.
To spice it up, use sand and/or add glue to the flashcards to give them a bumpier feel. I often use these foam sheets with different textures for students to trace on. If you don’t have all of these extra things, that is okay. Truly, multi-sensory just means uses multiple senses. That means multisensory can just mean you say, see it, hear it, and write it. You don’t need to mess with sand or shaving cream. That’ more of a special activity to spice things up but not necessary!
A popular method that Orton-Gillingham tutors use is the Arm Tap.
- Begin at the shoulder.
- Say the first letters as you tap your right shoulder with your left hand.
- Move down your arm and say the other letters as you tap down your arm.
- Once you’ve said all the letters, repeat the word as you slide your hand from your shoulder to your wrist.
For example, the word what would go like this: “w-h” (tap shoulder), “a” (say louder since it’s an oddball and tap inside elbow), and “t” (tap wrist). I’m not sure if there is actual research to back this method up, but it is another way to practice the word and it’s always nice to get kids moving!
Step 3: Repeat, Repeat, Repeat
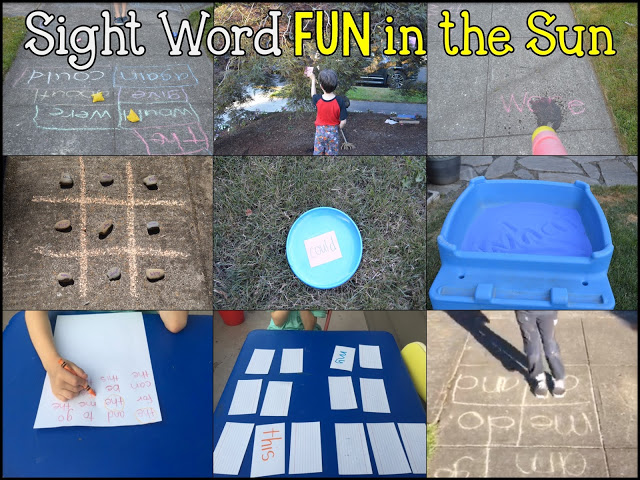
This one is obvious, I know! Remember how a child with dyslexia needs to see a word 40+ times? That’s a lot of exposures for that little one. My challenge is always, how do I do this without boring my kids to tears?! I think playing games is a great way to get that repetition.
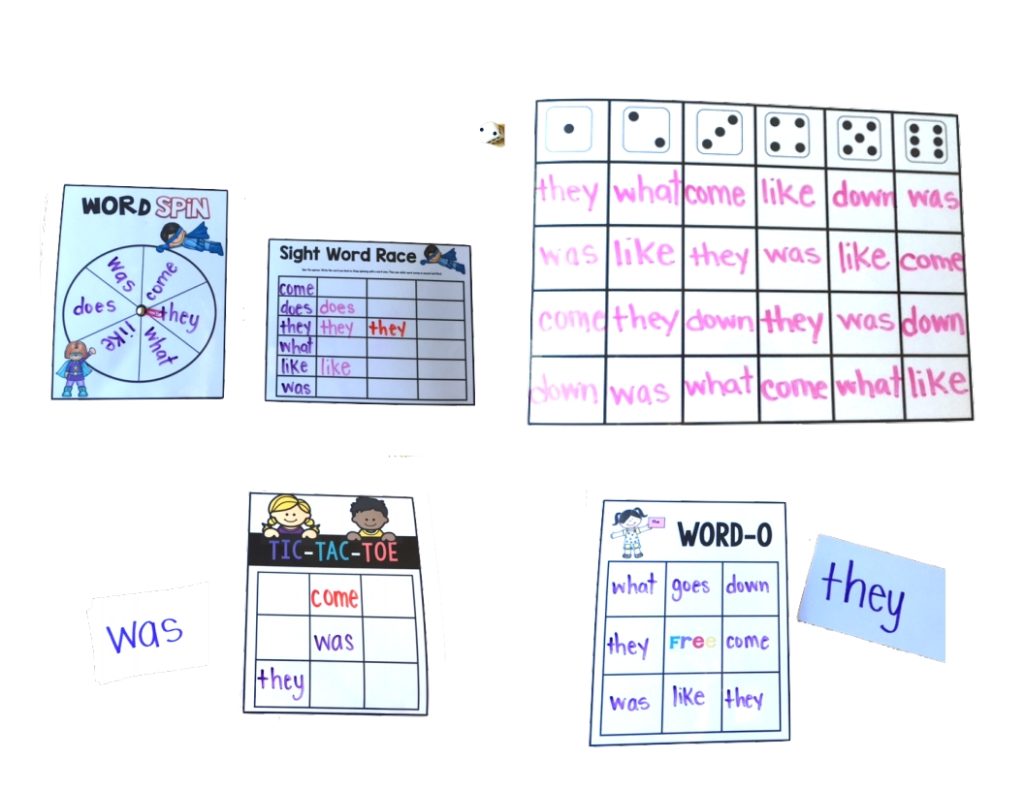
Below are some easy games to play (with free editable templates):
Spin and Read: You can make your own spinner using a metal fastener. Write the words you are working on in the spinner. Make a chart like the one shown next to the spinner. Write each word in the first column. After you spin, read the word you land on. Then write that word in the second column in the correct row.
Roll a Word: Make a chart like the one shown below (with the dice). Instead of the dice that are shown, simply write 1-6. Write a sight word in each box. Roll the die. Read the words under the number that you landed on.
Tic Tac Toe: Write your sight words on a stack of index cards. Draw a card. Read the word. Write the word on the Tic-Tac-Toe board. (Each player will have a different color marker.) The next player does the same. Continue as you would with Tic-Tac-Toe, trying to be the first to get three in a row.
Word-O: Draw a 3×3 or 4×4 grid. Ahead of time, each player writes the same sight words on their own board in different spaces. Write those same words on index cards. Draw an index card. Read the word. Then cross out that word on your board. Continue until someone gets three/four in a row or black out.
As fun as games are, it’s also so impactful to give them plenty of practice to write the words again using the sound boxes, making the connection from sound to symbol and reviewing any irregular part.
Using Flash Cards Effectively
After we’ve done phoneme-grapheme mapping, then I bring out the flashcards for students to practice. One common mistake I see/hear about a lot is not letting kids sound out the word when they are using flash cards. Teachers will say, “If they don’t know the word automatically, I tell them the word and then skip it and come back to it because they need to know it automatically.” I was also one of these teachers. Eek!
But think about it. If they don’t know the word, then it’s just a random sequence of letters to them or a shape. And that shape looks like many of the other shapes on those flashcards. So, you telling them the word and then simply bringing it back again doesn’t help them at all. It’s that look-say method that we learned doesn’t actually work for many students. If they don’t know the word on sight yet, that means they don’t have it stored yet. Letting them sound out the word is okay because they are trying to use what they know to figure out the word. I recommend following the steps I’ve listed before.
When reviewing words using flashcards, follow these steps if a student doesn’t remember a word or says an incorrect word (going back to step one from above):
- Hold up the flash card.
- Say the word.
- Repeat the word, this time slower to enunciate each sound. As you say the sounds, underline the letter(s) that say each sound with your finger (even if it is irregular).
- If there is an irregularity, ask, “What sound do you hear here? What letters make that sound for this word?”
- Say the word again, sliding your finger under the whole word.
- Repeat the “arm tap” or just say the letters of the word again. For example: “they. <th> <EY>. they”.
- Give them the opportunity to write that word again, saying the letters.
Step 4: Spot it in Context
This should be done after a word has been introduced and you’ve done phoneme-grapheme mapping. Research shows we want to move away from using context to guess words. Guessing is not a decoding strategy. However, I still feel like this activity is a good way to practice spelling words while thinking about meaning. It is not using context to decode. It is using context to apply meaning to the word.
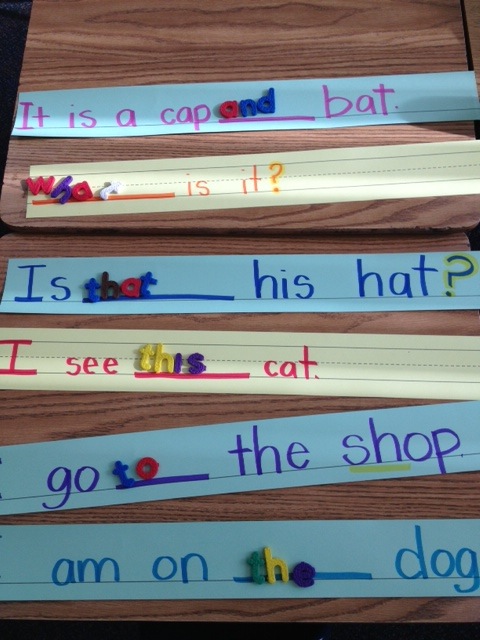
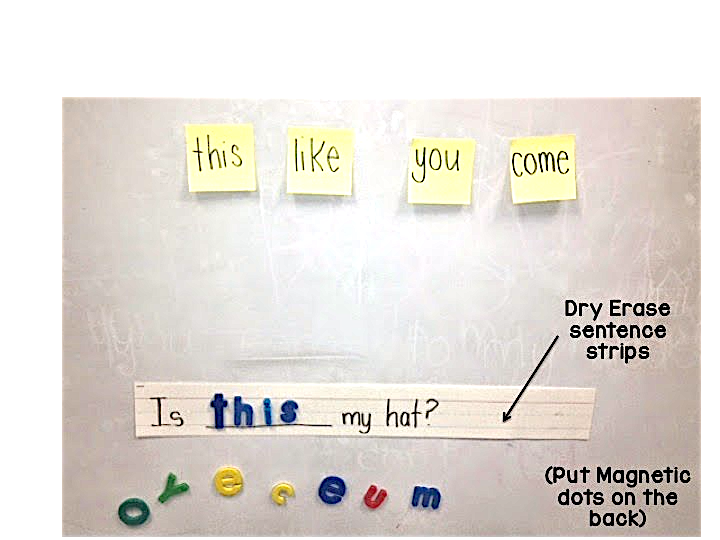
Write a sentence on sentence strips or on the whiteboard with a blank in the middle. Put the letters of a sight word scrambled next to or on the blank. Read the sentence, determine the word, then spell it correctly. Afterward, you can connect back to the sounds. Say the word, and point to the letters as you make their sounds. That means for a word like “what”, you would point to both <wh> for /w/.
For a larger group, put the sentence strips in a pocket chart with the sight word chopped up into letters.
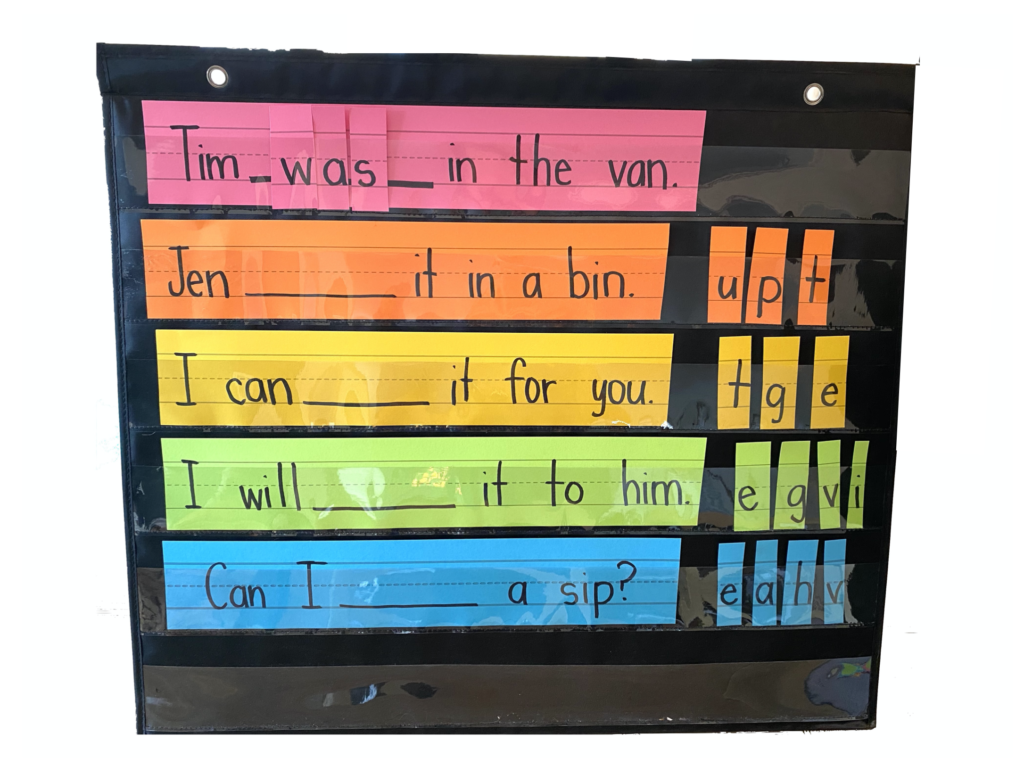
You could also write the sentence on a magnetic whiteboard and use letter magnets.
I just want to be clear that this is not used as a decoding activity to guess as a reading strategy. Admittedly, that’s how I used to use these! Since then, I’ve learned that we do not want to put too much focus on using context because it takes away from decoding and leads to bad habits. I think it’s a fine activity to use once words have been taught explicitly. Plus kids see it as a puzzle and it can be fun for them.
Word “Hunts”
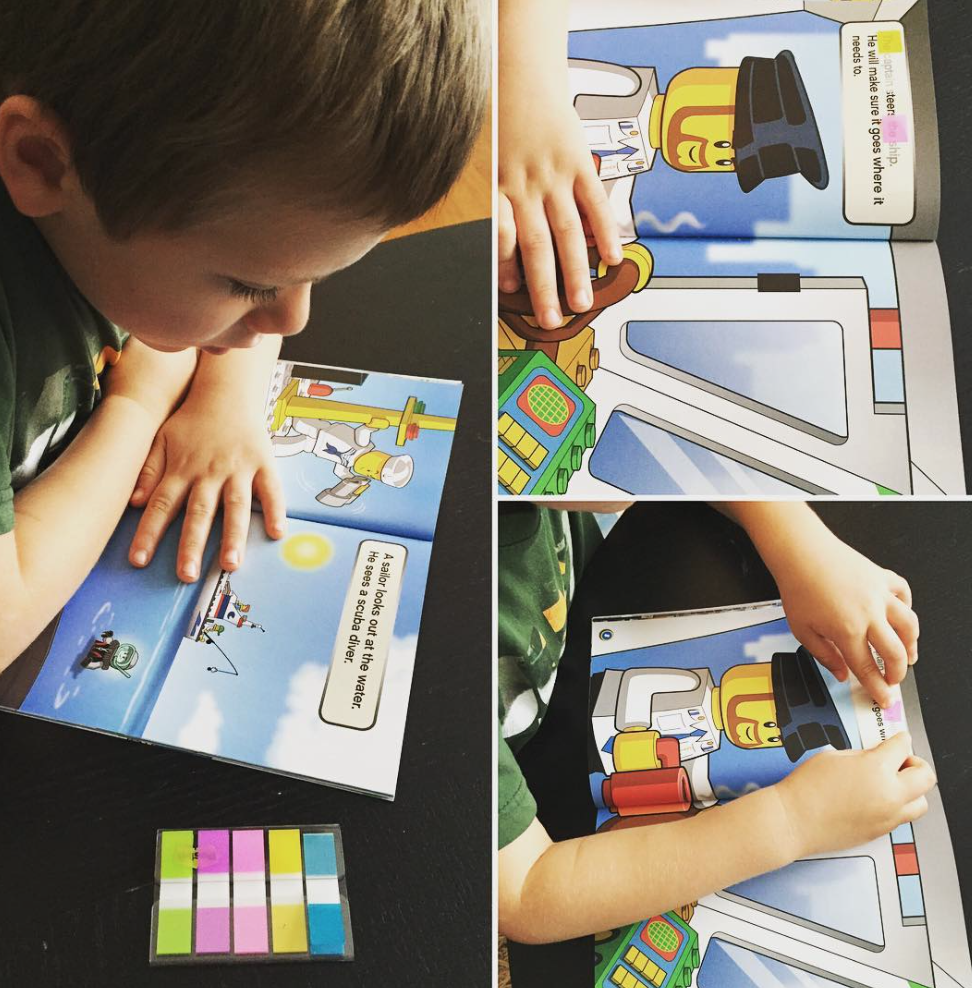
Get your students looking for those words! This can be a center, an independent activity, or a warm-up in reading groups. Have your kids look for a certain word in books or big poems.
I blogged about this picture already last year. Both of my boys loved to search for words like this. They would focus on one word and try to find it. This was nice in the beginning because they didn’t necessarily have to know the other words on the page yet. They were just looking for that one word. I have several pre-made word hunts that I will show at the end of this post!
Step 5: Build from Words to Phrases to Sentences
The purpose of mastering high-frequency words is to gain automaticity with these words so that eventually your students will become fluent readers when reading a book or reading passage. However, sometimes we skip so many steps in between. I know I’ve been guilty of that. Okay, you know that word, sweet! Let’s read this huge passage then. Wait! Rewind. What I mean is, let’s give you those building blocks so that you can read that huge reading passage. Our struggling and beginning readers can be VERY intimidated by a huge reading passage without support. With that said, many of our students learn sight words quickly and are ready for huge passages pretty quickly. I’m more focusing on your students who need a little extra time and guidance.
Sight Word Phrases
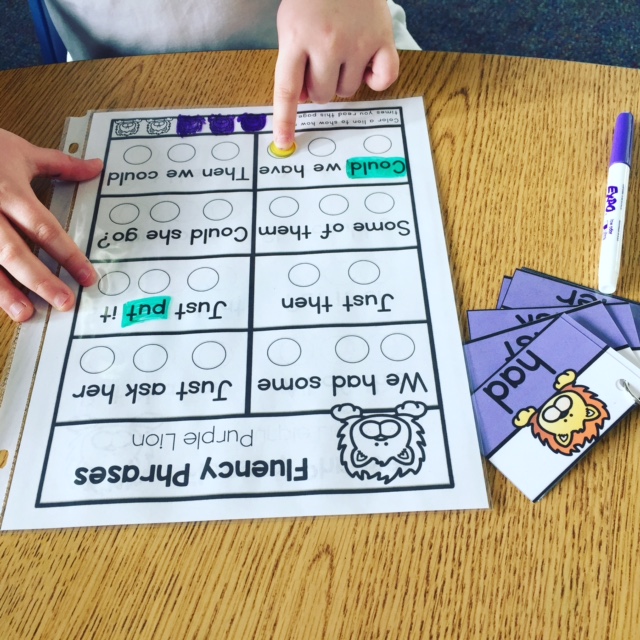
We’ve talked about practicing high-frequency words in isolation. Now we’re moving into reading those words in the context of a phrase, sentence, or reading passage. First, you can focus on phrases. These are the common phrases that go together. This is a great way to transition from word to sentence. It’s good for them to see these words in some context. You can actually find fluency phrases all over! Just google and there you will find tons.
I used these after my students had a little practice with the sight words individually. They are phrases, not complete sentences yet. It gives students the chance to practice reading with a little context.
Simple Sentences
Here, I’ve made sentences with a focus on one high-frequency word. This one has the word “like” in each. I made sentences where the student could be successful using their knowledge of the new word, other high-frequency words they’ve already learned, and decodable words. This way, they can practice those words within connected text and be successful!
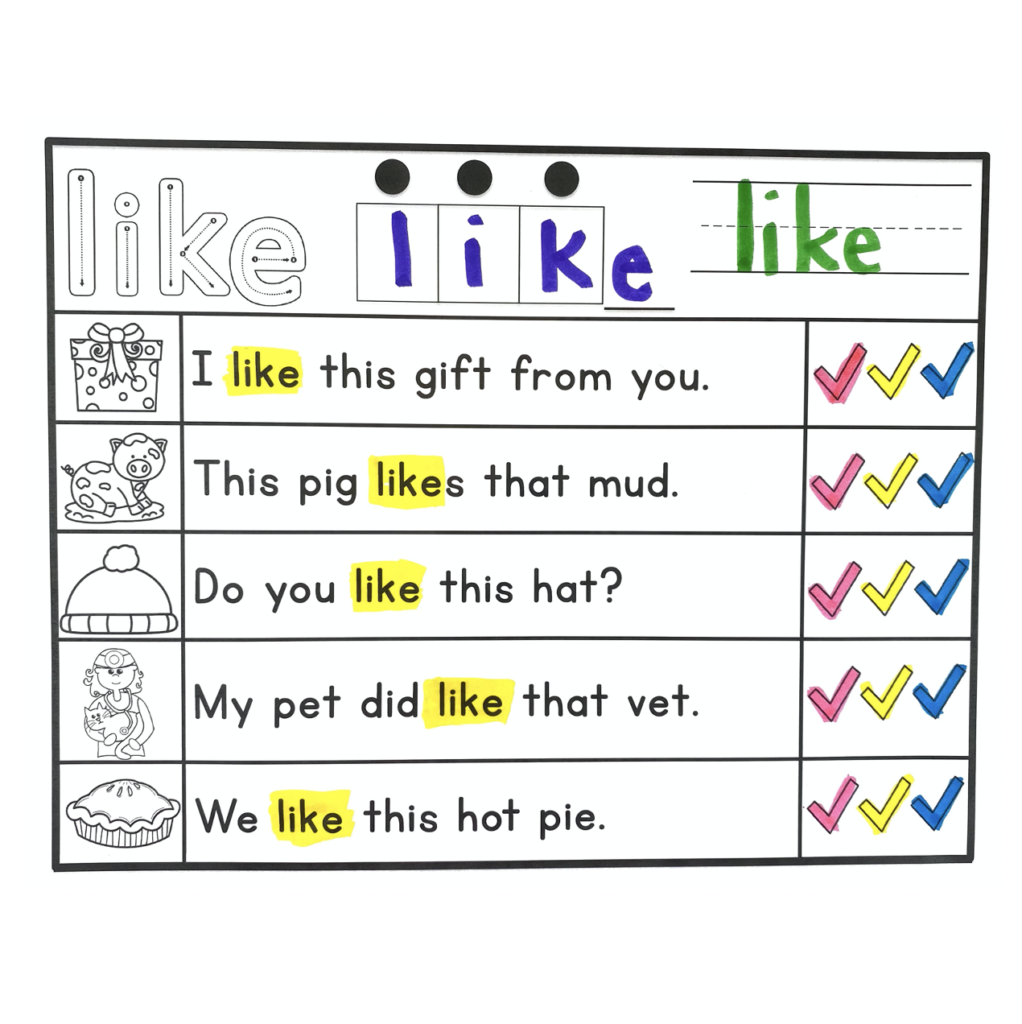
Give your students practice reading those words in context where they can be successful. You can write simple sentences using sentence strips or on chart paper, too!
Sentence Ladders
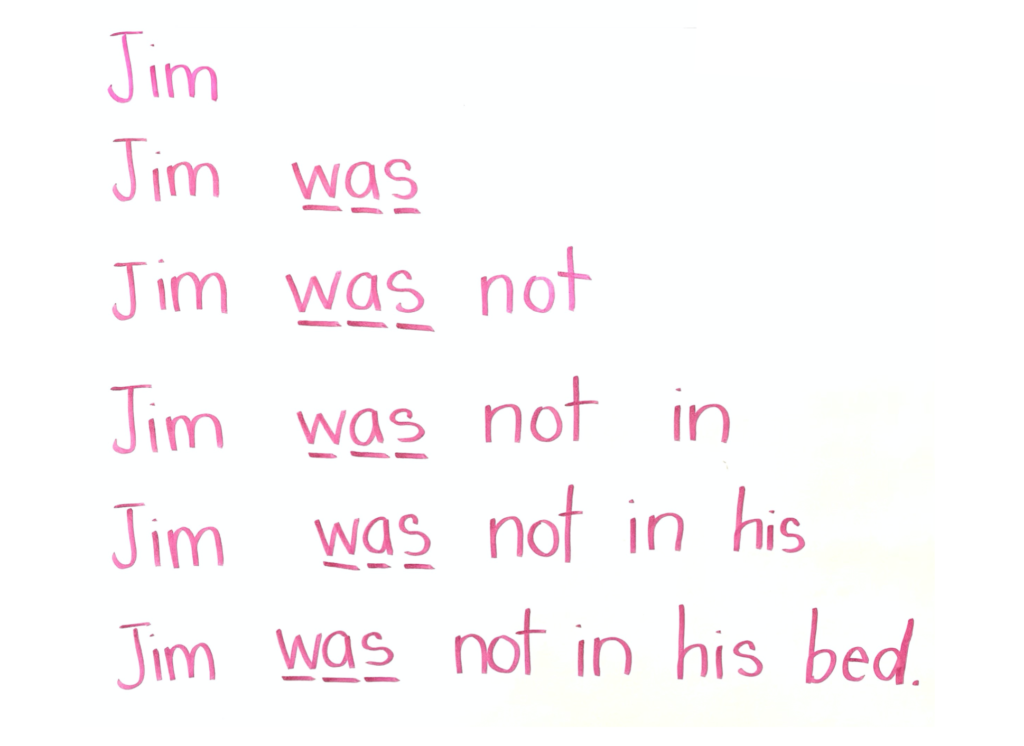
Once students know a handful of sight words and are even reading those fluency phrases, we get a little excited about throwing them that reading passage or big ol’ book to read. And yes, absolutely that is our goal and many, many kids make that transfer seamlessly and quickly. However, some need a little extra something. I love making Sentence Ladders for my students. It gives them practice with sight words and helps develop fluency because they are rereading words in a sentence over and over.
Which List: Dolch, Fry…or Neither?
Originally, I was using the Dolch list. I created a ton of resources based around this list. I did and do love these resources and found they really helped my students. However, I also felt like these resources didn’t fit into my big picture instructionally. As I learned more about the science of reading, I started to rethink my approach.
Mainly, I was seeing that here I was teaching my kinder students to decode and spell CVC words. For my struggling readers, this was a lot. They would make gains with the right systematic, explicit instruction and were developing an understanding of how words work, at a pace that was appropriate. But then I’d also be like, “Oh yeah and we also have to learn the words “come”, “down”, and “find” because those are on the Dolch kindergarten pre-primer list and that’s just what we do. So, even though it felt like this just didn’t fit with everything else I was doing, I was still doing it. I created the Dolch resources you’ll see below and really tried my best to make them work. I think what I came up with was helpful considering these words were out of place with the rest of the curriculum.
Then I had an epiphany. Wait, I don’t have to teach high frequency words in this order, especially if the science is telling me otherwise. But not just the science. My students were showing me this too. I had already restructured the way I teach high-frequency words. Now I was going to change the order in which I teach them.
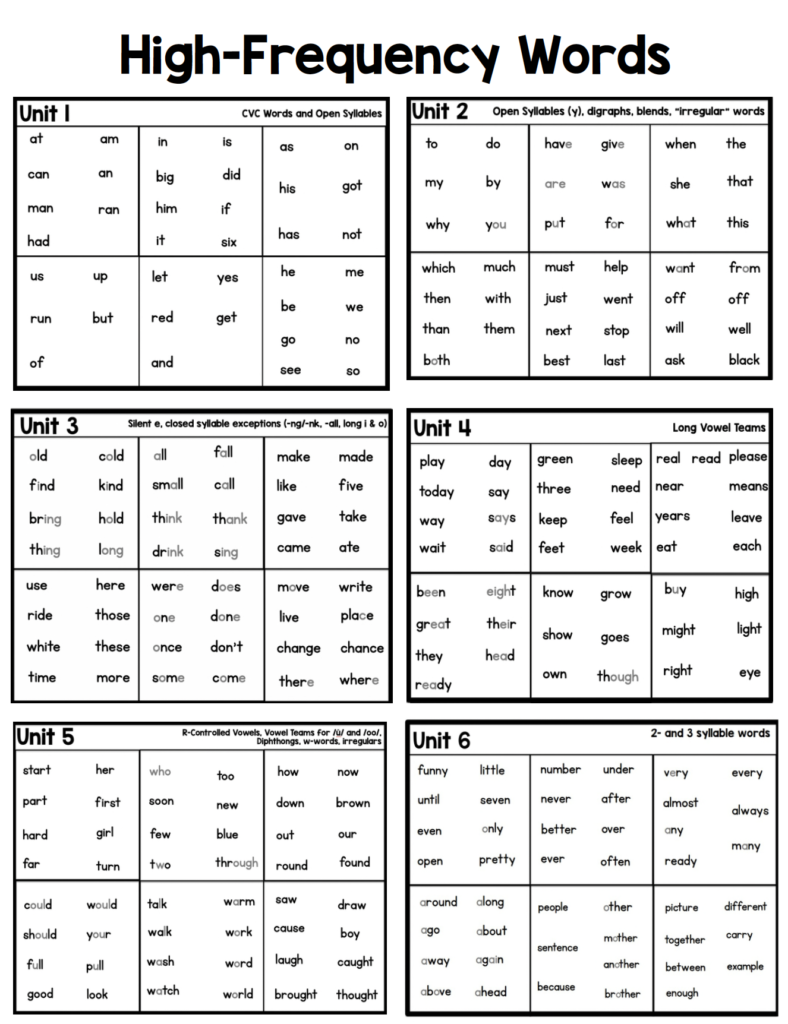
I looked over the Dolch and Fry lists and grouped the words phonetically. Then I looked at the words that were decodable except for only one or two sound-symbol relationships. I placed those into the groups that made the most sense. Last, I looked at the real odd balls. These are the few words that really are irregular in my mind. I placed those where I felt they made the most sense instructionally.
Once I had a sequence, broke the words up into smaller, more manageable groups. This is one thing I had also done with the dolch list and it really helped my students. They felt more success when they mastered a small set of words (as opposed to looking at this huge list).
Then, I started making activities and teaching resources to go with those words and groups. I made flashcards that mirror the way I teach the words, fluency phrases for each group, sentences focusing on each sight word, word searches, and games.
High-Frequency Words Instruction Resources
To integrate my high-frequency words into my existing phonics instruction, I grouped the high–frequency words phonetically. There are six units and then each unit is further divided into smaller sets. See below for how the words are grouped:
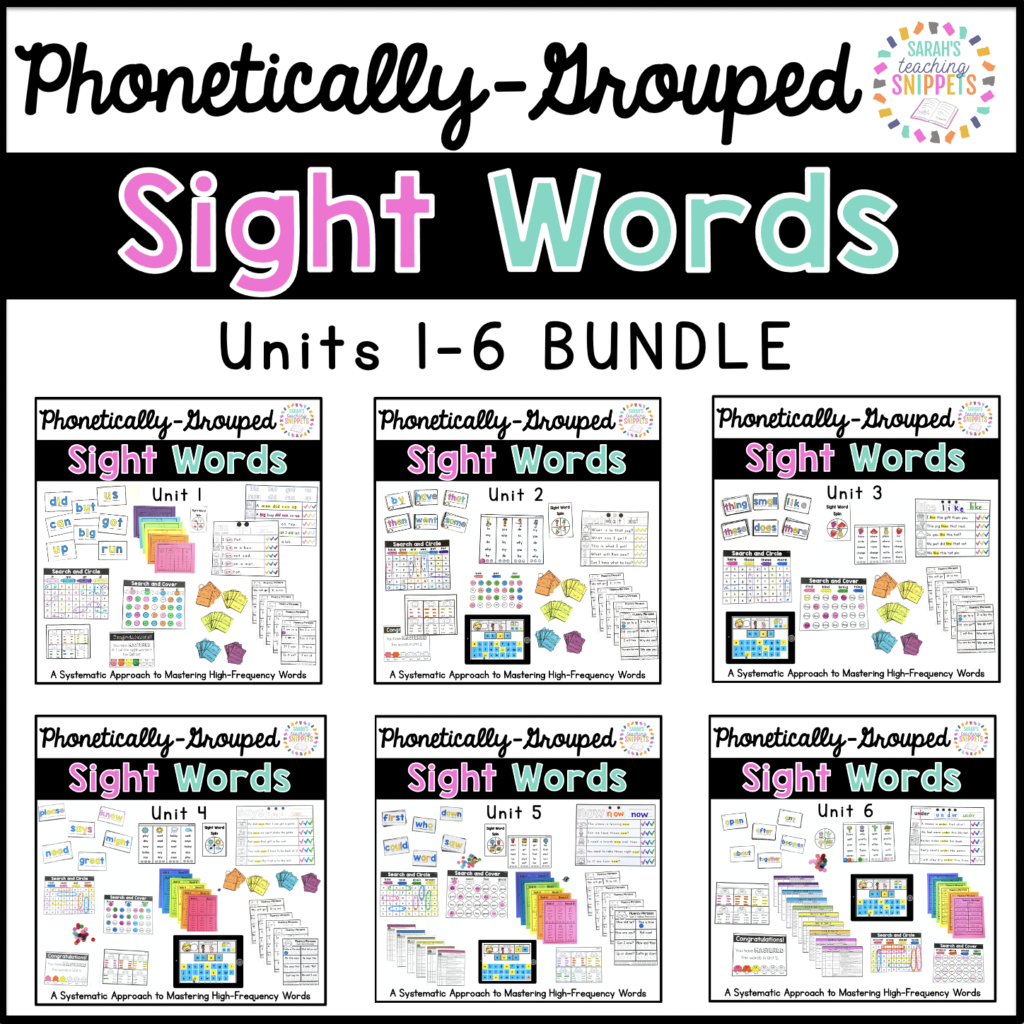
If you’re looking for resources, I have two different options. First, I made a huge 6-unit bundle. Then, I made a much smaller option with most important parts. See below for details!
Option 1: Six Unit Bundle
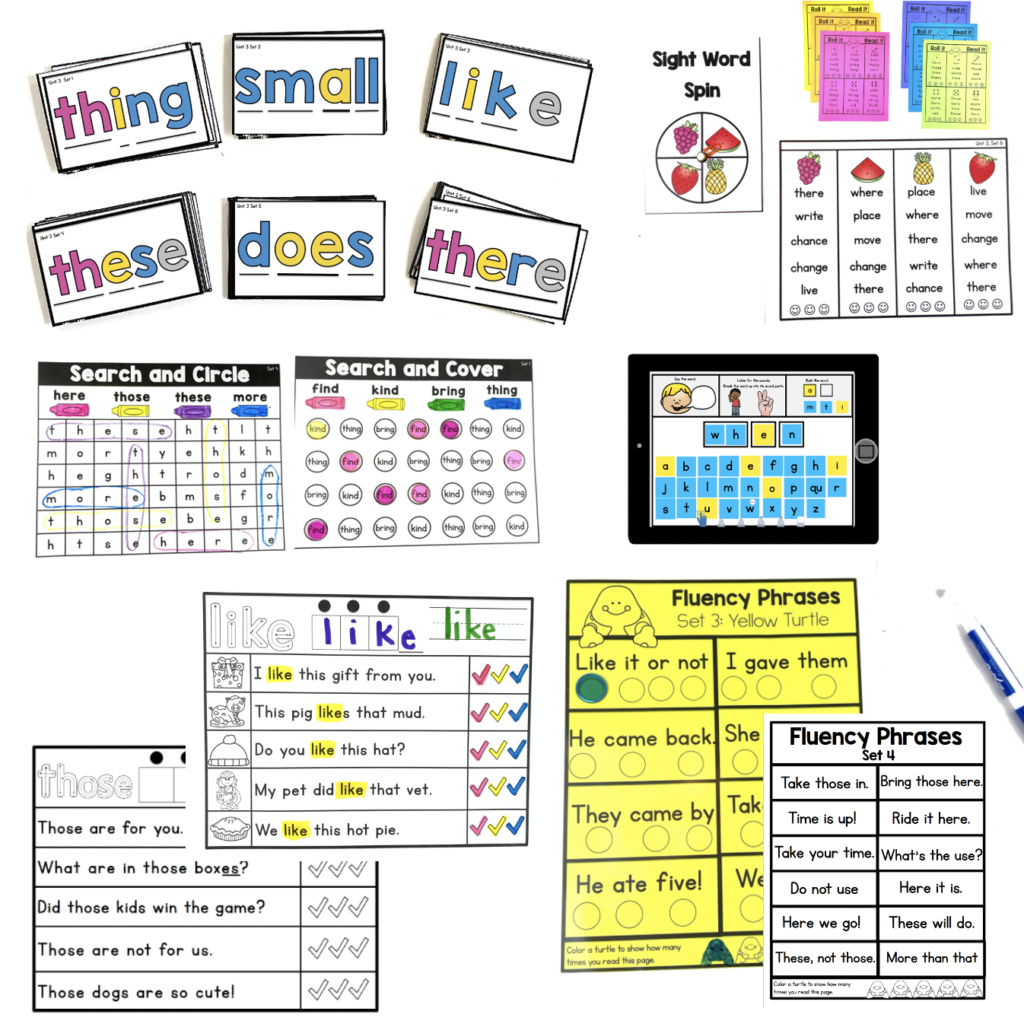
Each unit has the following items:
- Directions about how to teach the words using phoneme-grapheme mapping, along with any helpful tips.
- Flashcards are color-coordinated with vowels in one color and consonants in another color. There are also the underlines that represent sounds.
- “Fluency phrases” (“printable” option and smaller cards to laminate): Those are just short phrases with high-frequency words from that set.
- Word Searches
- Automaticity games (one for each set): Spin and Read or Roll and Read
- Sentences: Each word has a whole page of 4-5 sentences and then another page that reviews all the words from that set. Option with pictures or without.
- Tracking sheets
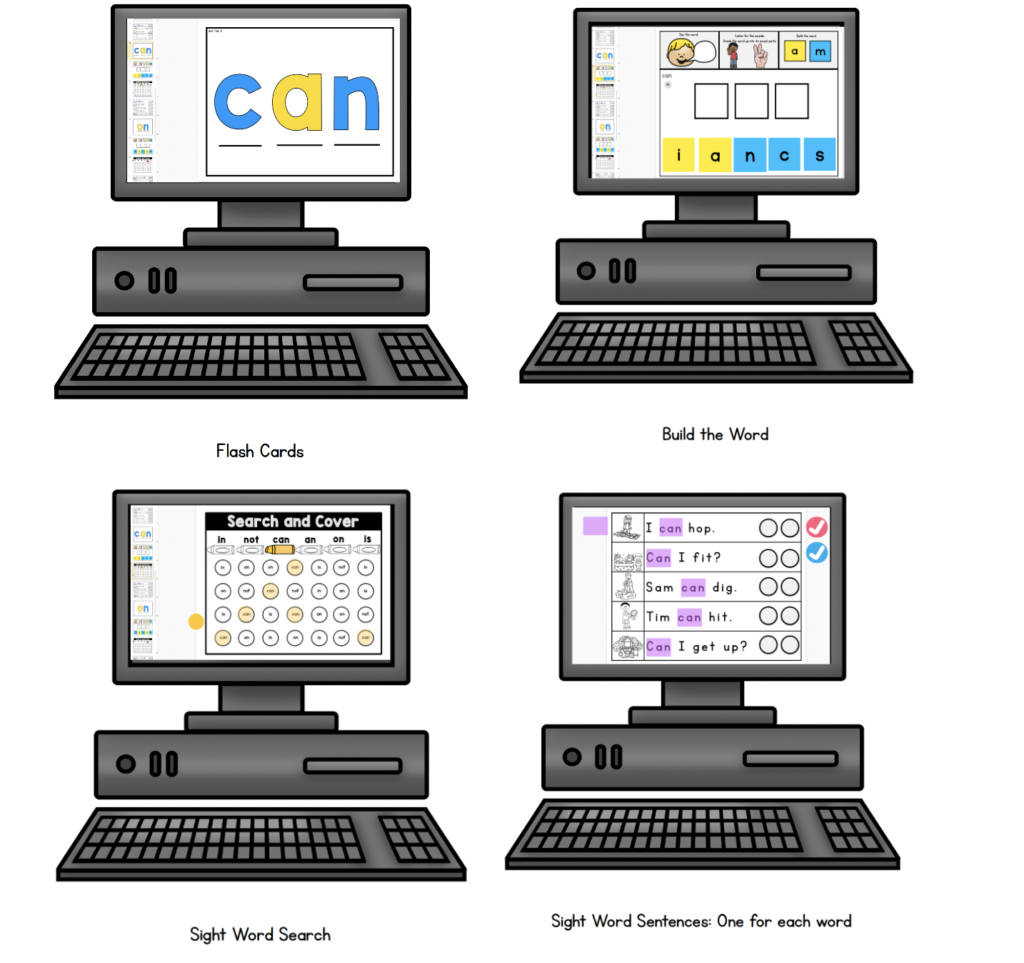
- Google Slides and Seesaw preloaded
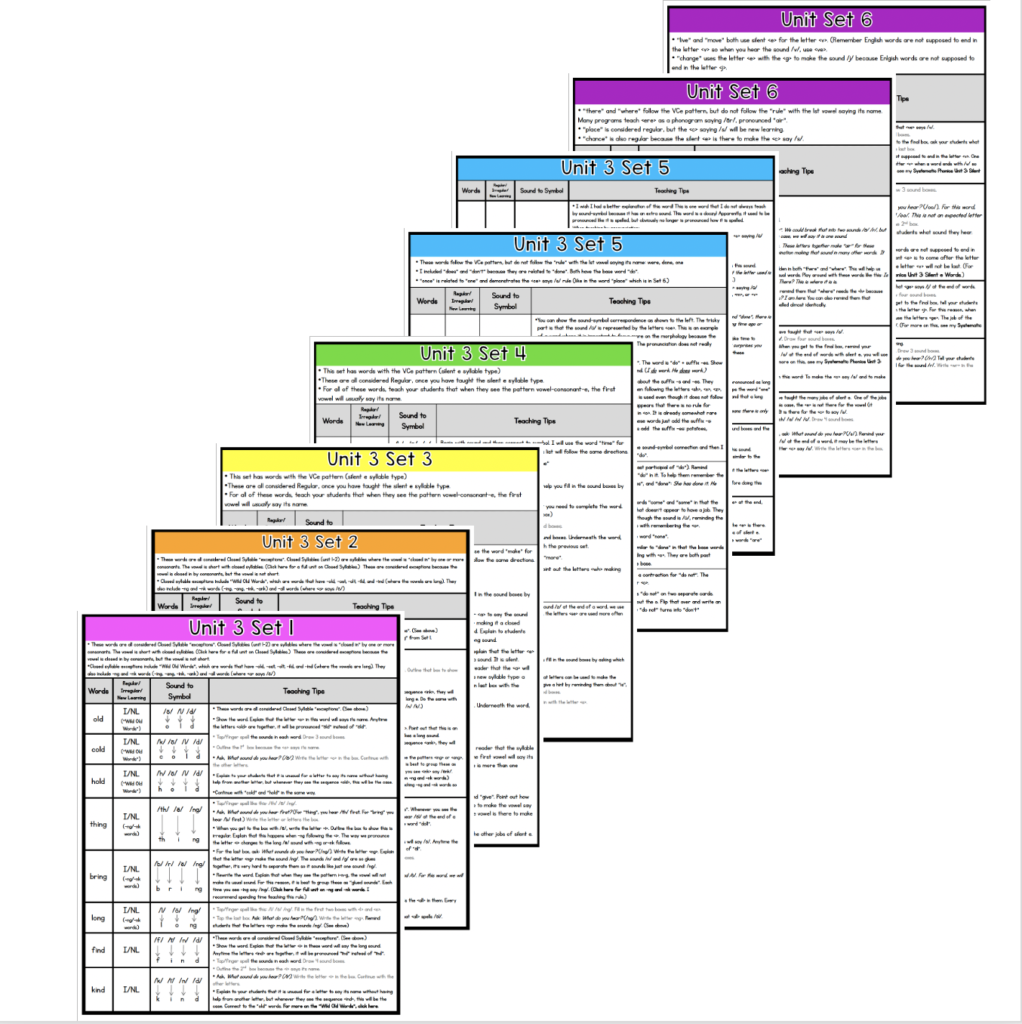
THIS LINK will lead you to the 6-unit bundle. If you just want to look at one unit, you will see a link to each individual unit from there.
Option 2:
If you don’t want the big bundle or don’t want the words divided into the six sets, I have another options! I now have a pack of just the sentences and another pack with just the teacher directions, flashcards, and worksheet for each word.
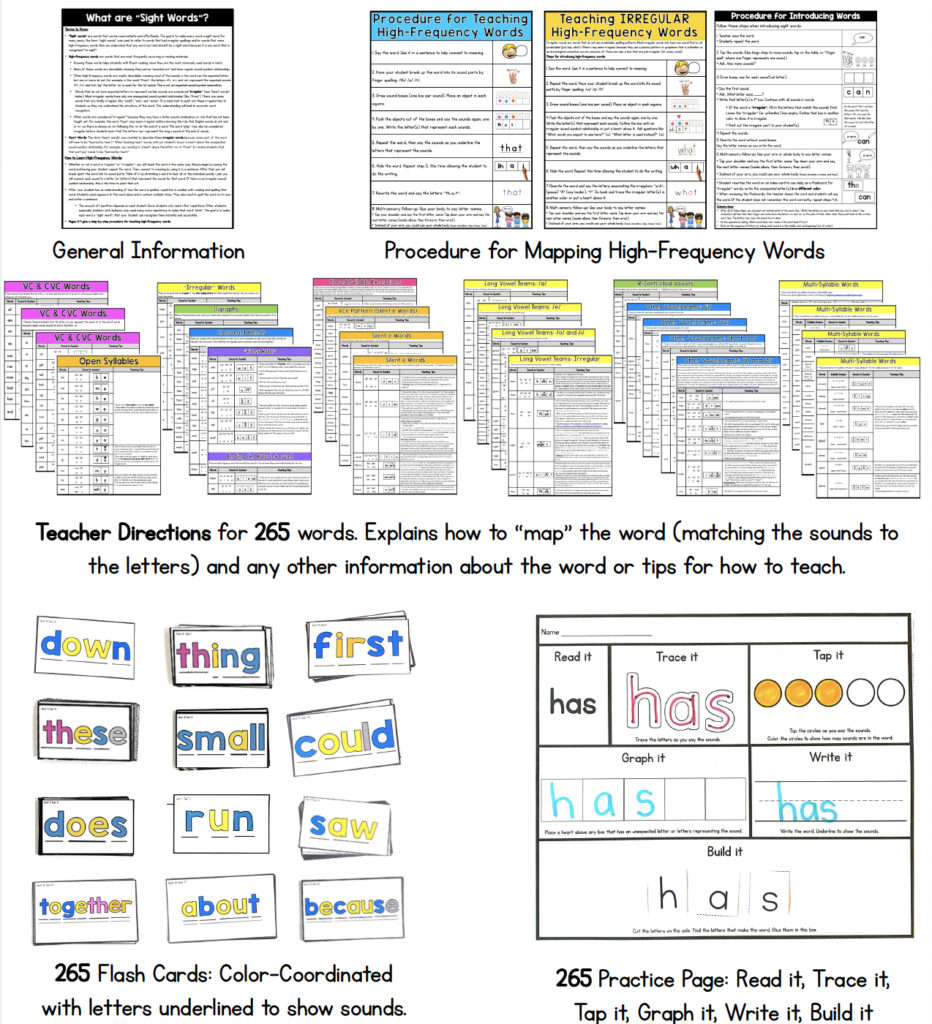
You can find this resource here.
I also sell the sentences separately. They are decodable sentences where each page focuses on one high-frequency word. There are 263 words total! If I had to pick one resource, it would be this one!
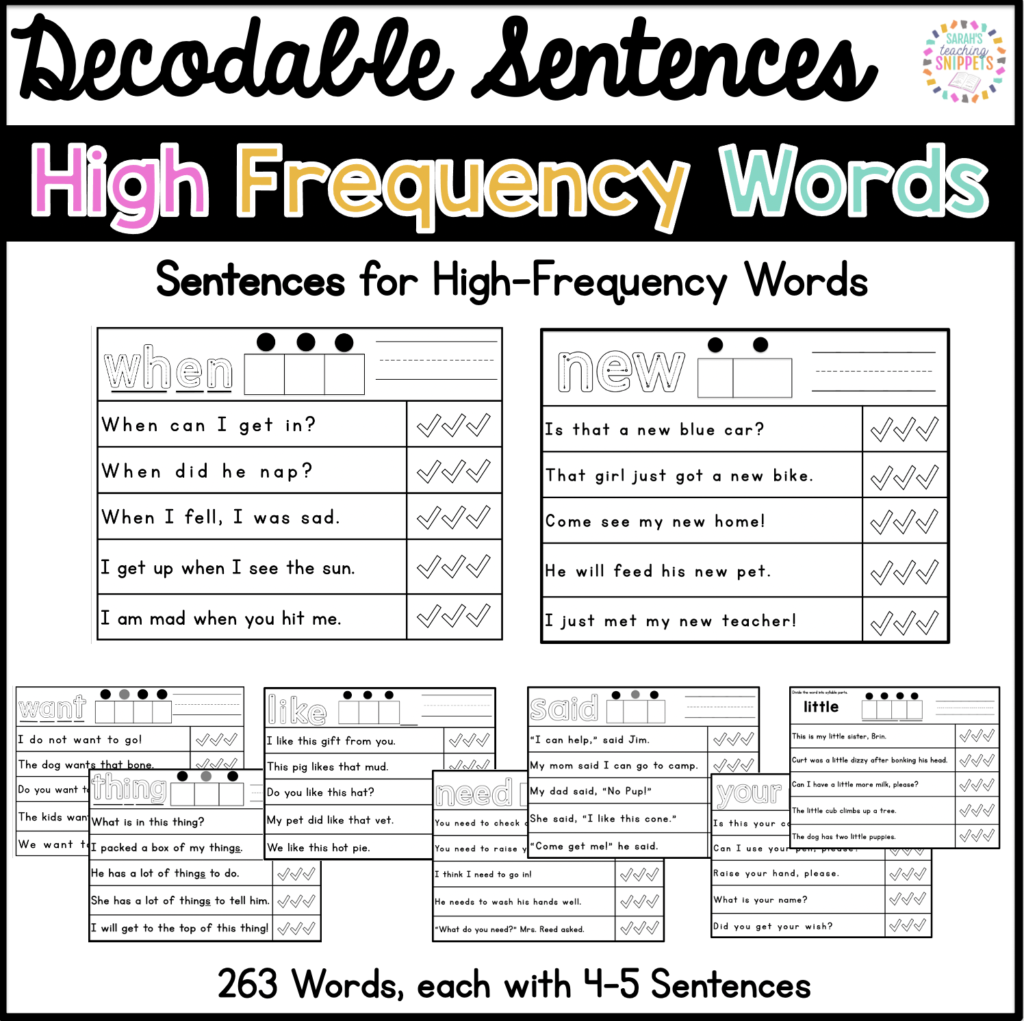
You can find the decodable high-frequency word sentences here.
References
David Kilpatrick’s books: Equipped for Reading Success and The Essentials of Assessing, Preventing, and Overcoming Reading Difficulties.
Louisa Moats: Speech to Print and LETRS books.
A Fresh Look at Phonics by Wiley Blevins.
Rethinking Sight Words. Article by Katharine Pace MilesGregory B. RubinSelenid Gonzalez‐Frey from the International Reading Association Journal.
Additional Posts about Sight Words
For another posts about sight words, click here. There, you will find ideas for the summer AND a printable pack for parents filled with ideas to practice sight words.
You can find this blog post here.
