Switching roles from first-grade classroom teacher to K-3 Reading Resource teacher has created quite the learning curve for me. One thing that has surprised me is how much I enjoy kindergarten intervention. You can see so much progress! There are two main components to kindergarten intervention: Alphabet Knowledge and Phonemic Awareness.
The first step for kindergarten intervention is determining who will be in my groups. I do a basic alphabet assessment (how many letters and sounds they know) and a phonemic awareness assessment. A screener like DIBELS is a quick and easy way to get a snapshot of who may need intervention as well. I always like to follow up with my own assessments so I can get a little more information.
For some kids, learning all the letters in the alphabet can be difficult and time-consuming. I’ve had students who took all year to truly master the alphabetic principle even with consistent intervention efforts. When a 5-year-old has trouble learning the letters and their sounds, this could be a sign of bigger issues, like dyslexia. That’s why early intervention is so important!
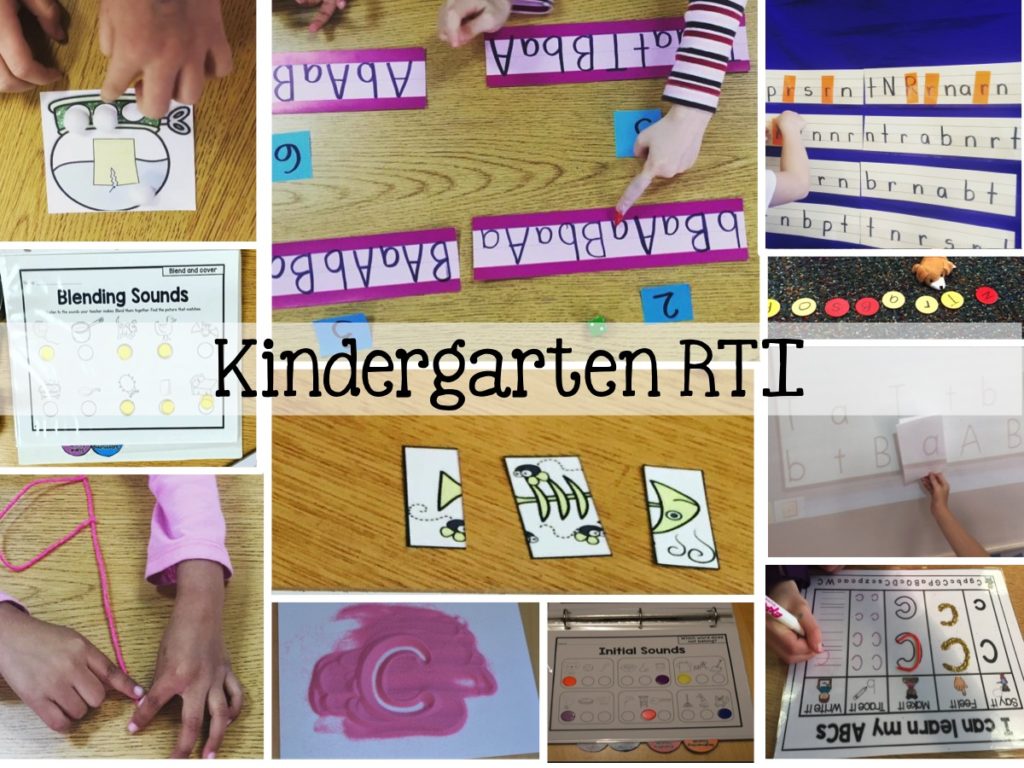
Alphabet Recognition
For me, alphabet recognition is the hardest thing to teach. Let’s be honest, it can get boring! I mean, how many ways can you say and show, “This is an A.” I look for different ways to practice so I don’t get too bored. 😉 Because if I’m bored, they are bored. I used to wonder why it took some kids so long to learn the letters and their sounds. Now it totally makes sense to me! Think about what it takes to develop alphabet awareness.
What is Takes to Learn the Alphabet
It actually takes a lot to learn the letters of the alphabet and their corresponding sounds.
- First, students need to learn the shape of the letter and be able to recognize it on sight and name it. This involves visual discrimination.
- Second, they have to learn that that letter has two forms, upper and lower-case.
- They need to be able to recognize both as the same letter.
- They also have to do the opposite- they have to be able to retrieve that letter’s shape from memory when someone says the letter’s name.
- Third, they have to remember the sound(s) associated with that letter.
- Again, they have to do this in two ways: See the letter and retrieve the sound and hear the sound, retrieve the shape of the letter.
And this all doesn’t’ even include writing the letter!
Even the first step of visual recognition can be a lot. This includes the ability to visually discriminate that letter from other letters that look similar or numbers and other shapes for that matter! Think about it, they really just are shapes! Loops, lines, and slants. Prior to learning the alphabet, students don’t need to have this ability to discriminate between such similar shapes. In their world prior to visiting alphabet land, an object is an object no matter how you turn or twist it. A chair is still a chair whether or not it’s upside down or not. But a b is not a b if you turn or flip it. That is super confusing!
So you see, learning the basic alphabet requires a lot of skills.
Tips for Teaching the Alphabet
I’ve looked into it and I haven’t found one sequence that is the right way. It seems like there are some conflicting things out there, so I will share with you what has worked for me so far.
Here are a few things that I’ve learned over the years:
1. Space out Similar Letters
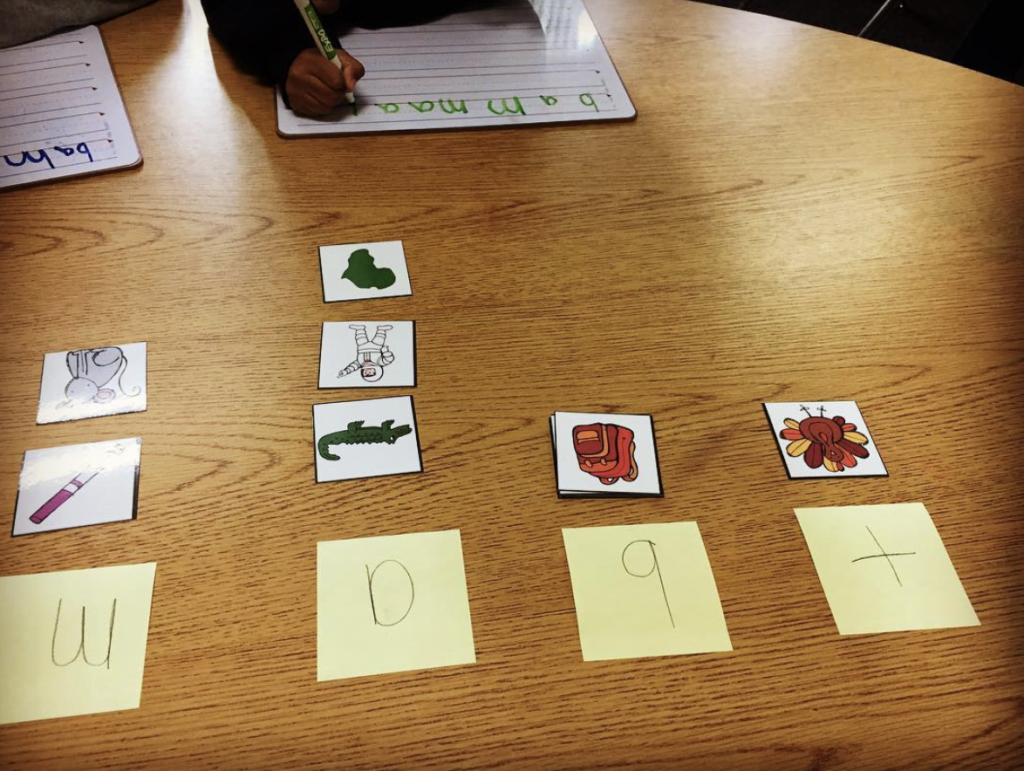
Try not to introduce two letters in a row that are visually similar. Lowercase b, d, and p are very similar. I try to put a few weeks between these letters to make sure that they really know one before introducing another.
For words that auditorily similar, you should point out differences in the way your mouth looks when you make each sound. It also helps to point out if they are voiced or unvoiced. /b/ and /p/ sound so similar (and your mouth looks the same), but you use your voice with /b/ and not with /p/. You can gently touch your throat to feel vibrations of “voiced” sounds.
2. Start with Stretching Sounds
Try to use introduce letters that have sounds that are easier to stretch earlier. For example, the sound /m/ stretches but the sound /b/ is a stopping sound. This one is tough because there are some super common letters that don’t stretch so I don’t exactly follow this perfectly. However, I do make sure I have several stretching sounds introduced early on. This makes it easier to model blending of sounds to read words.
3. Teach in smaller sets and slowly add in new letters.
I begin the year with 2-3 letters, not just one. I started with a, m, and t. Week one I just did a and m, then I added in one or two more the next week (depending on the group). After that, I actually only added one at a time because we were reviewing the old ones. Some weeks I did not introduce any new letters because we needed more time to get them to stick. Some weeks I was able to add two or three because they were starting to stick. My point is that I was totally basing it on my students and how well they were picking up on these letters. I also do not throw in a bunch of new letters until they have mastered the ones that I have taught.
4. Review!
Every single day, review the letters that have been taught. For my kindergarten RTI groups, this repetition is essential. They need to keep seeing and hearing those letters and sounds. Every day, we are reviewing the previous letters we have learned.
5. Make it multi-sensory!
I want my students to be using as many senses as possible: seeing the letter, feeling the shape of the letter, hearing the sound, and forming the letter correctly. This is as basic as saying a sound while tracing or writing a letter.
6. Begin with SOUND
And now for my biggest tip, which was also a later “aha moment” for me… Begin with SOUND, not symbol. For years, I would show a letter and say the letter name then the sound. In fact, I’m sure you’ll see posts where I say to do that. Ha! I have learned that it makes so much more sense to begin with the sound and introduce the associated symbol (letter). “We are going to the learn about a letter that can make the sound /m/ like in “mountain, muffin, mouse, and Mike”. Read more about this here.
Ideas for Alphabet RTI
As I mentioned above, letter recognition is more complicated that you may think. It is a huge part of kindergarten intervention because often the rest of the class is learning letters at a pace that my students can’t keep up with. Usually, they just need more time and more reps.
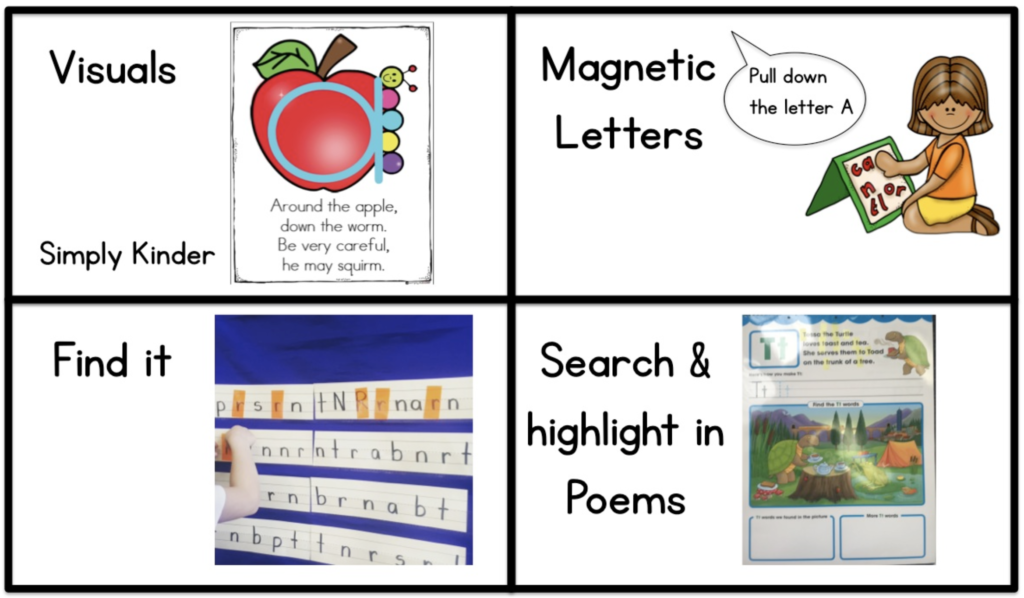
Use a Visual
It is very helpful to have a key picture to go along with each letter. This serves as a visual to go back to but also an auditory one. “B, bird, /b/.” Just saying the key word can remind them of the sound /b/. My students do rely on these visuals for quite a while. The goal is get to a place when the visuals are not needed, but that can take time.
I love Simply Kinders Alphabet posters. They give a great visual and a fun poem for the kids to learn that helps them remember the shape of the letter. I love them because the letter is part of the picture. I highly recommend picking up this pack!
Letter Recognition Practice
I always have magnetic letters and boards ready to go. On their boards, they have the newest 6-8 letters. You can also use basic note cards with the letters written on them.
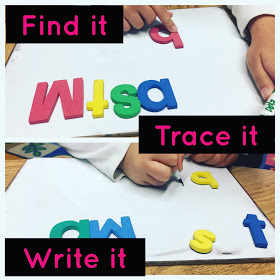
I’ll say, “Pull down the letter that says /a/,” or “Pull down the letter A.” (I want them to be able to do both so I go back and forth.) After they pull it down, we always say it again while tracing it (run fingers along the magnetic letter while saying the letter name and sound) before putting it back to the top.
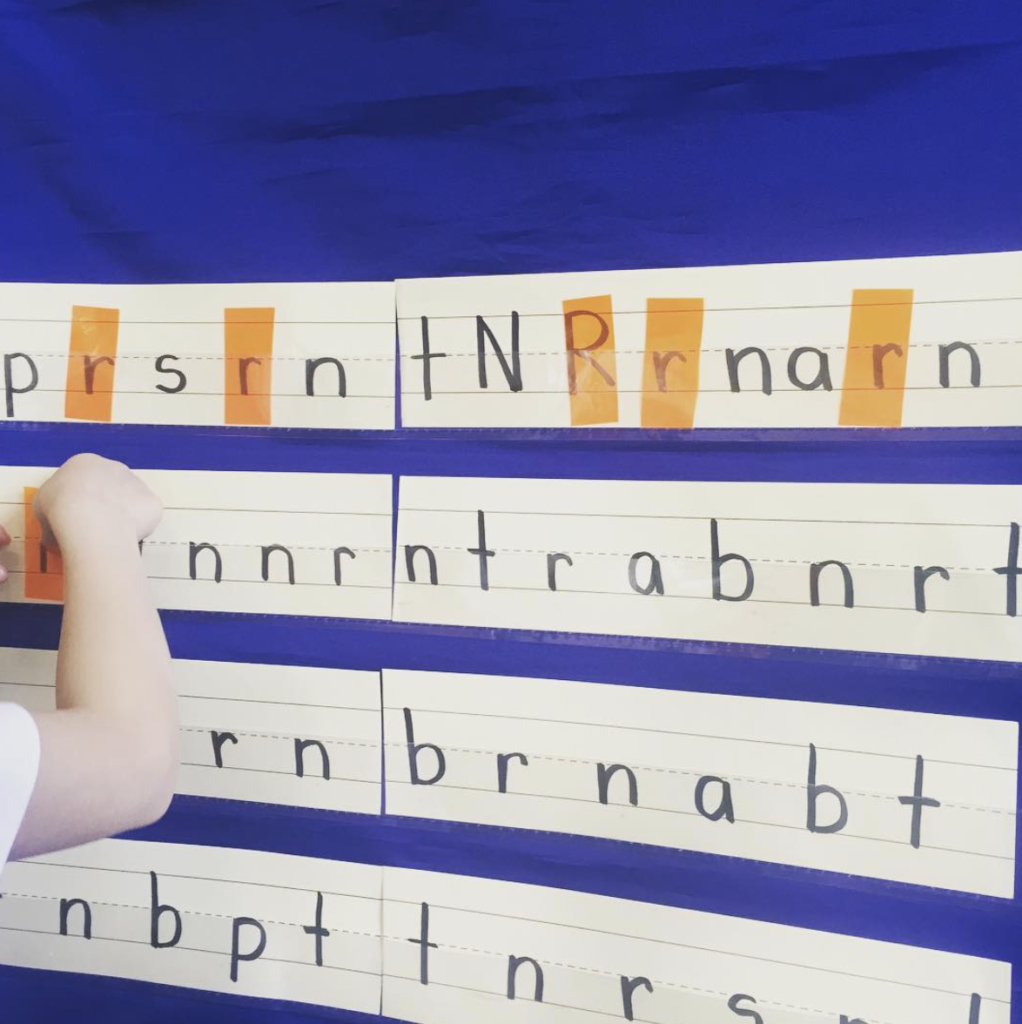
With this activity, students were asked to find the letter r. I gave them all time to look. Then I called on students to cover the letter r with the highlighted strips. As they covered, they said, “R, /r/”.
You can do this same activity where students search for a specific letter in a book or magazine. I really like this part and always include some form or “searching” for the letter to give them opportunities to see it over and over.
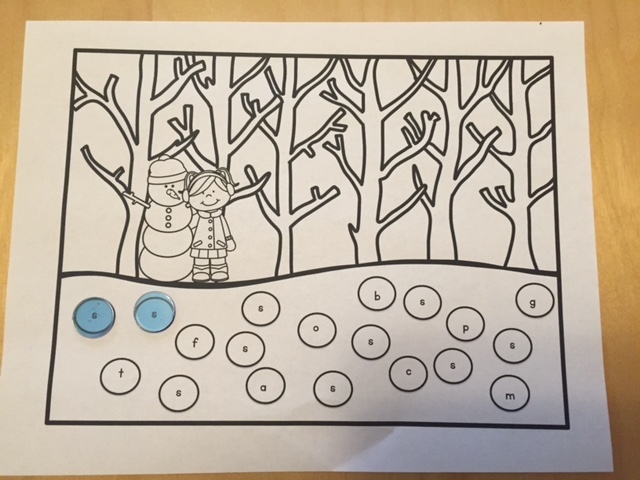
Here, they are looking for all the S circles in the picture. You really don’t need to get this fancy. You could just write or type the letter S (mixed with other letters) on a page and have your students highlight or cover them. Easy peasy! My Alphabet Games pack has some pre-made letter hunts like these.
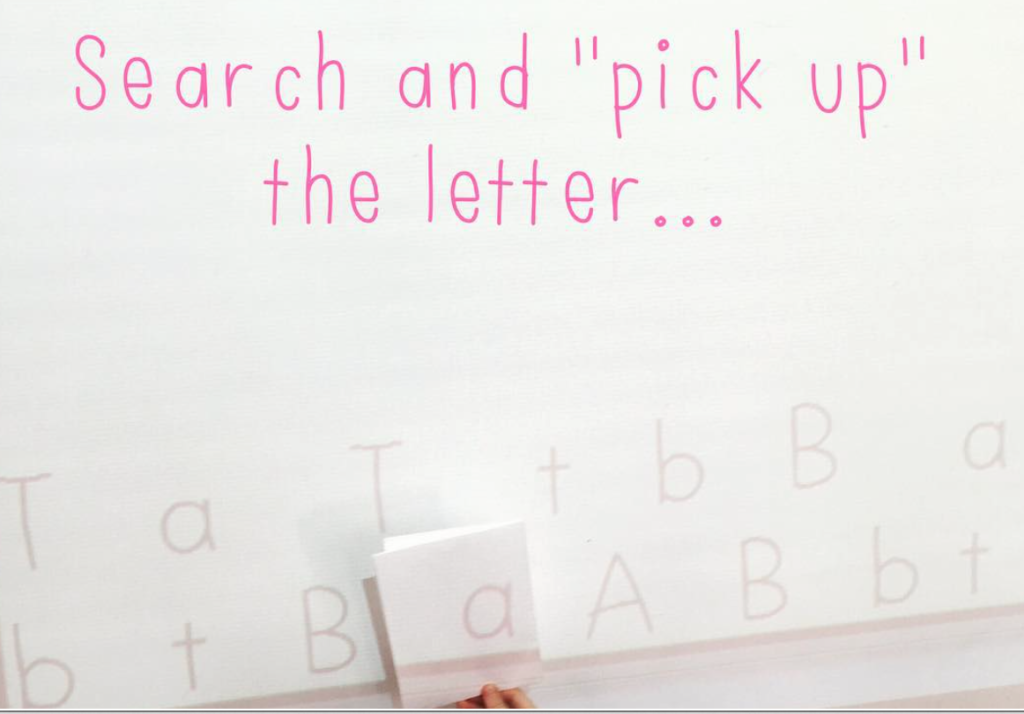
This is always a big hit. I use my projector and quickly type up some letters we’ve practiced. Kids magical pick up the letter we are focusing on.
Letter Formation
When I first started teaching, I did not believe in the value of correct letter formation. Then, I saw how incorrect letter formation and lack of automaticity with writing letters can affect students later on. I do think it is important to spend time teaching correct letter formation.
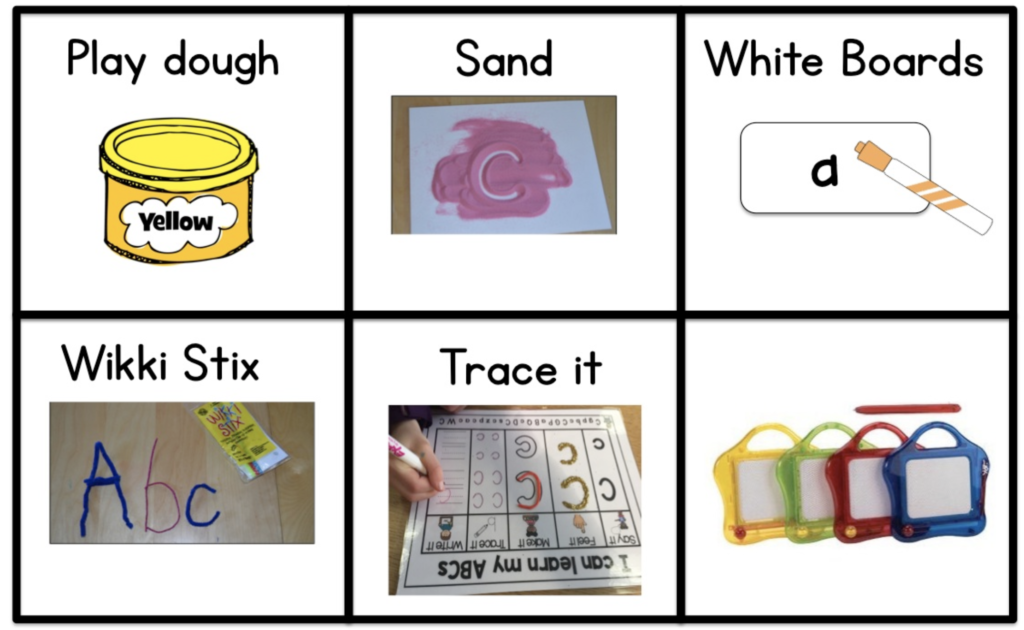
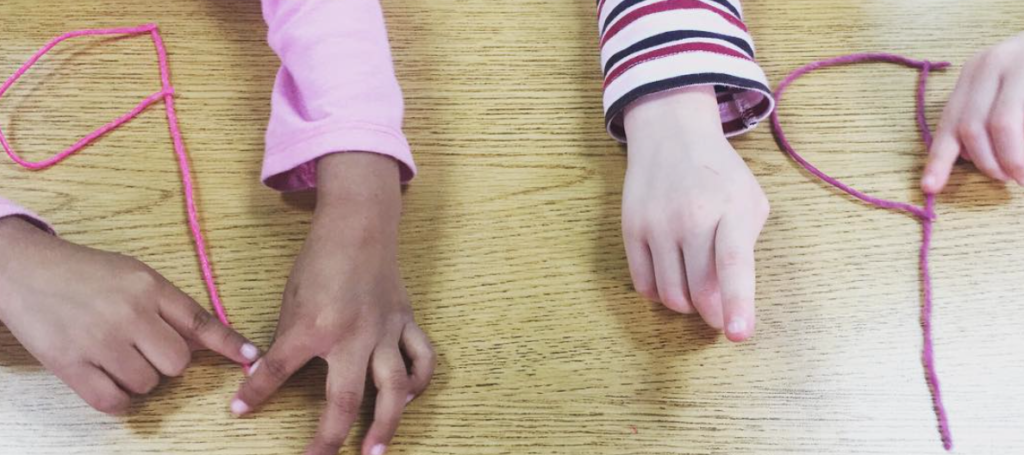
There are many ways to practice forming the shapes of these letters. Since writing letters requires fine motor skills as well as knowledge of how to actually form the letters correctly, I like to also give my students practice without the added burden of applying fine motor skills. This means students are focusing on how to form the letters correctly through tracing. Using WikkiStix, pipe cleaners, and sand is always a hit.
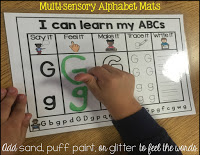
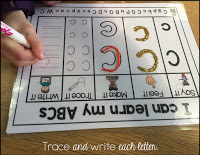
This year I made these Multi-sensory Alphabet Mats with a place to feel the letters, build the letters, trace the letters and write them. You can read more about them here.
Homemade gel boards are always fun too. You need cheap hair gel, gallon plastic bags, and food coloring. Make sure you double bag so there isn’t any leakage!

There are also amazing apps out there, too.
Of course you do also want to give your students plenty of opportunities to actually write the letters.
Automaticity Building
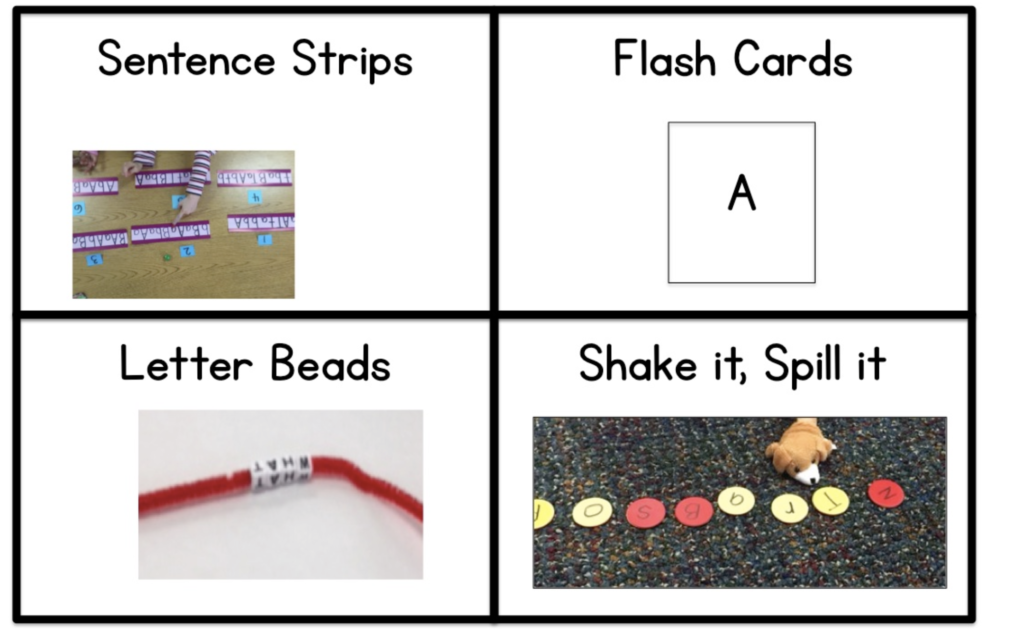
After introducing the new letter, searching for it, building it, and writing it, we put all the letters together that we’ve worked on previously. This can be as simple as flashcards. As I said, I only use the letters we’ve work on. I also like to use sentence strips. I simply write the letters we’ve worked on in random order (and more than once) on a sentence strip.
Each student gets their own sentence strip. Then they “whisper read” their letters on their own for practice. After they’ve practiced, they “read” their letters to the group. The goal here is automaticity with identifying the letter name and sound.
The same can be done with the letter beads. I put the letters we’ve worked on in mixed order. Each child gets a pipe cleaner with their letters in a different order. Practice first by moving the letters as they say the names or sounds. Then they “read” to the group.
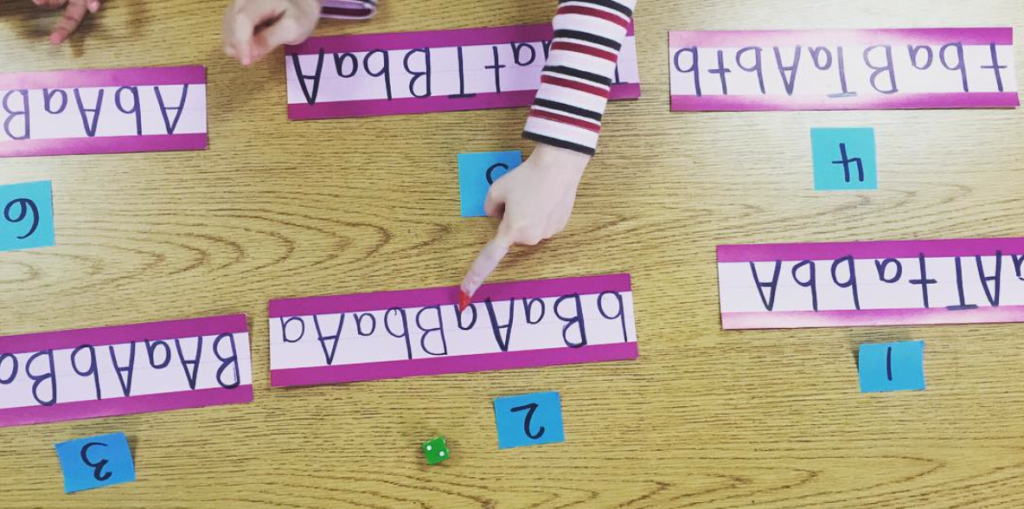
We created this game on the spot. I had sentence strips with a few letters we have gone over. They wanted to play with dice and I wanted to spice it up. So, throw in some dice and a witch’s finger and you have a “game” that makes them read the letters over and over and over.
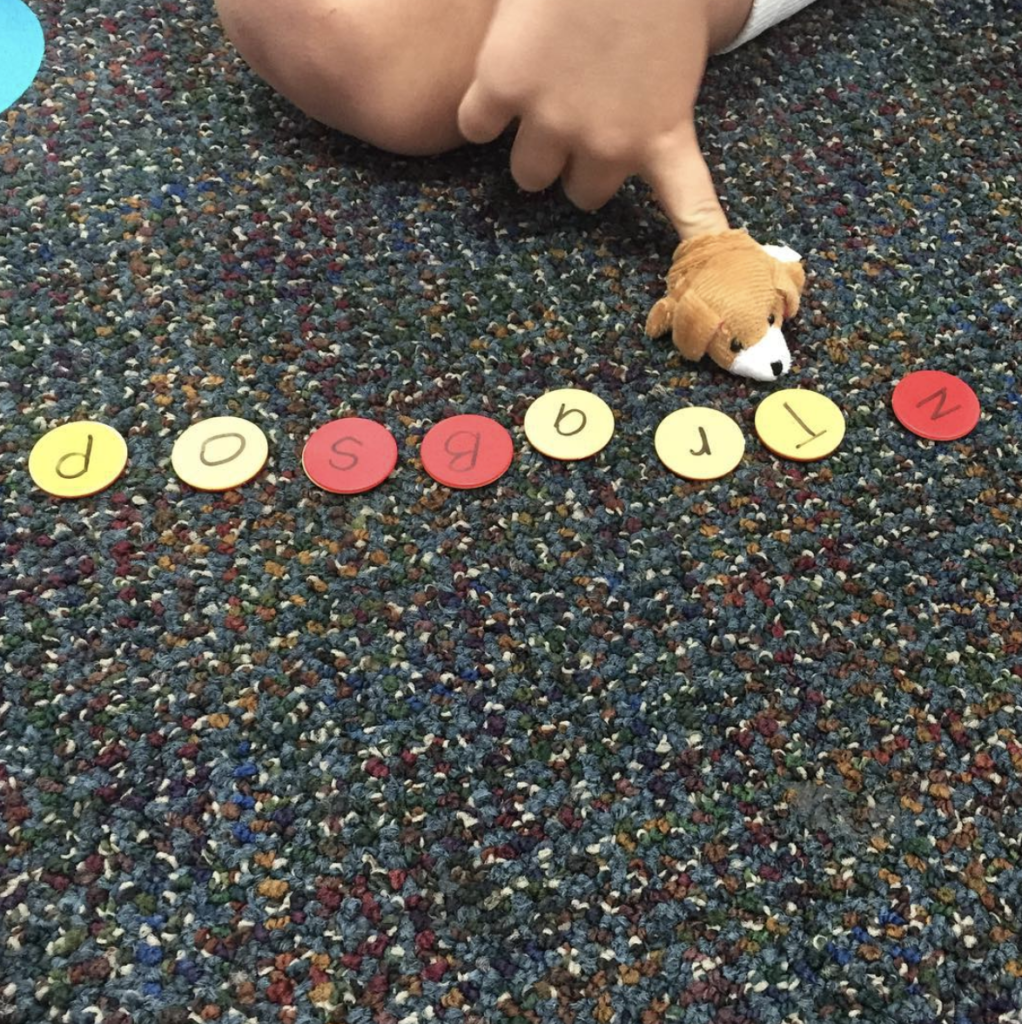
My kinders loved this simple warmup activity. I have a few still working on learning their letters. I wrote the upper case on one side and the lower case on the other. I gave each a handful of chips. They shook and spilled the chips. Then, they lined them up and had their finger puppet read them. Great for rapid naming fluency. The next day, we did the same with sounds.
For more pre-made games that give students practice with the alphabet, click here.
Using Music
There is so much research out there supporting the use of music. I would start with Heidi Songs because she uses music with movement. My students love those songs! There is also a lot out there on youtube. Just type in “letter T song” and a bunch will pop up.
Phonemic Awareness
One question I get a lot is, “Do I teach the alphabet first or phonemic awareness first?”. My answer: Both! You don’t need one to do the other. Both skills are essential for reading success, so don’t wait on either one. I start both at the very beginning of the year. There are so many phonemic awareness skills. Some of your students will be much farther along than others. For some, these skills come seemingly naturally. For others, more instruction and intervention is needed.
I begin the year working on rhyming, clapping syllables, and identify initial sounds. Once those skills are mastered, I’m ready to move on to the next steps in phonemic awareness: blending and segmenting. These skills are necessary for reading and spelling.
Identifying Initial Sounds
Identifying initial sounds is a phonemic awareness skill. It requires that students can separate the first sound from the rest of the word. They do not need to know the name of the letter or what it looks like. This skill is purely an auditory one. However, we use this skill when teaching sound-symbol awareness (AKA when teaching the alphabet). For example, when we teach that the letter B says /b/ like “bird”, “ball”, and “bear”, we are assuming that kids are able to pull the sound /b/ from the rest of the word. They may not have the ability to do that. Instead they may hear “bird” as one unit, not 3 sound units (/b/ /ir/ /d/).
A student may have this phonemic awareness skill of isolating the first sound, but they may not know the letter that makes that sound. The same is true for the opposite. They may know the name of a letter and its sound but struggle with isolating the first sound of a word.
You can work on this phonemic awareness skill on its own without connecting to the letter if the issue is purely a lack of phonemic awareness. I tend to do both. I integrate this into my alphabet instruction and then if I have students who really struggle with isolating initial sounds, I also work on this skill without the additional cognitive overload of involving letters.
Tips for Teaching Sound-Symbol Awareness with Alphabet Instruction
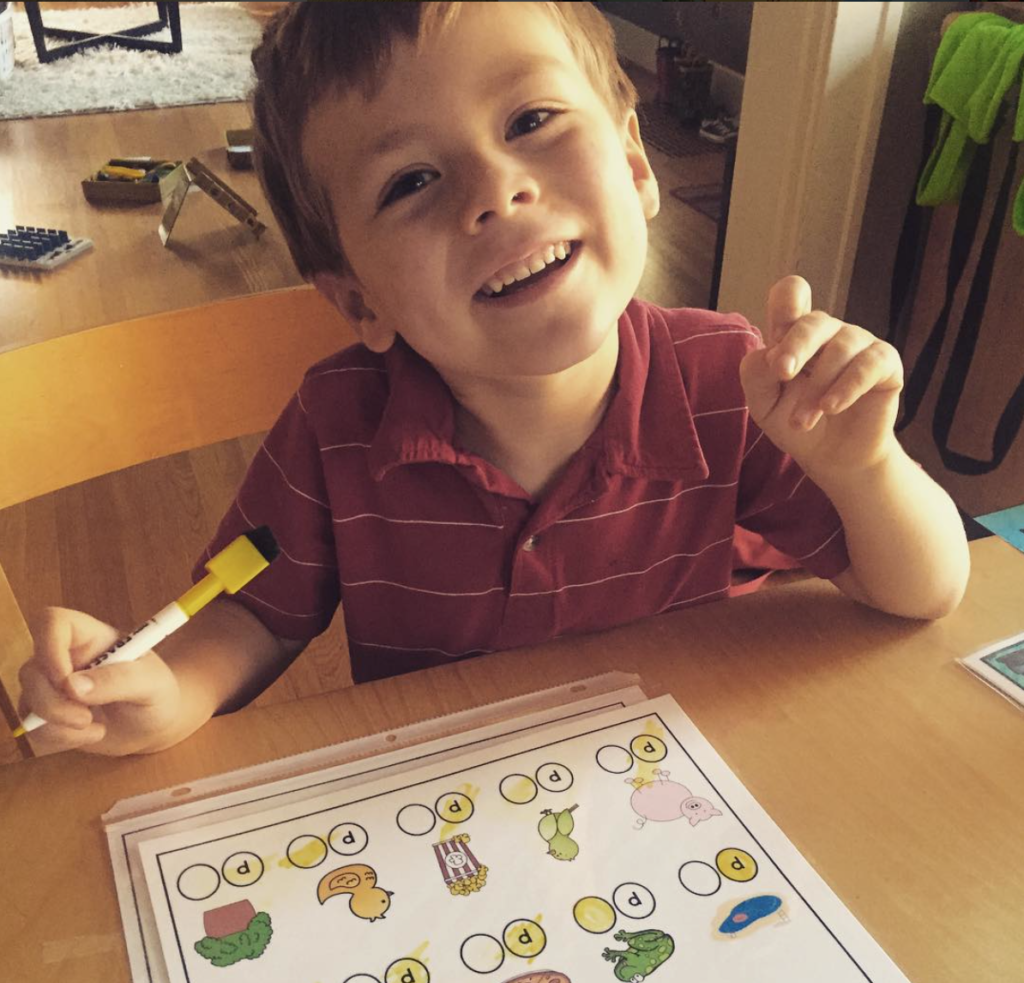
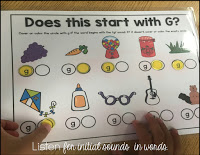
1. Yes/No Sound Sort: Gather several picture cards that begin with the target sound and that do not begin with the target sound. Have students say the word, listen for the first sound, and give a thumbs up or down if it makes that target sound. For example: “Does this start with /b/?”
As I mentioned, you can do this as a stand alone phoneme awareness activity or you can integrate letter-sound skills. You can follow up with the name of the letter or asking, “What letter makes that sound?” Then, have them trace the letter in the air or on a surface while saying the sound and name.
You can find a ton of picture cards in my Phonemic Awareness Pack. There are cards for every letter.
As part of my ABC mats, I have this section for every letter. They say the picture and determine if it makes the sound you are focusing on. They don’t need to identify any other sound. They are simply listening for that one initial sound, so it’s a simple yes or no.
You can also do this without any visuals. Say a word and ask, “Does this start with /b/?” (or whatever your target sound is).
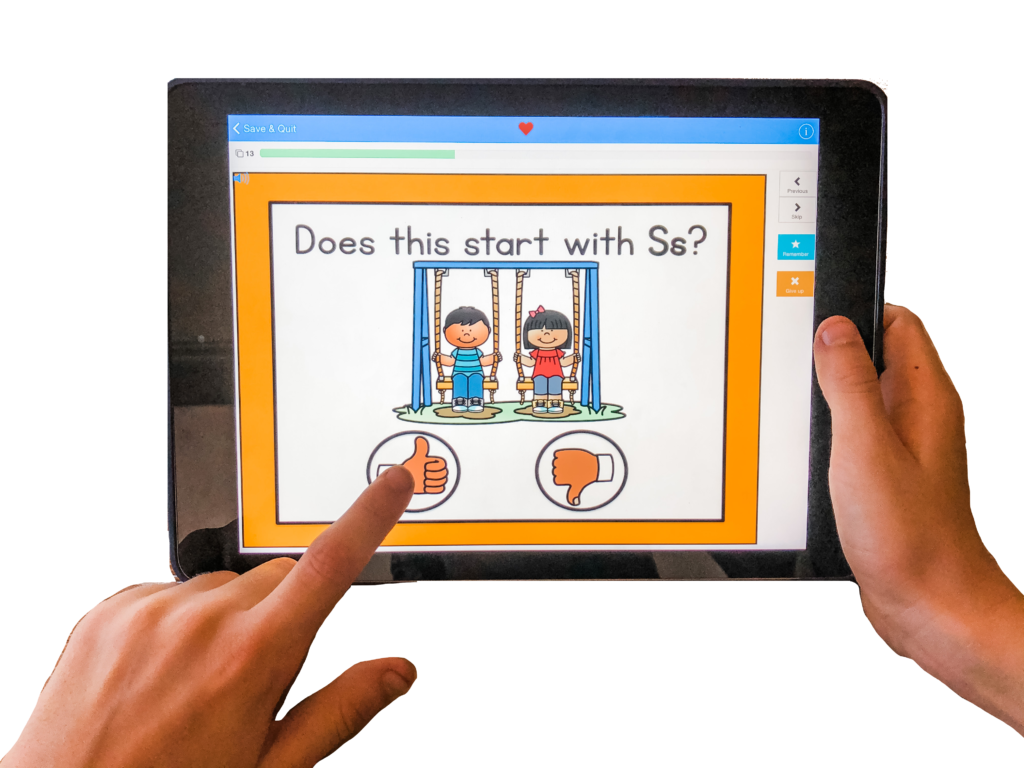
If you’re looking for a digital resource to practice each letter, check out these Boom cards.
2. Orally say two words. For example, “bat, mom”. Ask: “Which one starts with /b/?” Connect to the letter by following up with, “What letter makes the sound /b/?”
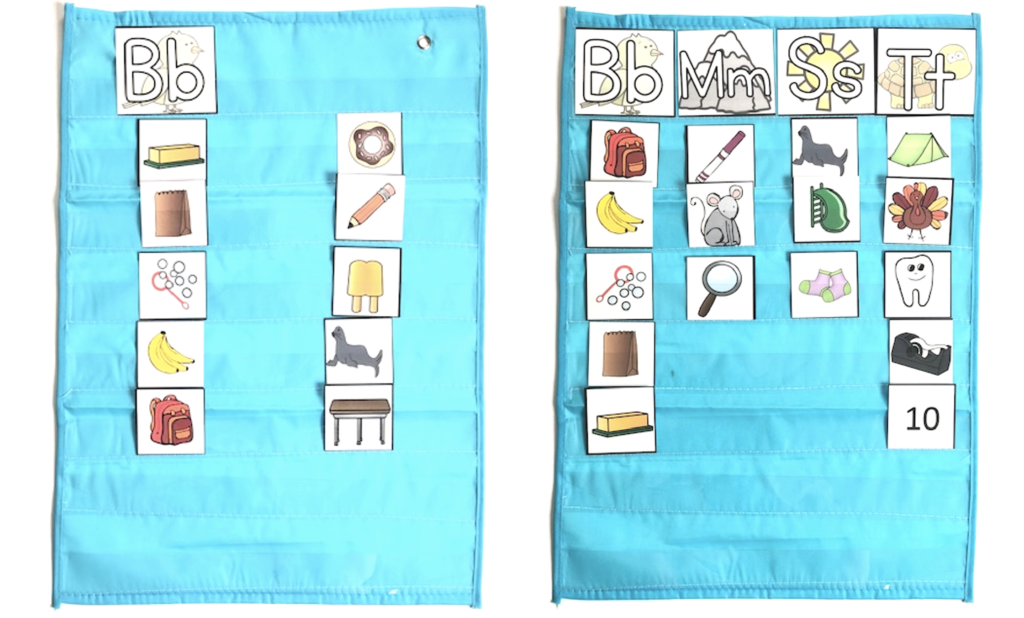
3. Picture Sorts: Students can use the letters you have taught so far and sort pictures based on the first sound. If you don’t want to integrate letters, use a picture card as the header, not a letter.
4. Oddity Task: Which Doesn’t belong? Say 3-4 words. Have all but one beginning with the same sound. Ask which does not belong. This on its own is just a phonemic awareness activity. Take it one step further to make it also a sound-symbol activity. After identifying the one that didn’t belong, go back to the words with the common first sound. Repeat the words. Ask, “What sound do all of these begin with?” What letter makes that sound.
If your studnets are having trouble with this, take a step back and use words where the initial sound stretches. That way, you can stretch that first sounds to help them separate that sound.
Phoneme Blending and Segmenting
Phoneme blending and segmenting are necessary skills for reading and spelling. Often when a first grader or kindergartener is struggling with sounding out words, it’s because they do not have these skills yet.
You may need to begin with blending and segmenting onset and rime before you get into phonemes. For example, “sat” can be broken up into /s/ /at/. Since they have been working on rhyming and identifying the first sound in words, they already do have experience with the concept of a word having sound parts. I like to begin this while we are working on initial sounds. For example, if students can identify that /s/ is the first sound in “sat” then you can point out what is left: at. The same is true for bigger words. So while you’re doing the initial sound activities I mentioned above, you can always throw in that question: What is left? This gets them ready for blending and segmenting sounds later.
I start modeling blending and segmenting phonemes early on, before asking the kids to do it. I start playing with words in this way on day 1! It never hurts to model a skill.
One way to make phoneme segmenting visual is to show them a picture and cutting it up into parts to show how many sounds. I model how to say it as one whole word, then how to break it up. This visual really seems to help.
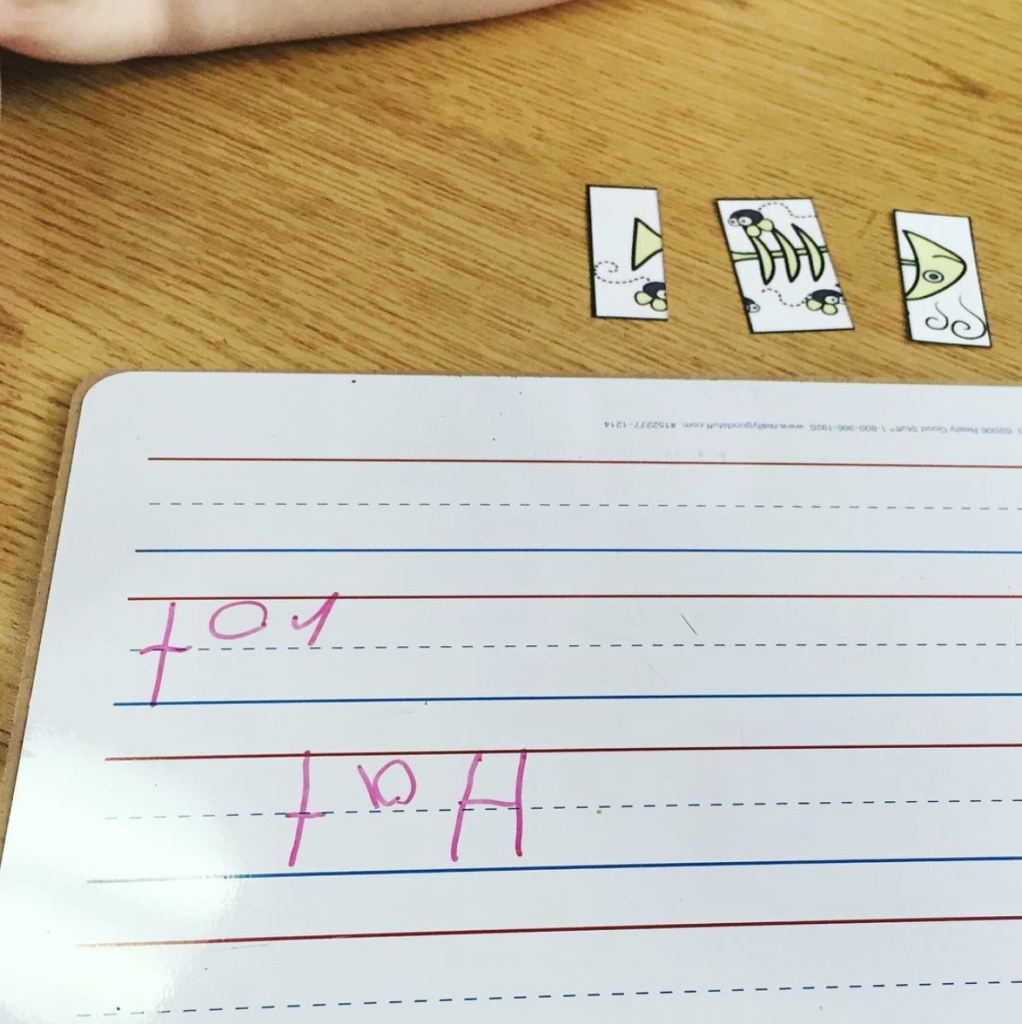
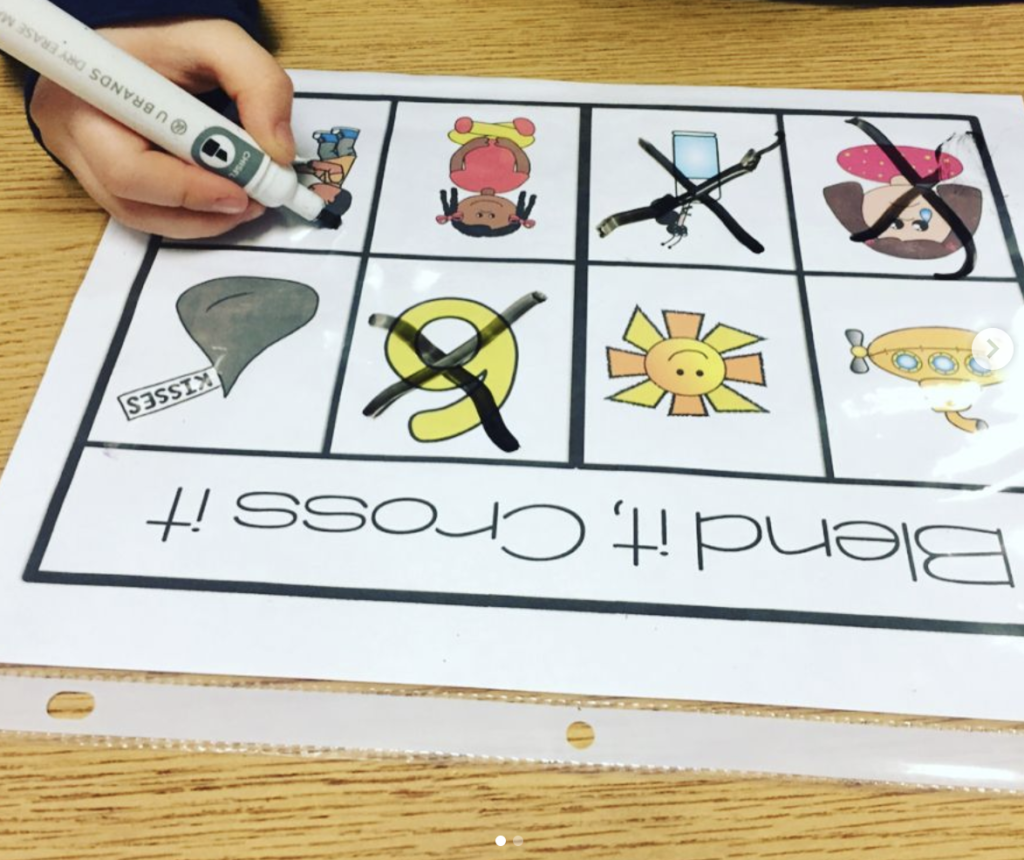
Try a phonemic blending activity like this. I say a word’s phonemes (sounds). For example, “/s/ /u/ /n/”. Then, I call on a student to guess my word. It’s fun to use a puppet when you do this activity. I always say we need to translate what the puppet says. They love when the puppet comes out! As an extension, you can then ask students to write the letter that makes the vowel sound.
The picture below shows this same activity as a game. Students all get their own board.
The opposite of phoneme blending is phoneme segmenting. Say a whole word and then break it up into its individual sounds. Give your students some sort of manipulative to “push” or tap while they say each sound. Grab pennies, pom-poms, or circular counters. The picture below shows “rip”. Say the word, stretch it if necessary (“rrrriiiiip”), then segment (/r/ /i/ /p/) while pushing the manipulatives (one for each sound).
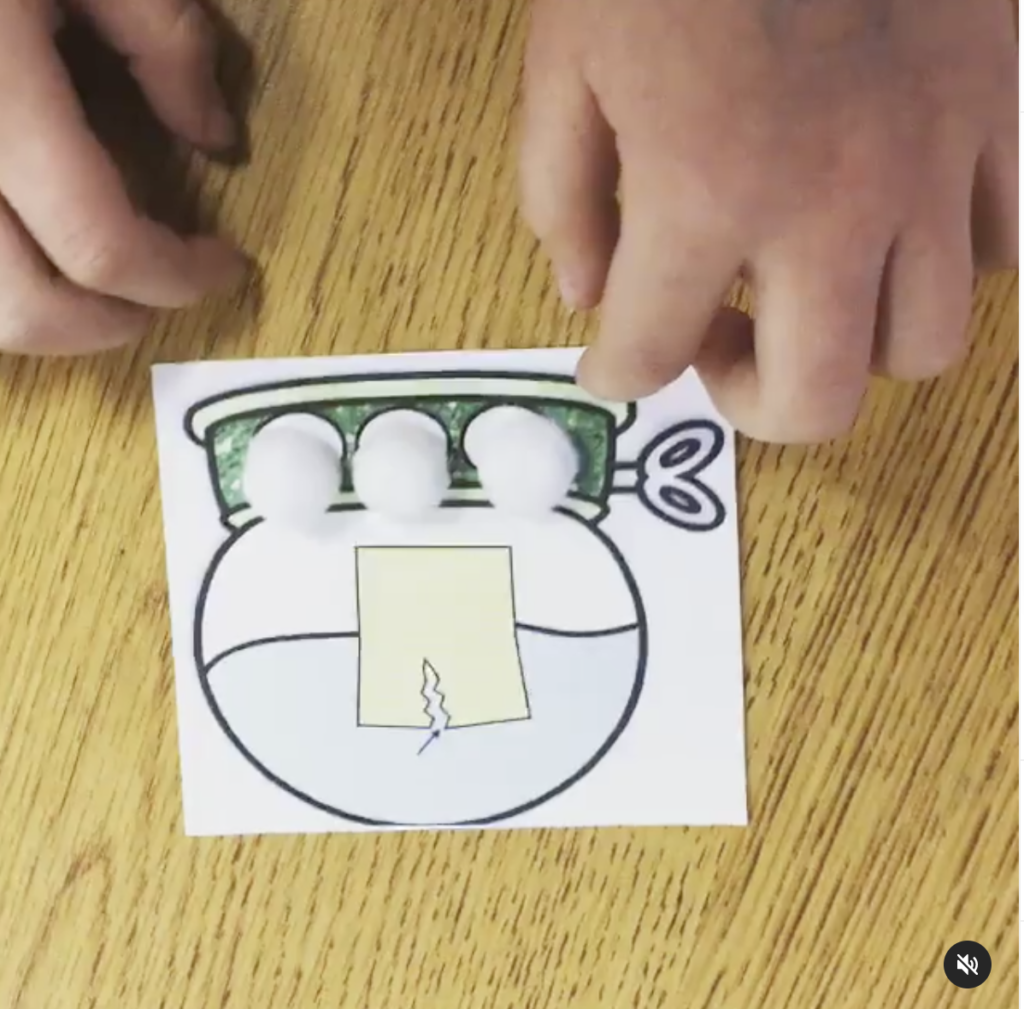
Even when my students get to the stage where they are sounding out words (both reading and spelling), I still work on phonemic awareness as a “warm-up”. When they are ready I move into more advanced skills, like deleting, adding, and substituting phonemes. More about that in another post!
For more resources and information about phonemic awareness, check out this phonemic awareness post.
Lesson Plans
I have updated my lesson plans and made them editable. I included a few different options. Click here to download this free template.
- In the sound symbol row I include:
- plans for teaching and practicing the new letter
- automaticity activity to review old letters
- In the Phonemic Awareness row, I include my plans for whatever it is that I’m focusing on with that group.
- rhyming
- Isolating Sounds
- Blending and Segmenting Onset and Rime
- Blending and Segmenting Phonemes
- The Phonics row changes depending on where I’m at during the year.
- It can include how I will take the letters they have learned and integrate spelling and decoding.
- This may just be me modeling if it is early on. For example, “You’ve learned the letters m, b, t, a, and s. You can make words with these letters. Let’s work together to make the word ‘at'”. Then, I would use letter tiles to show connect the sounds in “at” the letters.
- If it’s later in the year, it could be sound boxes and/or decoding 2-3 letter words using the letters they have learned so far.
- This is also where I put my plans for “mapping” words and word families. Click here to learn more about that.
- It can include how I will take the letters they have learned and integrate spelling and decoding.
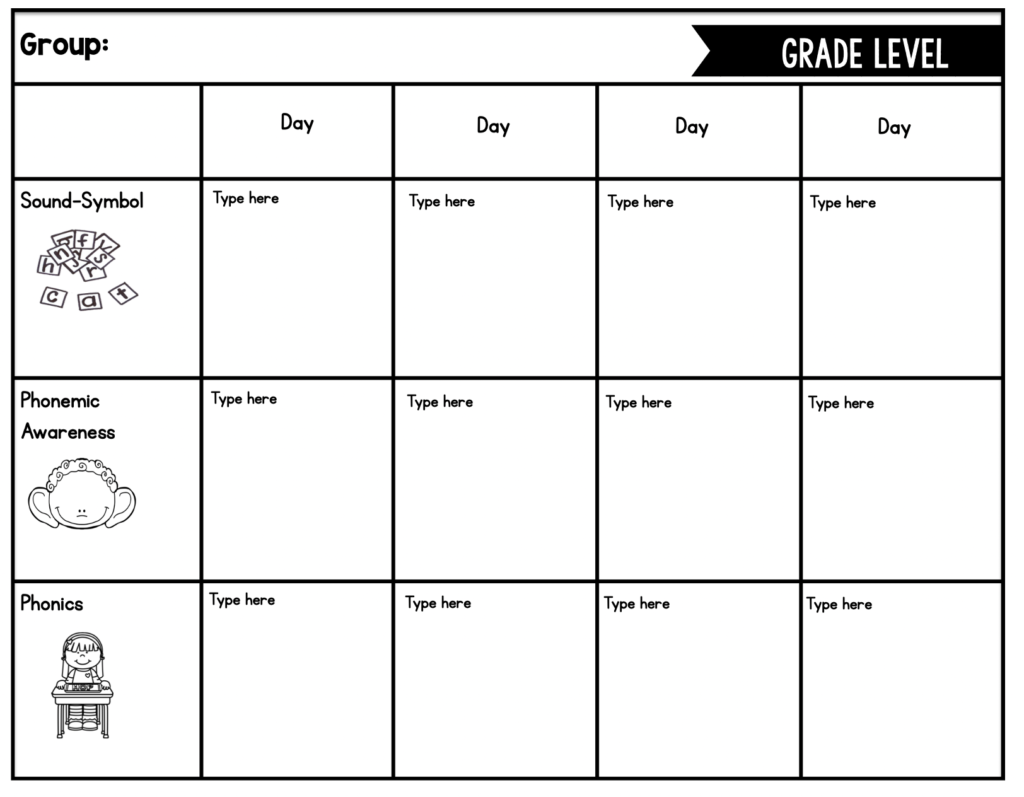
Later in the year, I will add in the row with Guided Reading. For me, guided reading doesn’t mean leveled texts. I use decodable readers now. To me, “guided reading” means reading connected text (even if it is just sentences and not books) with the guidance of a teacher.
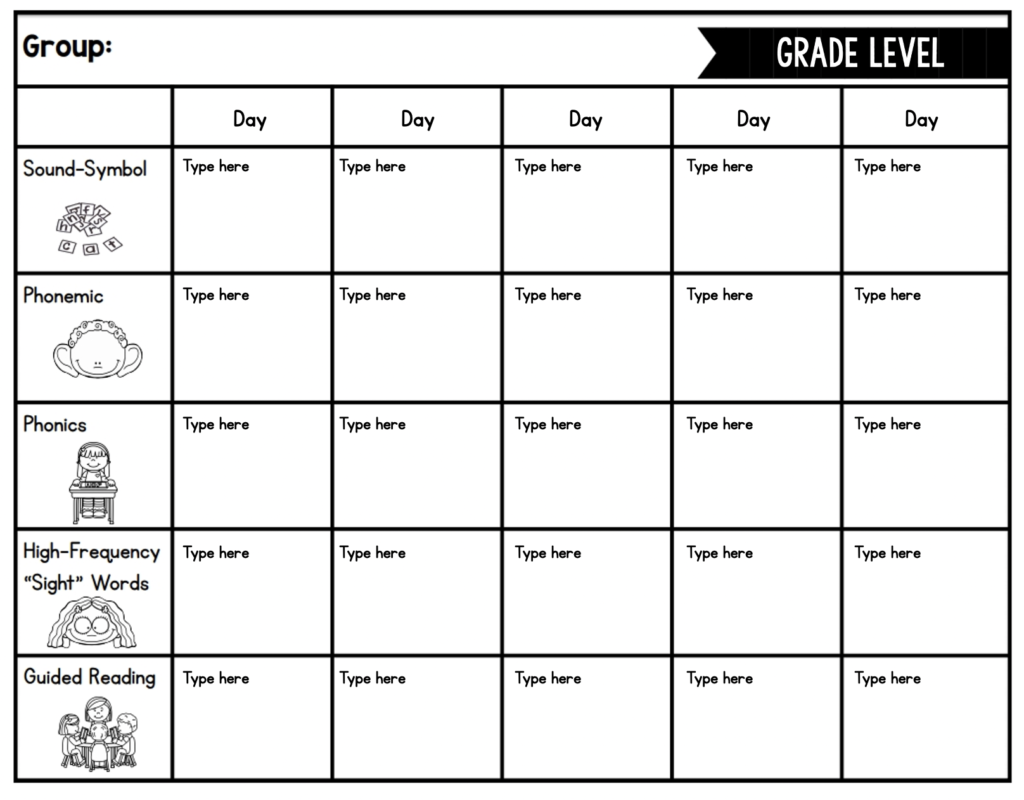
There is one version with the category “Sight Words” and one without. There are varying views on how to best teach sight words. Click here to read more about how I teach “sight words” (and why I put the words in quotes!)
Click HERE to download these editable lesson plans.
To read in more detail how I teach the alphabet, click here.
To see all of my resources for teaching the alphabet, click here.
To see all of my resources for teaching phonemic awareness, click here.
