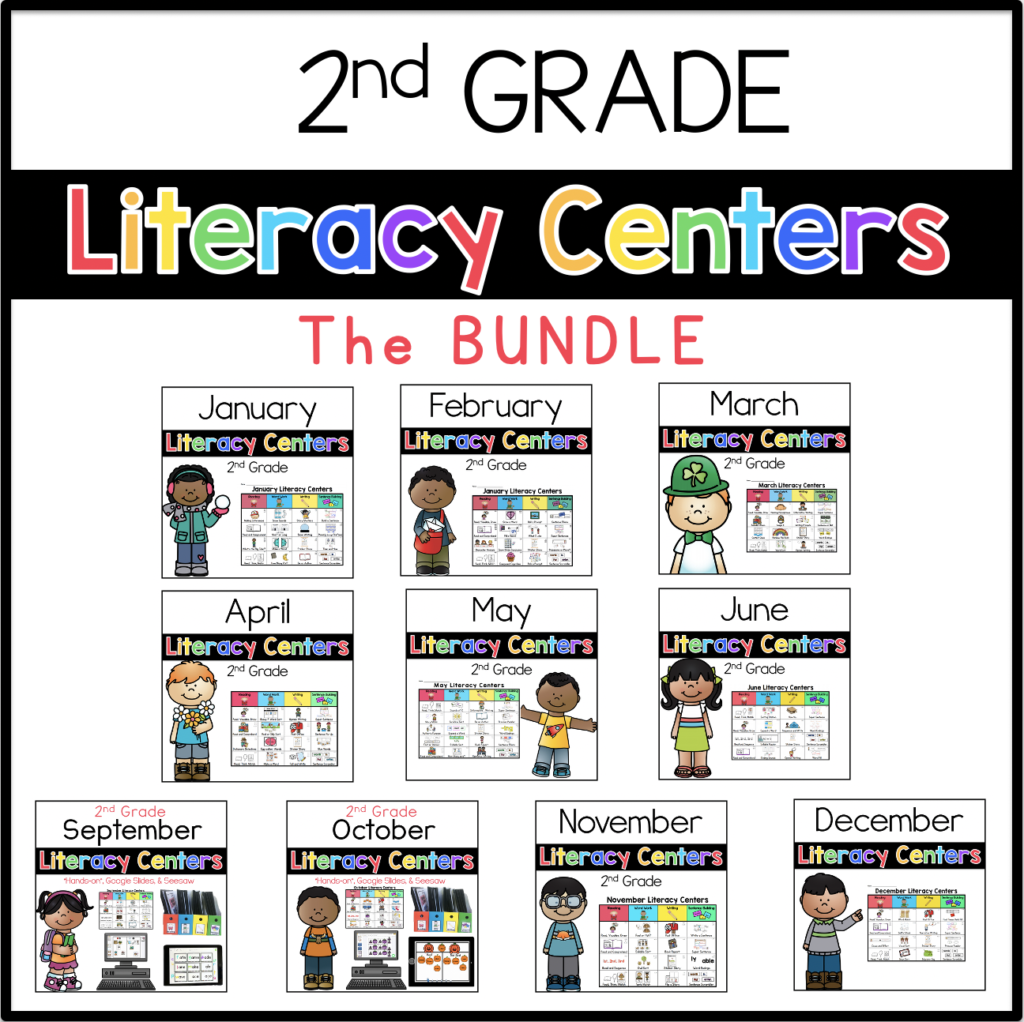
I’ve had a lot of questions about how I manage and introduce my literacy centers. I hope this post helps! It took me a few years to come up with this system, but once I did, my life was so much easier! For those of you who have followed me for a while, much of this is review. BUT you might want to skim this anyway because I did go into more detail in this post.
The Basics:
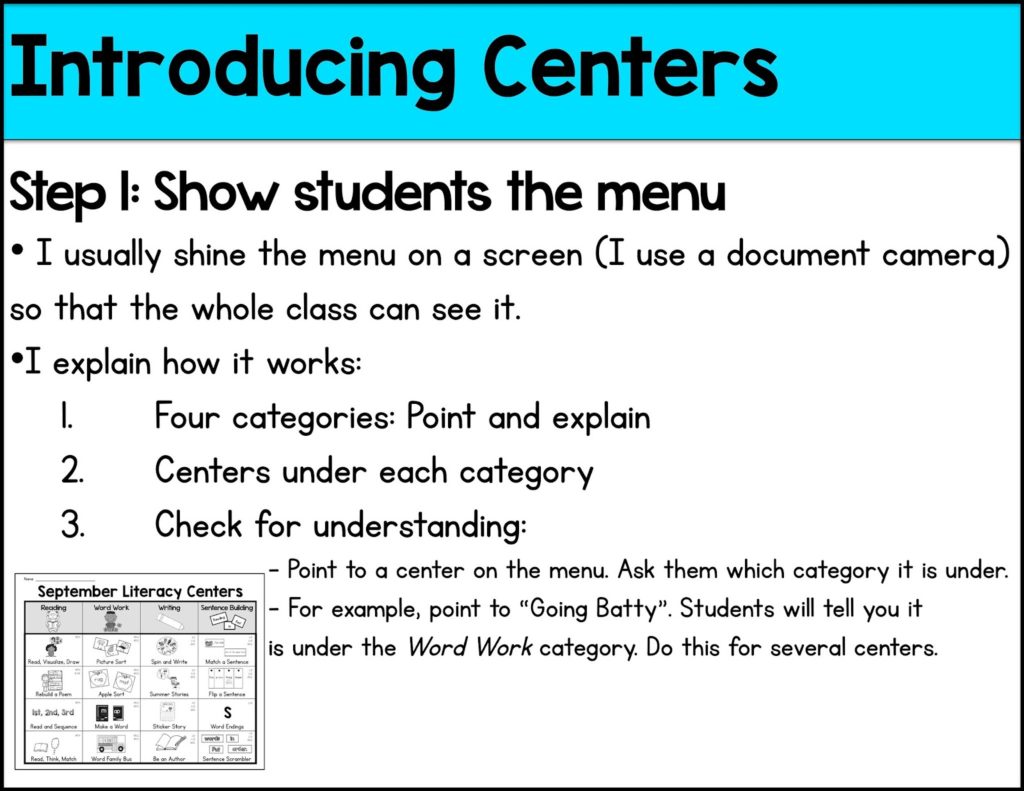
My centers are changed monthly because I couldn’t keep up with weekly changes. Each month, my students get their menu.
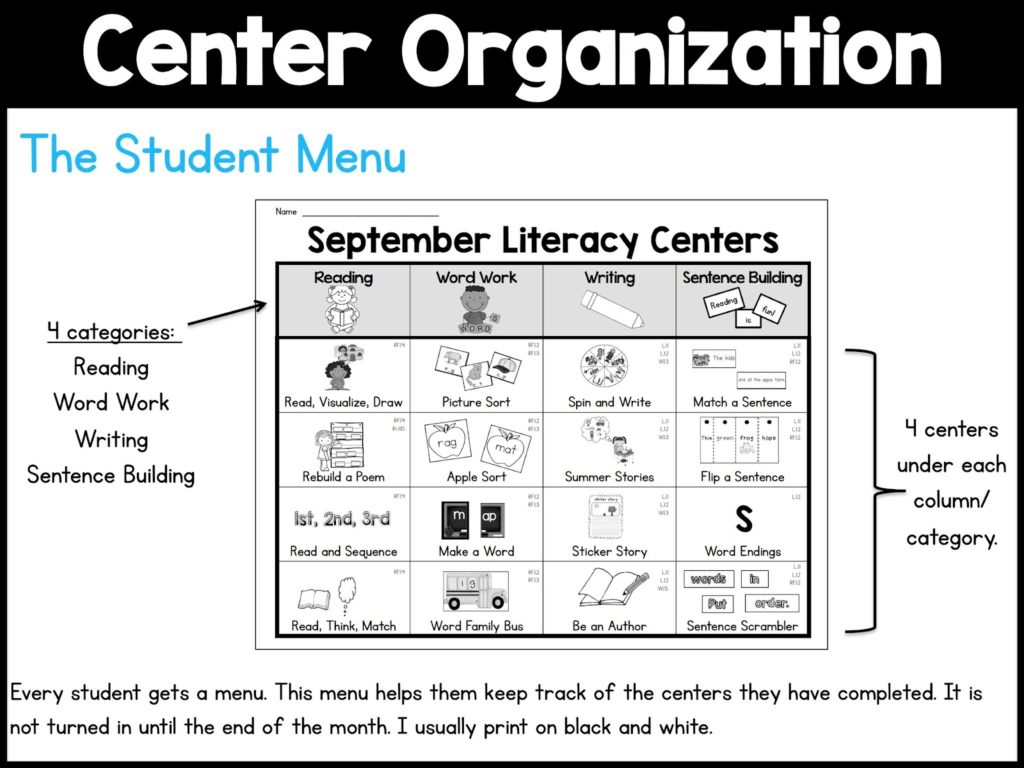
In the picture below you can see how the centers are organized in my classroom. I have a small classroom, so I knew I wouldn’t be able to do centers in a station-type set up because there just wasn’t any space. This takes up very little space in my classroom, which is part of why it worked for me!
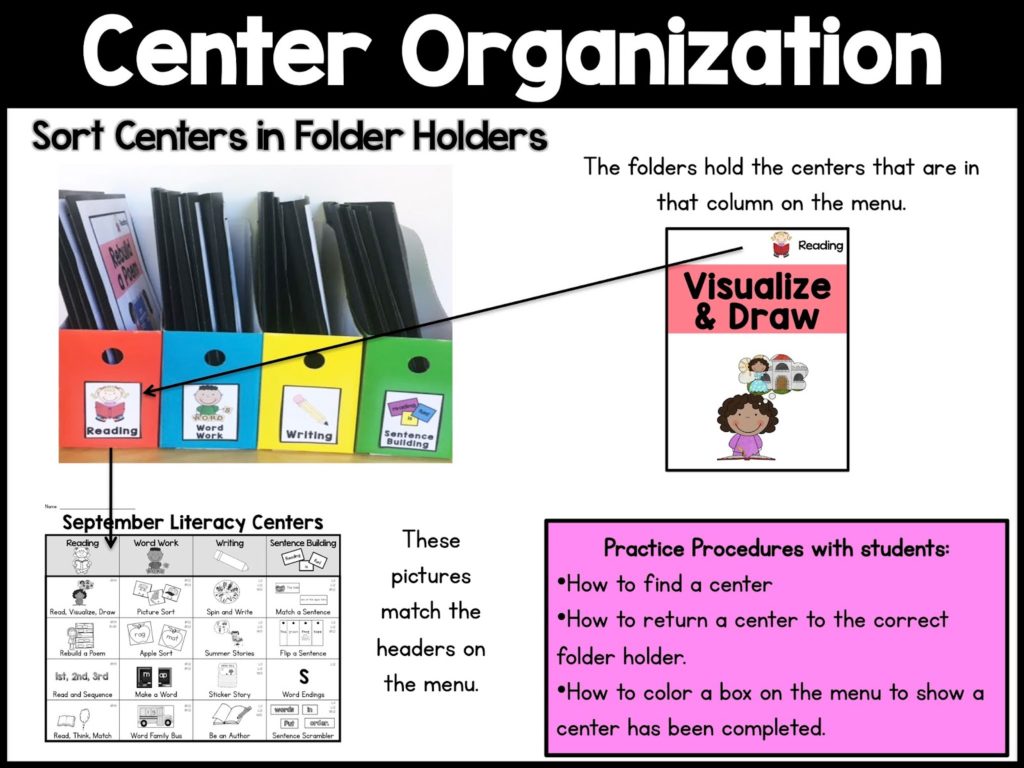
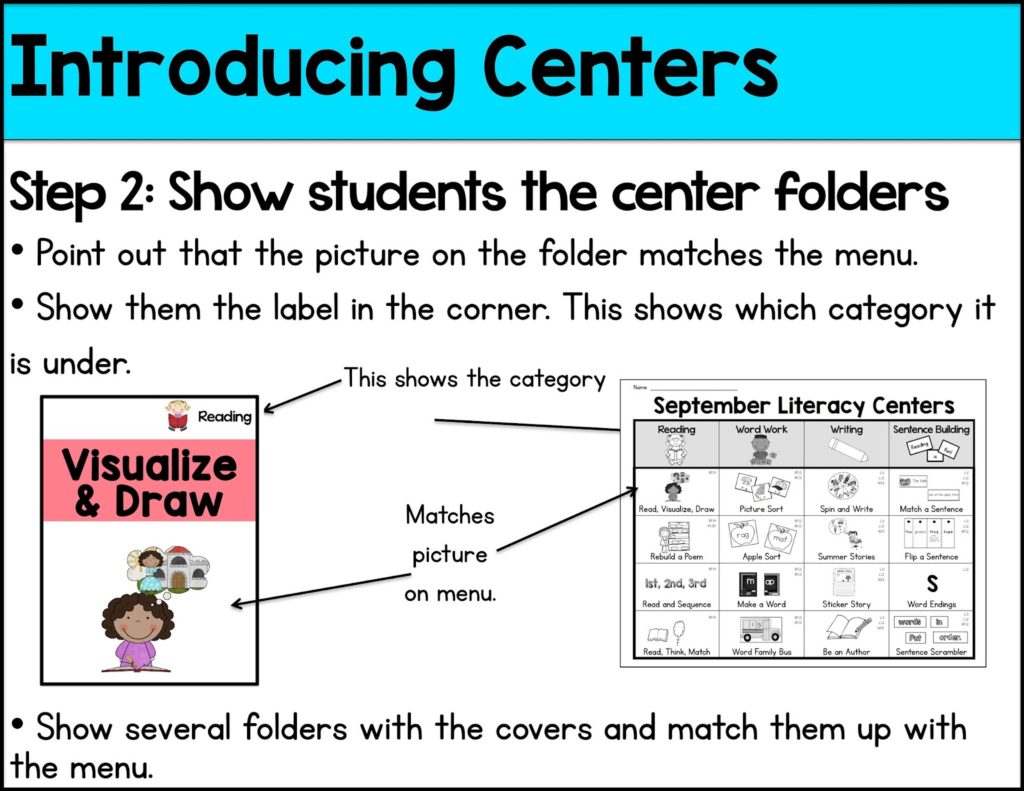
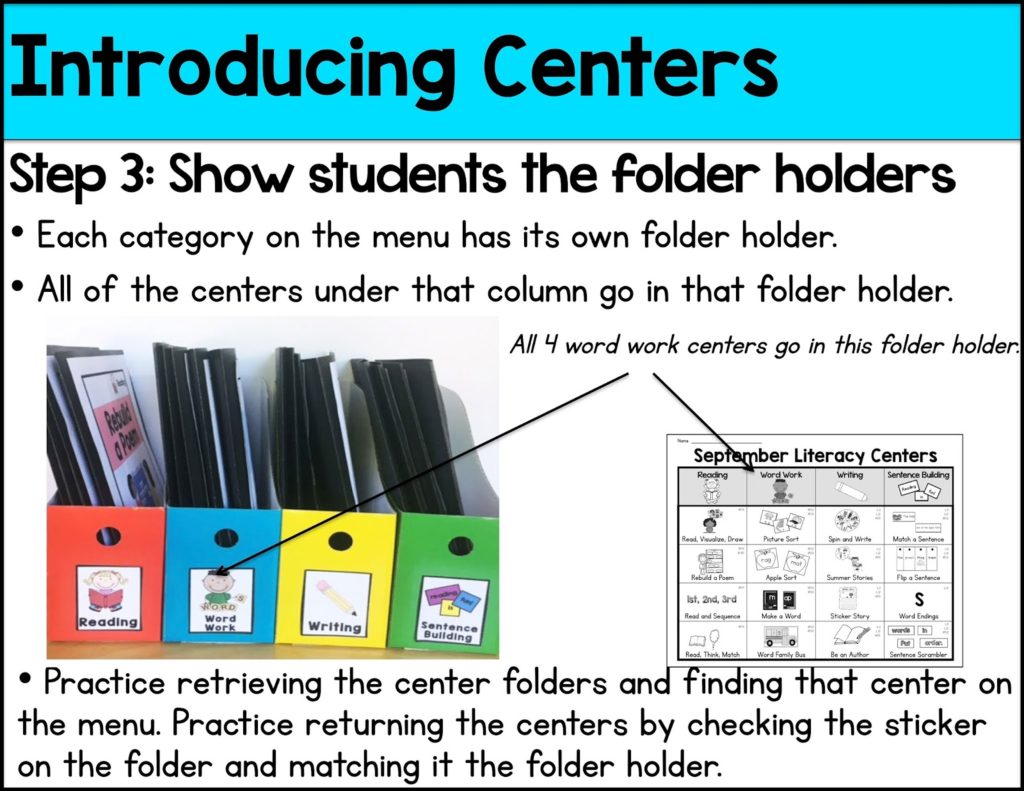
Notice in the picture above, that the center headings on the menus match the headers on the folder holders. Inside each folder holder are the centers that are under that column. The picture shows an example of a cover under reading. Read, Visualize, Draw is a reading center. There is a label on the cover to remind students which column it is under. That also tells them which folder holder to return it to.
After a students completes a center, they color in that center.
When it’s time to do centers, students will choose a center from the folder holders:
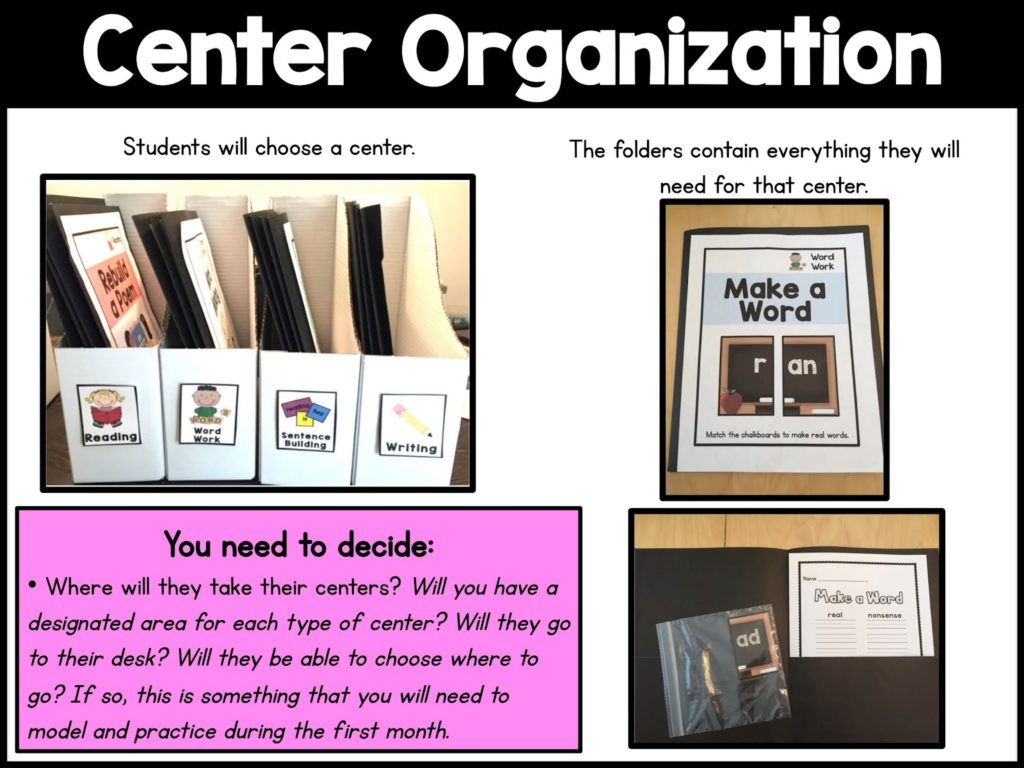
I make enough copies for each student to do the center, plus a few extras just in case. If there are extra copies at the end of the month, I just use those the next year. If there are pieces that go with that center, they will also be in that folder.
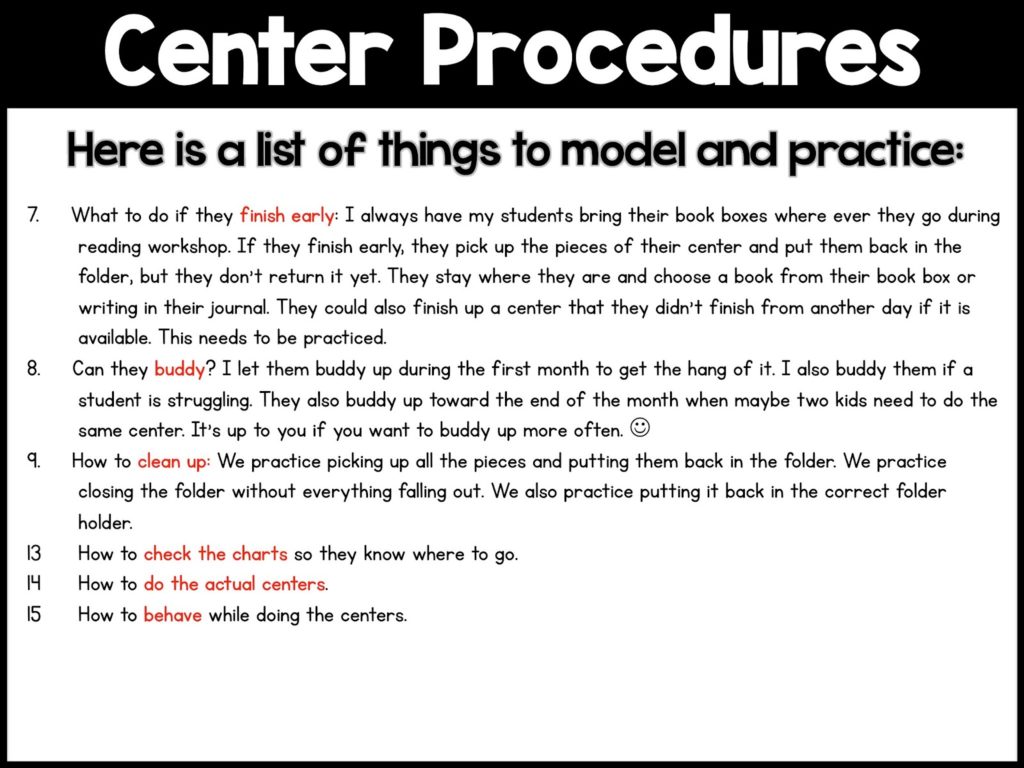
Students take that folder to their desk or a part of the room where they are working. I let my students choose a “successful” spot in the room. If you give them this freedom, there is a lot of modeling, practicing and role playing involved at the beginning of the year.
When it is time to rotate, they clean up the contents of the center and put it back in the folder. Then they return it to the correct folder holder. They can look at the sticker in the corner if they can’t remember which folder holder to return it to.
Their completed student sheet can go in one of two places:
1. You could have them turn it in and then you hang on to it until the end of the month in a filling system.
2. They can put the completed worksheet in their personal center folder. They will also put centers that aren’t quite finished in their center folder so they can return to it later.
All students get a center folder if you choose option #2:
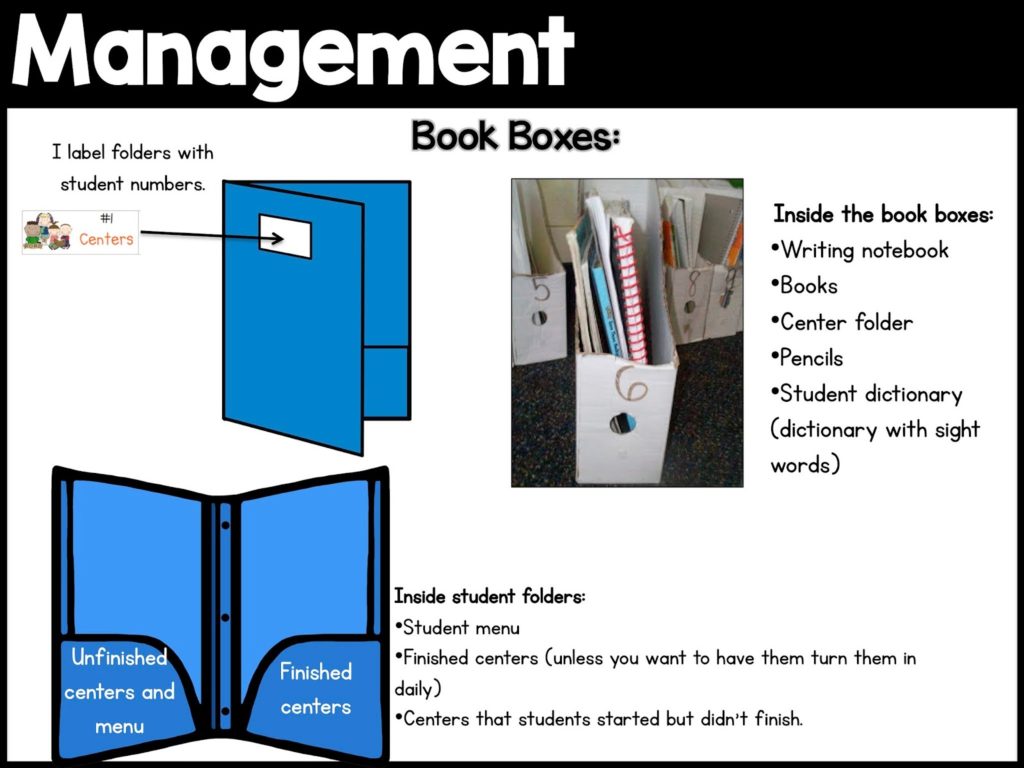
Also in their book boxes are books, writing notebook, and a pencil.
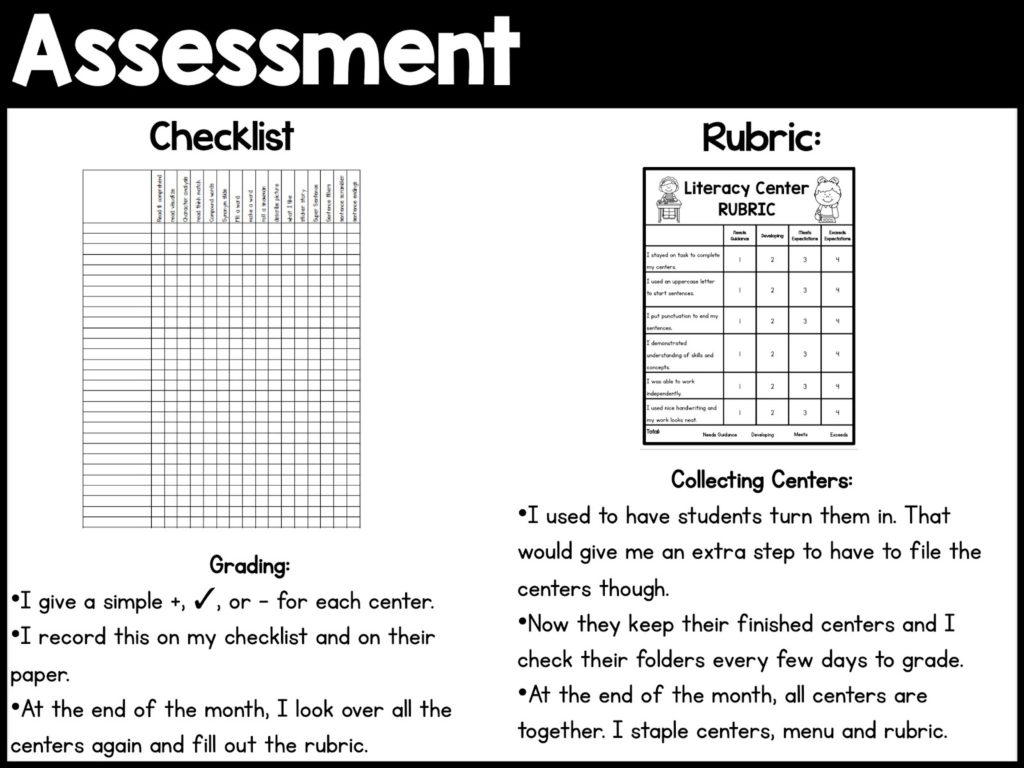
If you choose option #2, you will want to check their center folders throughout the month to make sure they are on track. You will also want to grade them throughout the month so that you don’t have TONS to do at the end of the month. I would check their folders weekly, grade the finished centers, and check them off on my checklist. Then I could see who was on track and who wasn’t.)
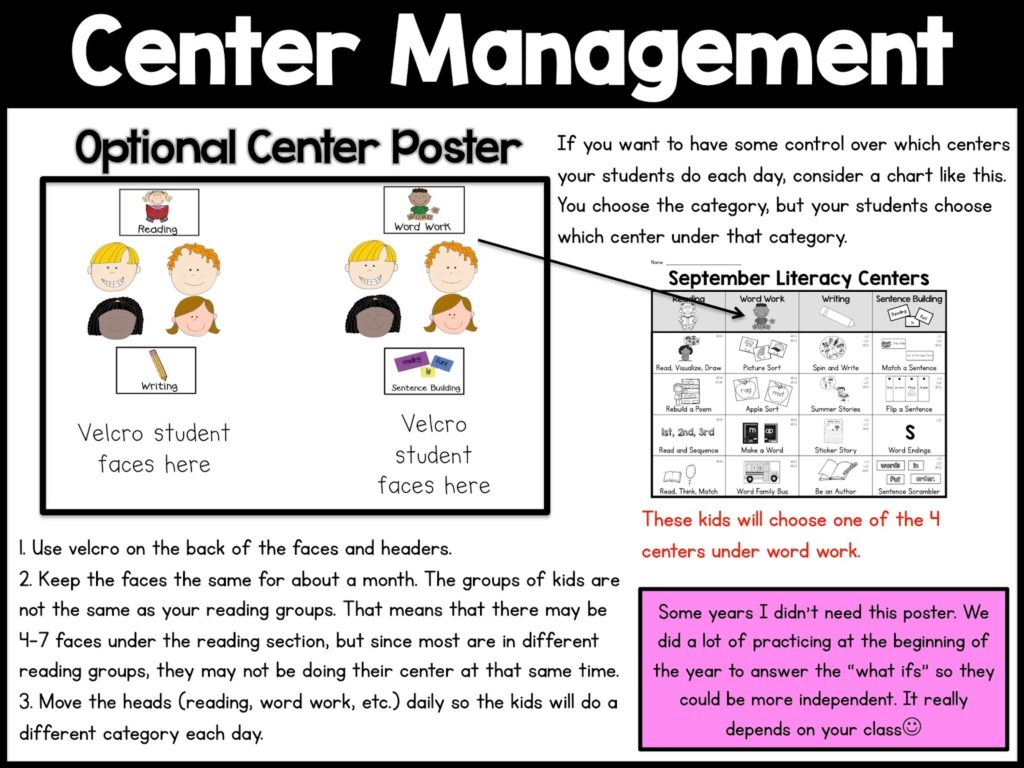
If you want to have a little control over which centers your students will do that day, you could use a poster like this:
Storage
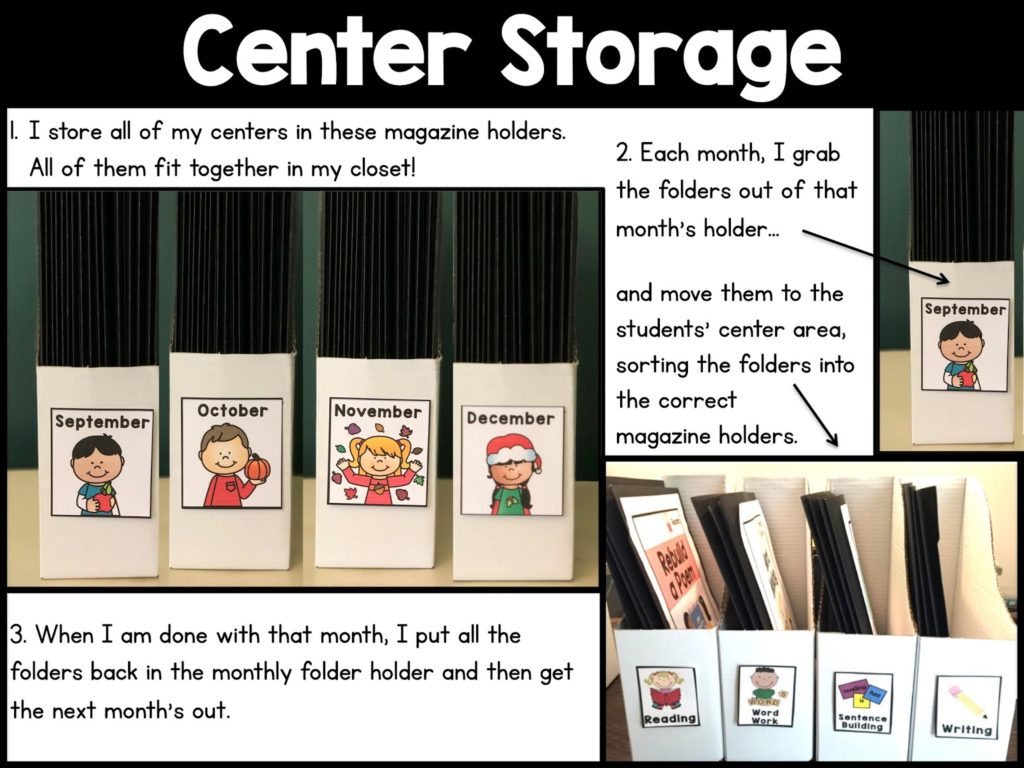
Here is how I store my centers throughout the year:
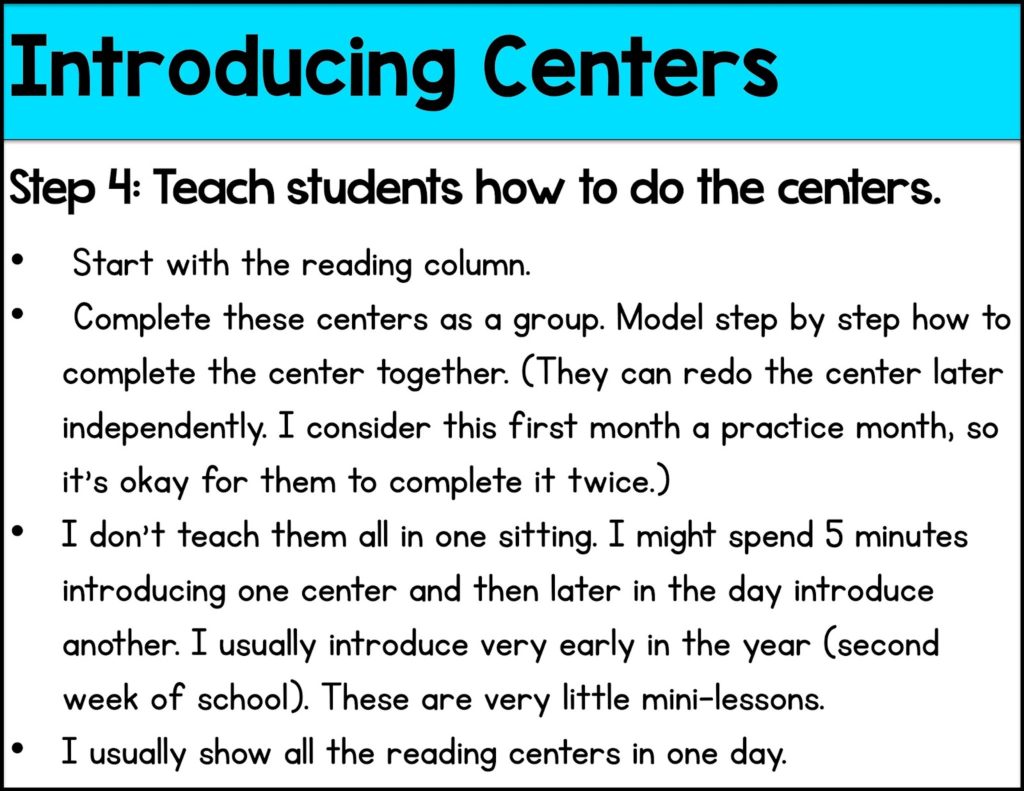
Getting Started:
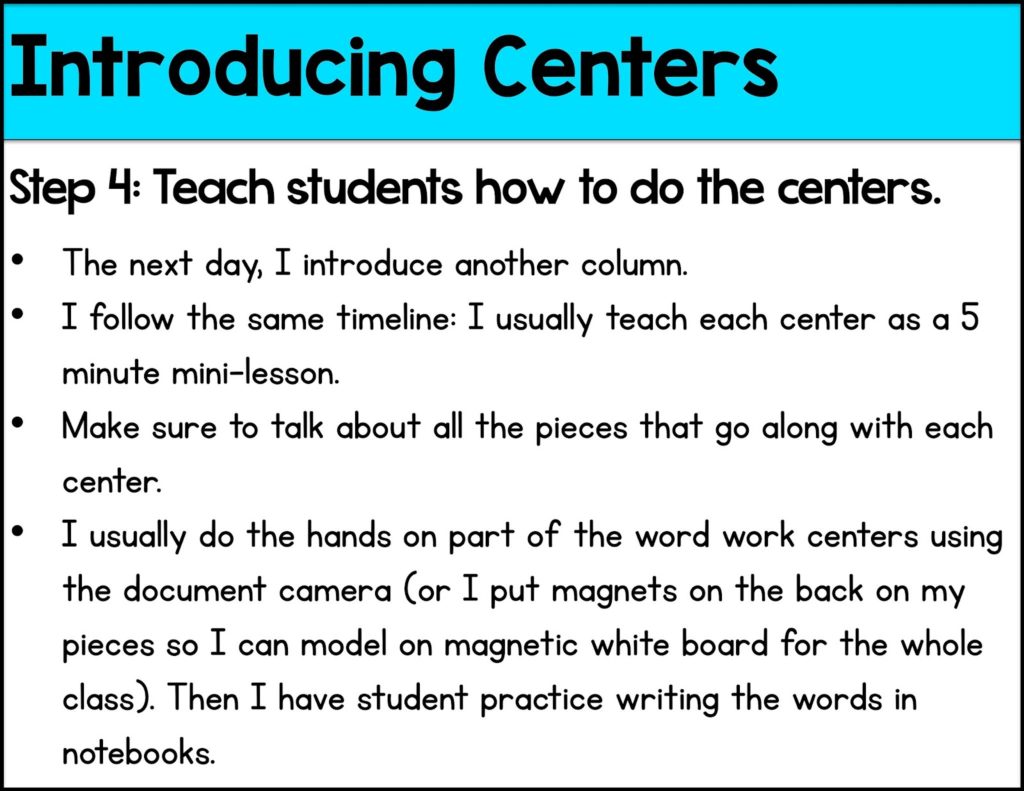
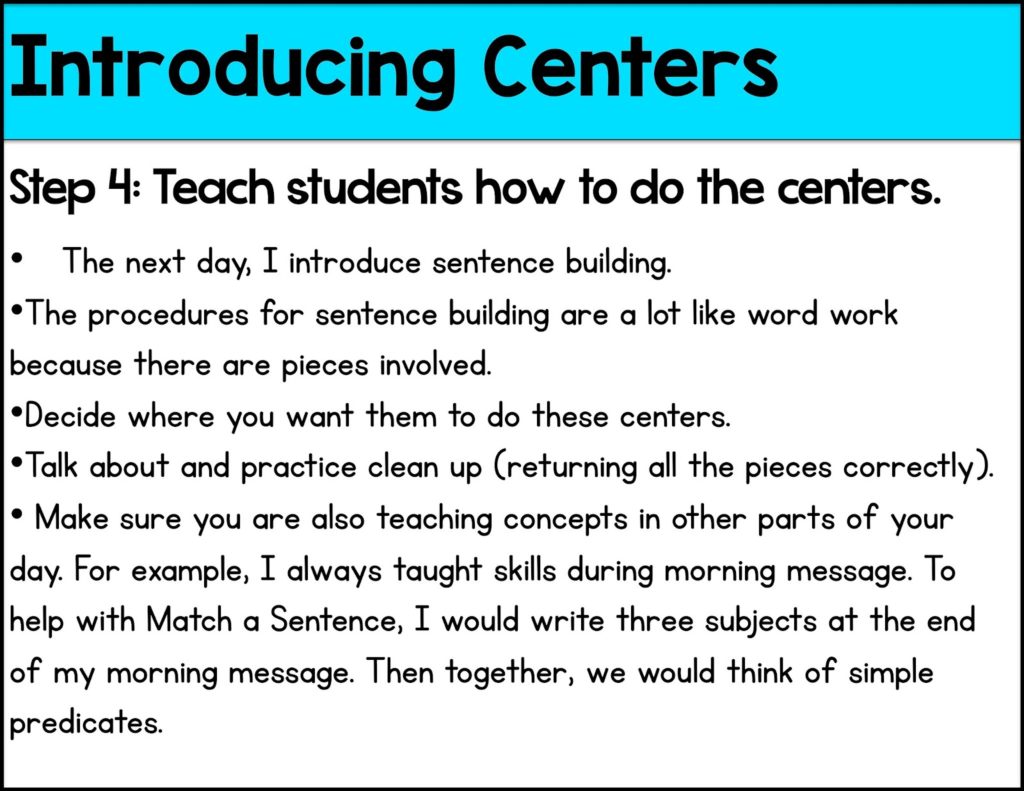
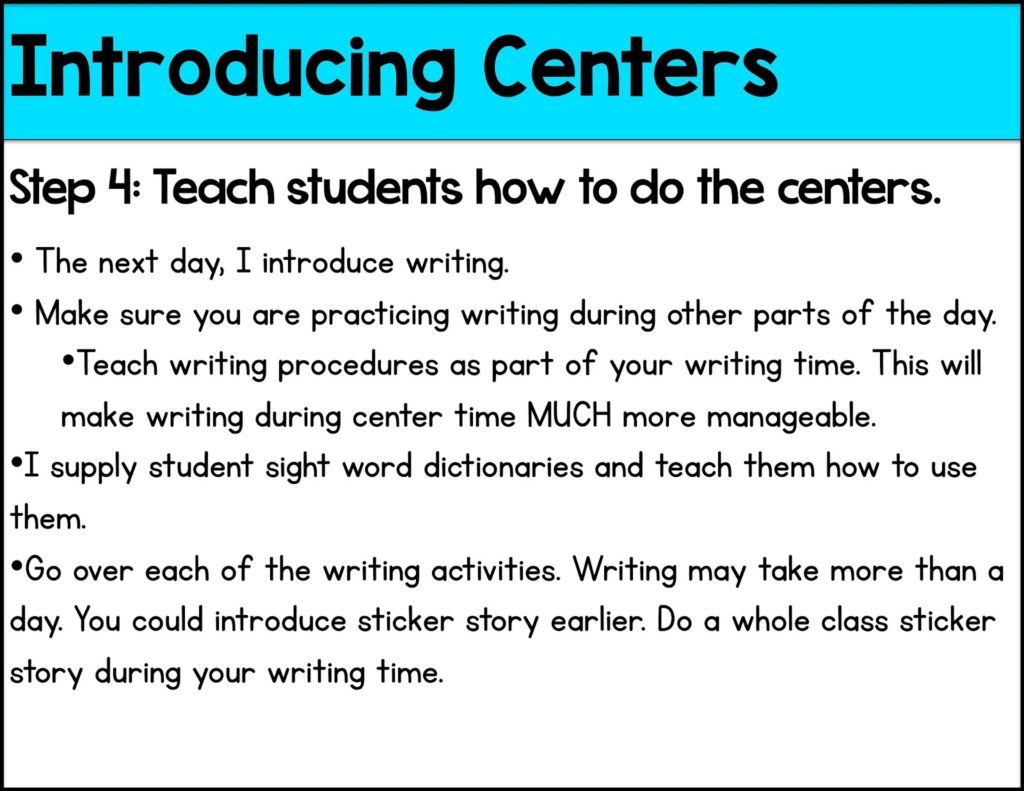
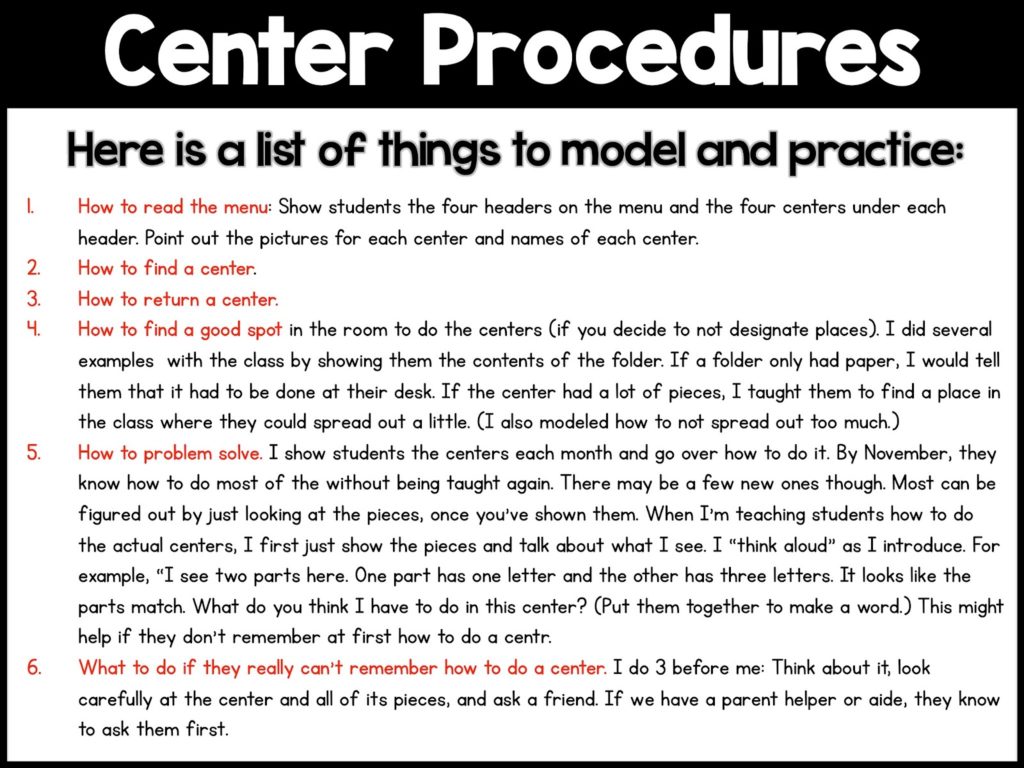
Odds and Ends:
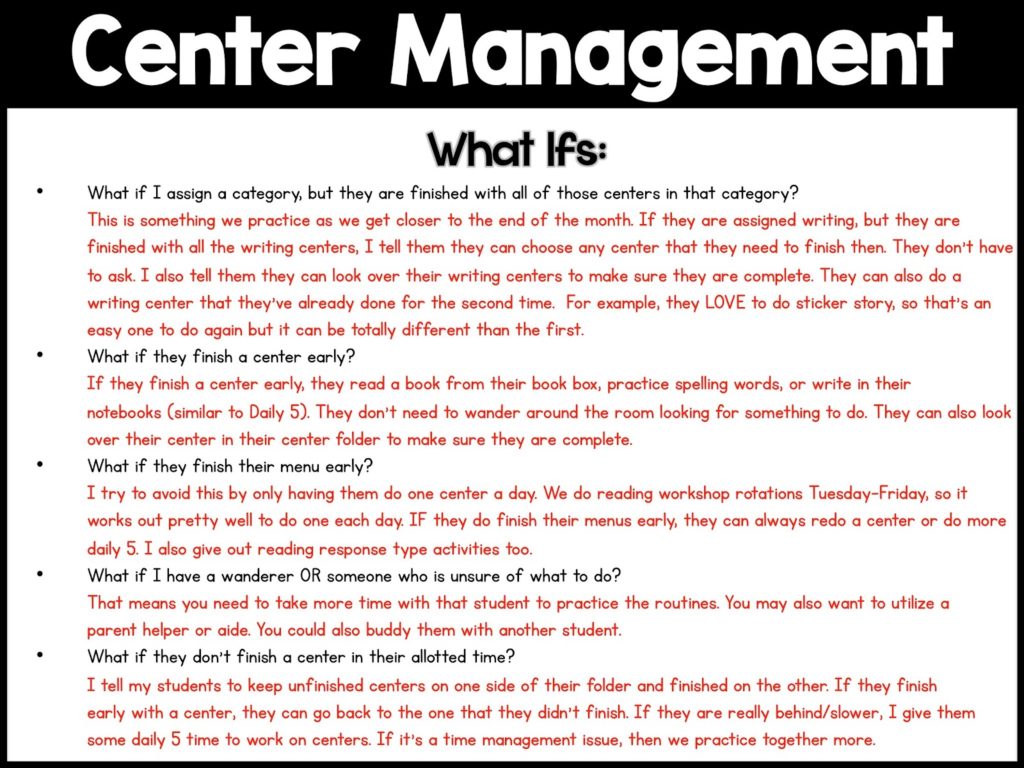
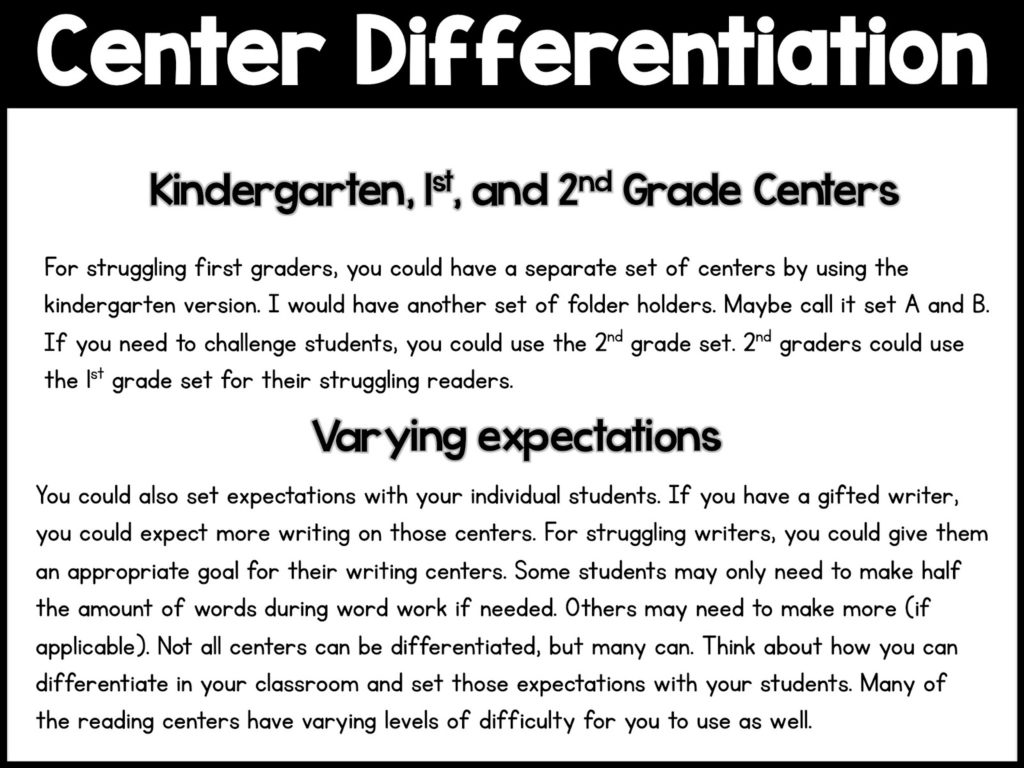
Centers are just ONE piece of my Reading Workshop. I also do Guided Reading and a version of Daily 5. By “Daily 5”, I mean that I took many of the principals of Daily 5 for the other rotations. I also call it “Free Choice”. Basically, it’s students’ independent reading, writing, listening to reading, or buddy reading. This is where they choose what they read or write, Daily 5 style.
Click on the picture below to go to an older post explaining this in detail:
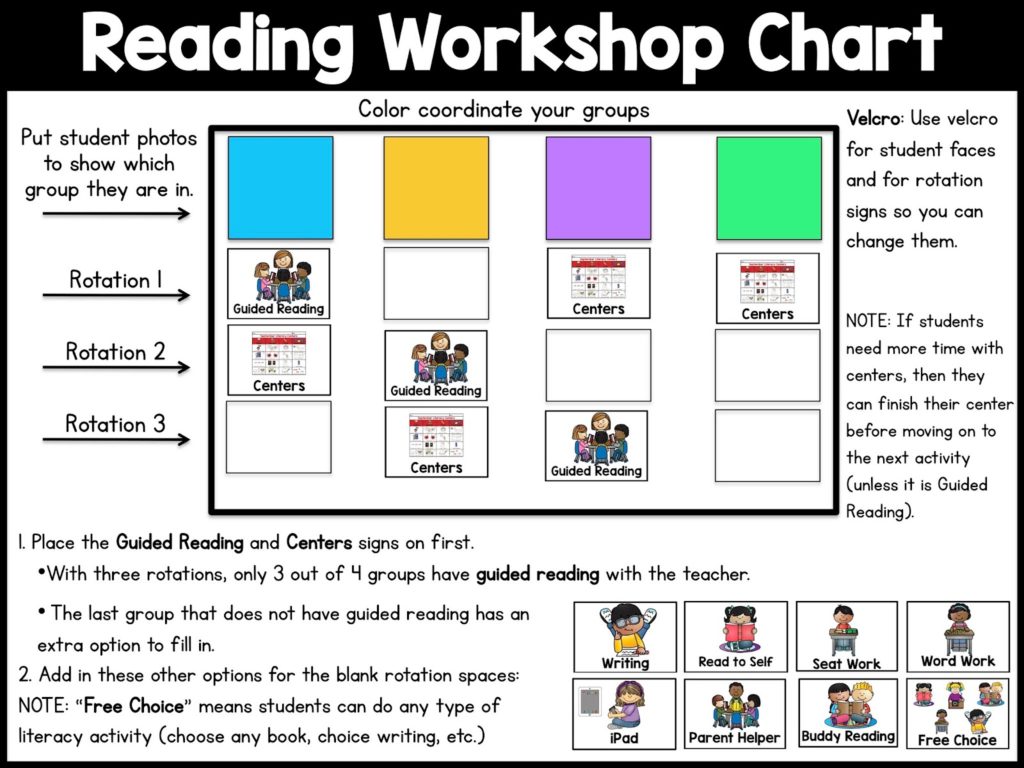
Those pictures at the bottom are examples of choices for “Free Choice” to fill in the other rotation spots.
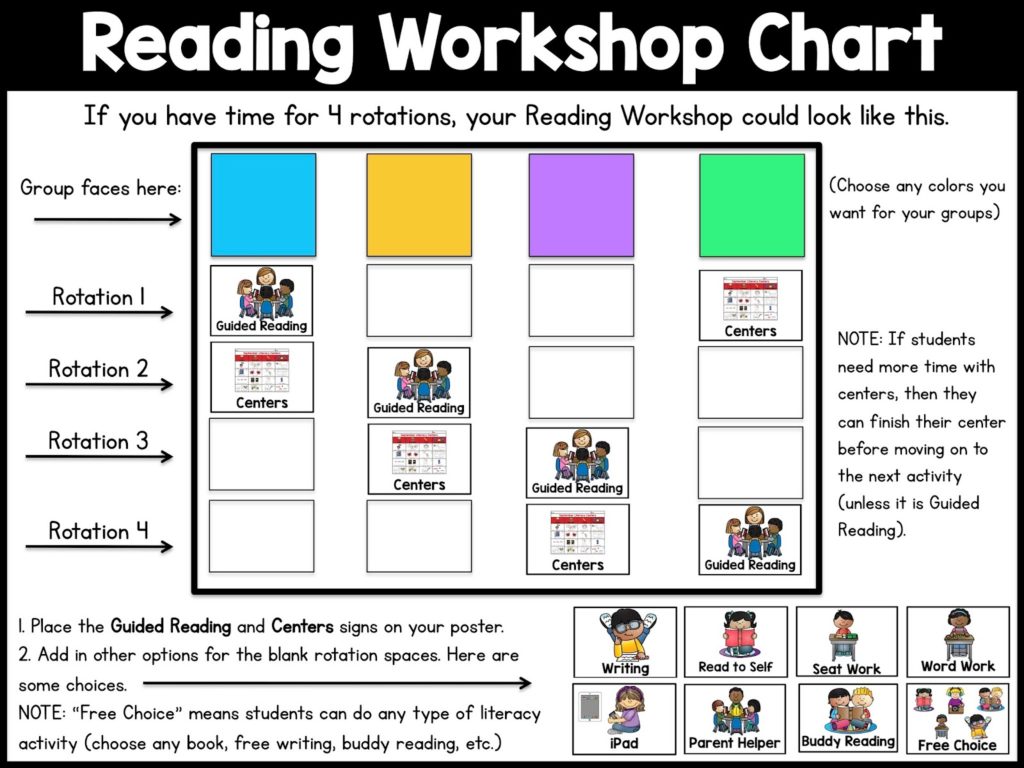
I hope this post gives you some insight and stirs some ideas for you in your classroom.
Click HERE for 1st Grade Centers .
Click here for 2nd grade Centers.
