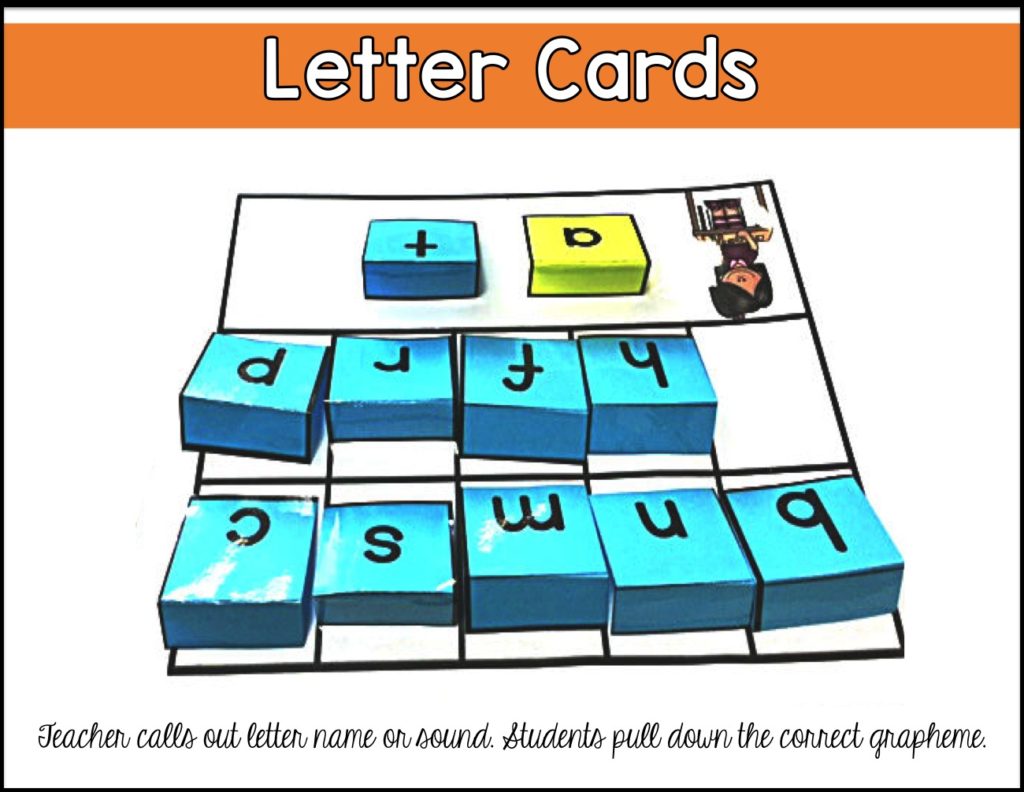
- Do not introduce visually or auditory similar letters together. (b and d, m and n, p and b, h and r, n and r are visually similar and d/t, f/v/ b/d/p, k/g, m/n are auditory similar.) Make sure there are a few letters in between the similar ones, especially b and d.
- Introduce more useful letters first. These are the letters that you use more in words.
- Introduce one sound at a time for each letter. This may also be controversial, but I feel like our struggling readers already have a hard time remembering one sound per letter, so adding multiple sounds gives them additional confusion.
- Be systematic and explicit about how and when I teach them. Get a sequence that works for you and stick with it. It’s always good to have them learn the letters in their name first, but in a small group, I use a pre-deterined sequence.
- Rate: Your rate will depend on your students. I have worked with kids who can keep a consistent pace of introducing a few new letters every couple weeks. I’ve also had groups where it took much longer. The key is not to add too many new letters until they have mastered the ones you have already introduced. I introduce the letters in tiny groups, not necessarily one at a time. I introduce 3-4 at a time, upper and lower case. (But in the very beginning with my most intensive intervention groups, I may pull back and just start with 2.) We do several activities with these letters, then I introduce another set.
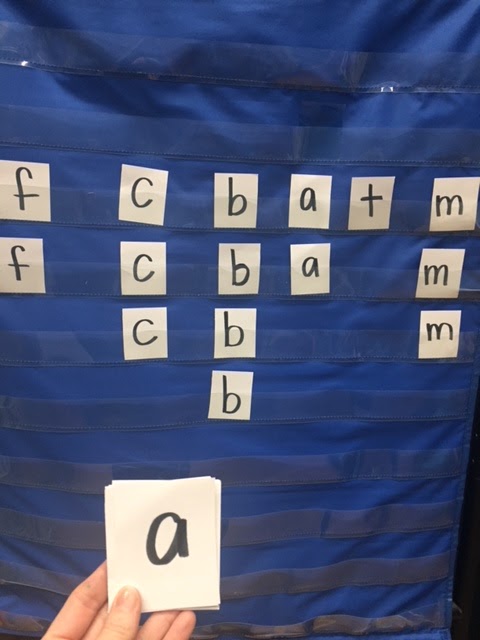
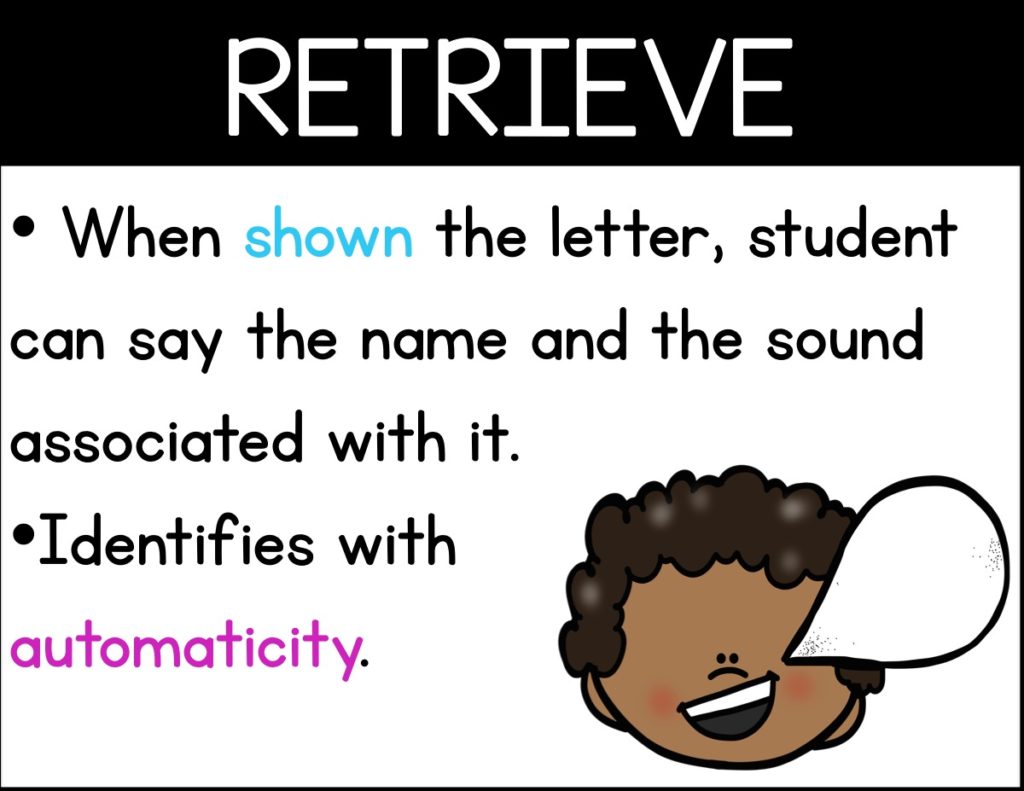
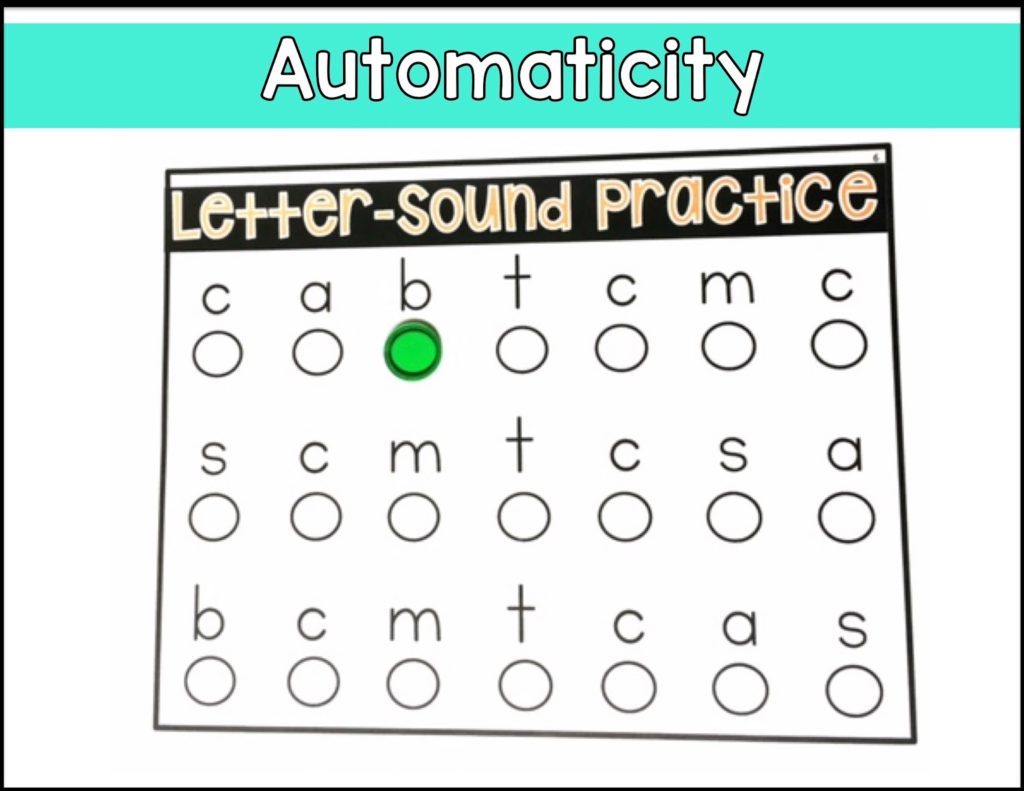
- Always review the previously learned letters. Every. single. day. Once I start a new set of letters, I begin the day reviewing the previously learned letters. I mix them into activities as well. There are two reasons for this: (1) It gives them confidence to see those letters they know. (2) Your intensive intervention groups are likely to forget things they’ve learned recently. (3) We want them to increase automaticity with their letter identification.
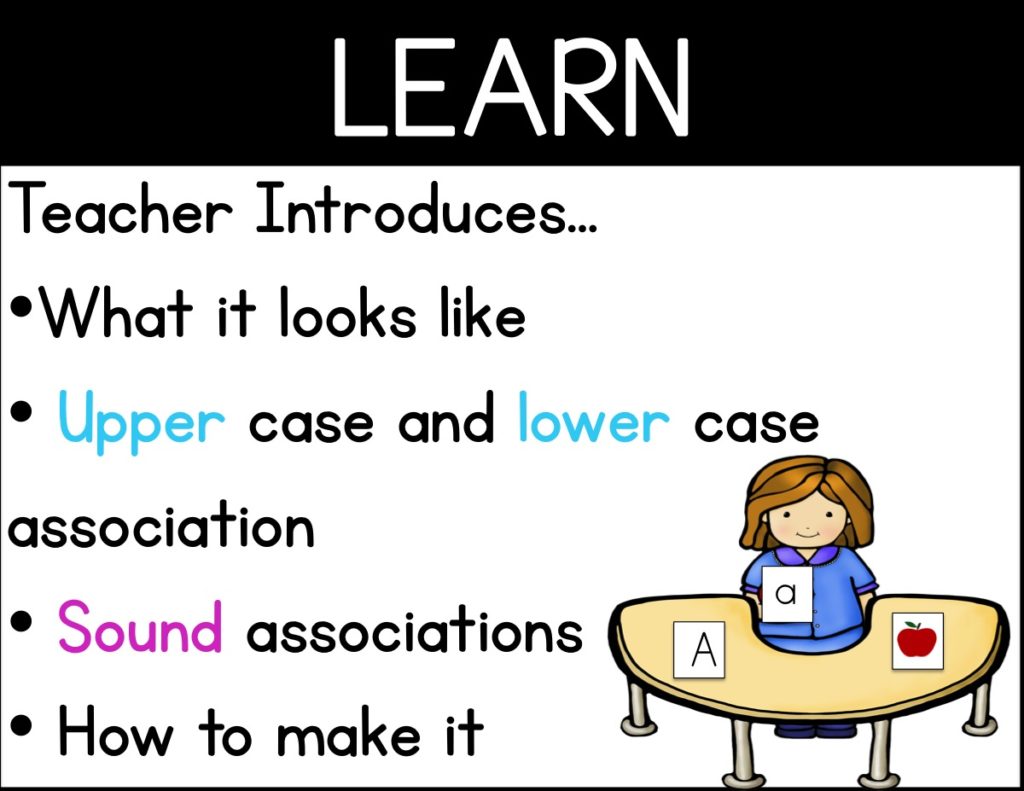
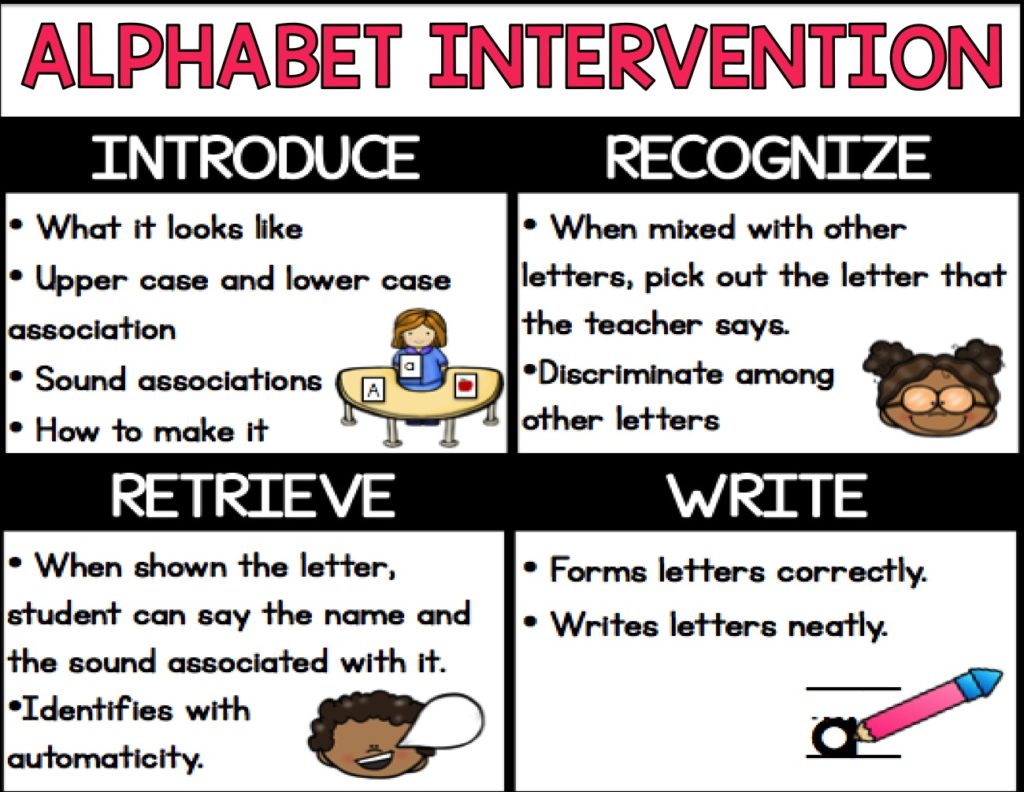
When I introduce a letter…
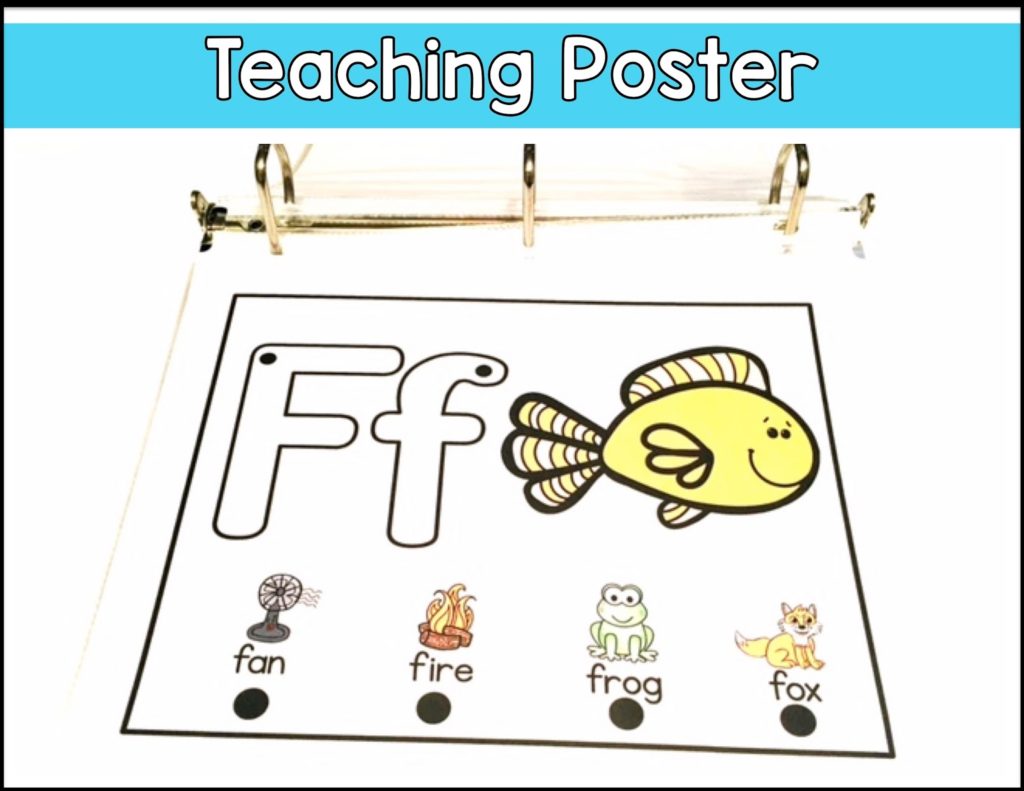
- I show a visual of the letter and tell students the sound it makes. I like to have a physical movement that goes with it. For example, with T, they tap their pointer finger onto their palm and say /t/. For B, we do a little baseball bunt (small movement) while we say /b/.
- I also talk about what my mouth, tongue and lips do when I make the sound.
- We determine if it is a stopping sound or a stretching sound (T is a stopping sound while A is a stretching sound.)
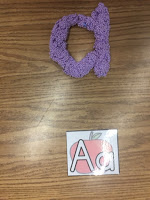
- I talk about what the letter looks like and use pieces to build it. (I have magnetic alphabet pieces like the ones you can get here but you could use pipe cleaners or wikki sticks too.) For example, I point out that a T has a tall straight line and a smaller horizontal straight line.
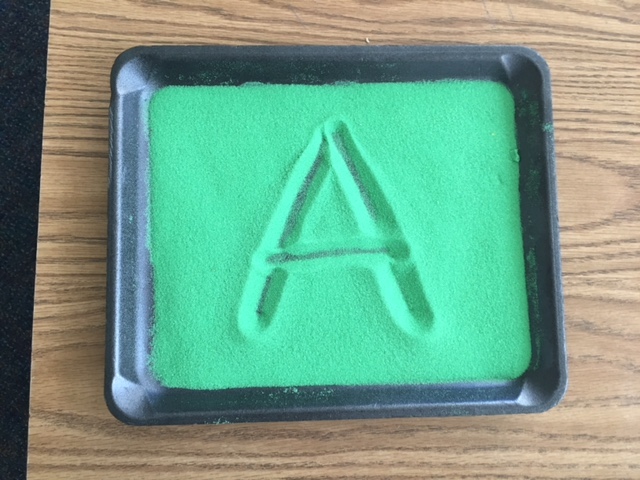
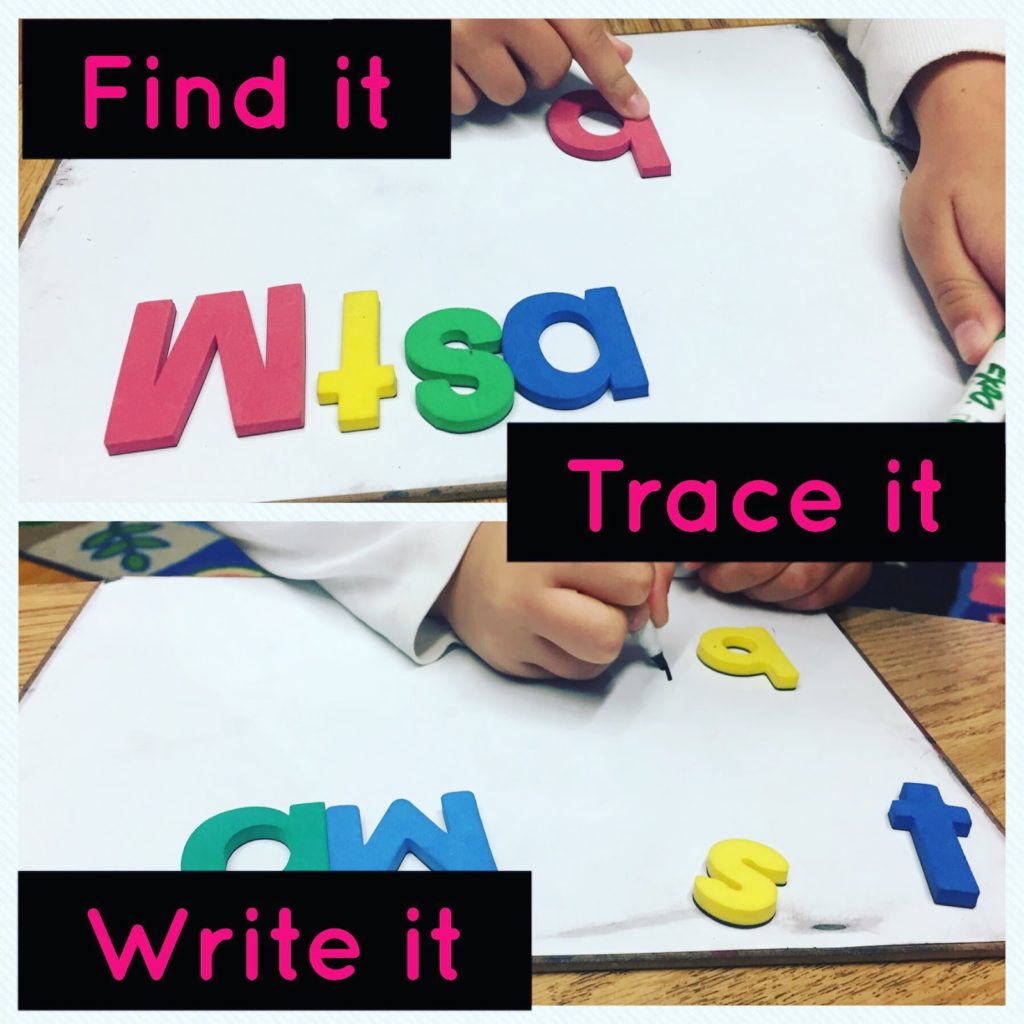
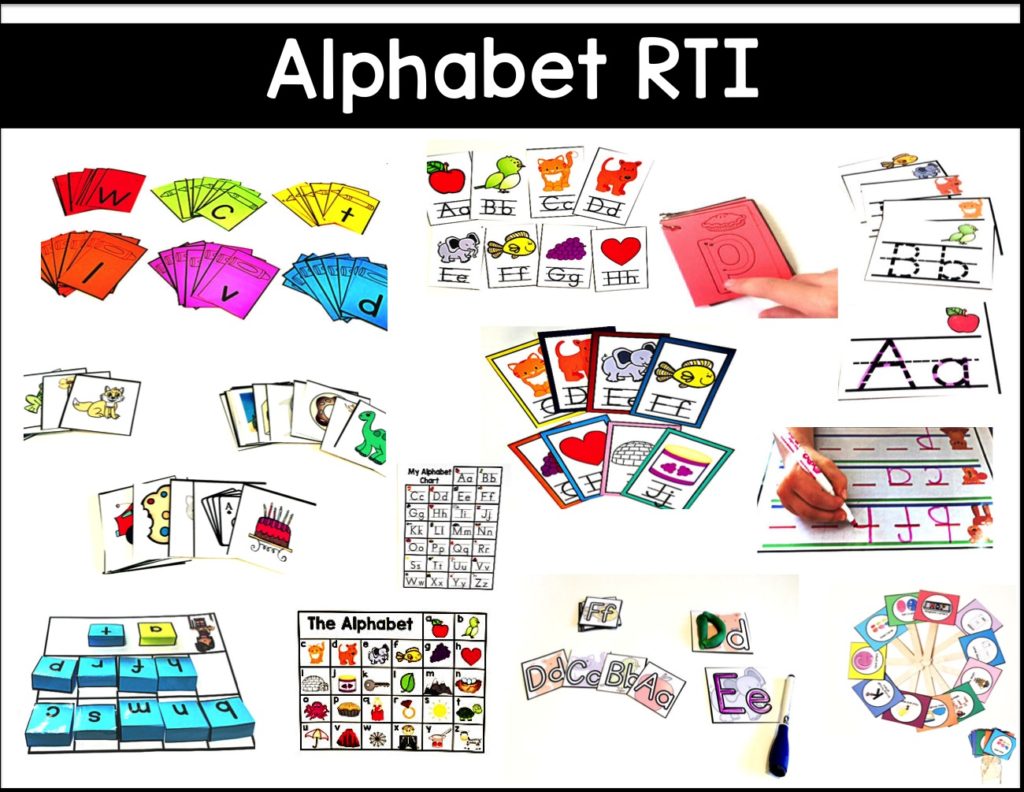
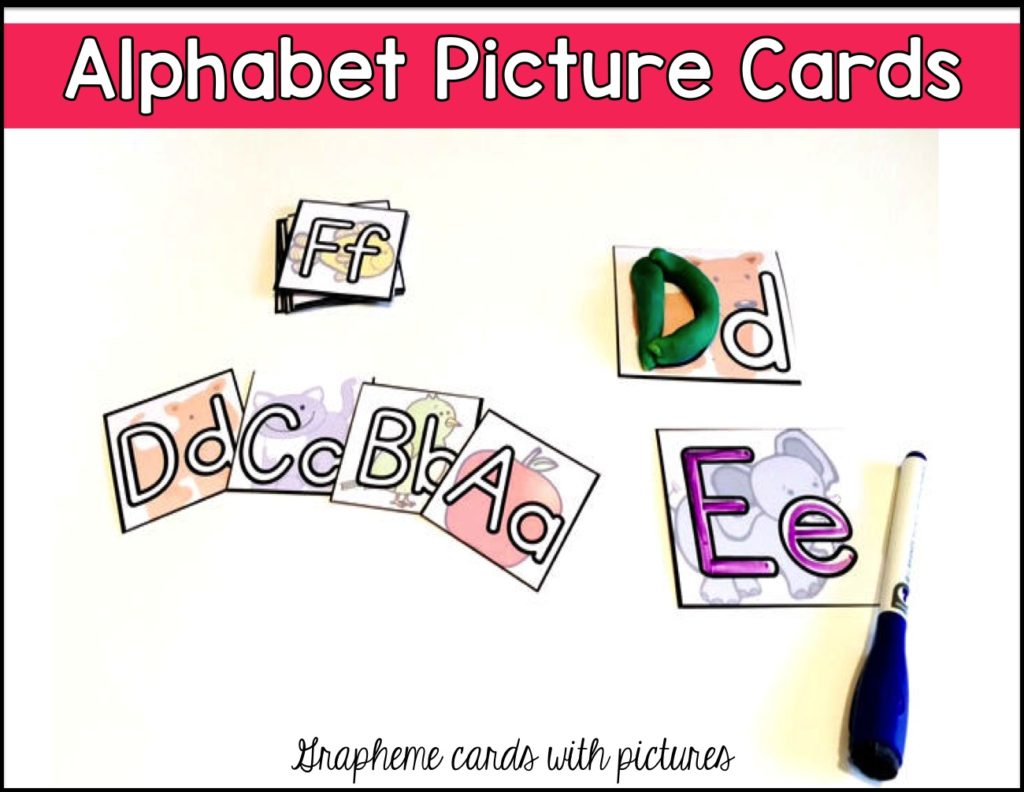
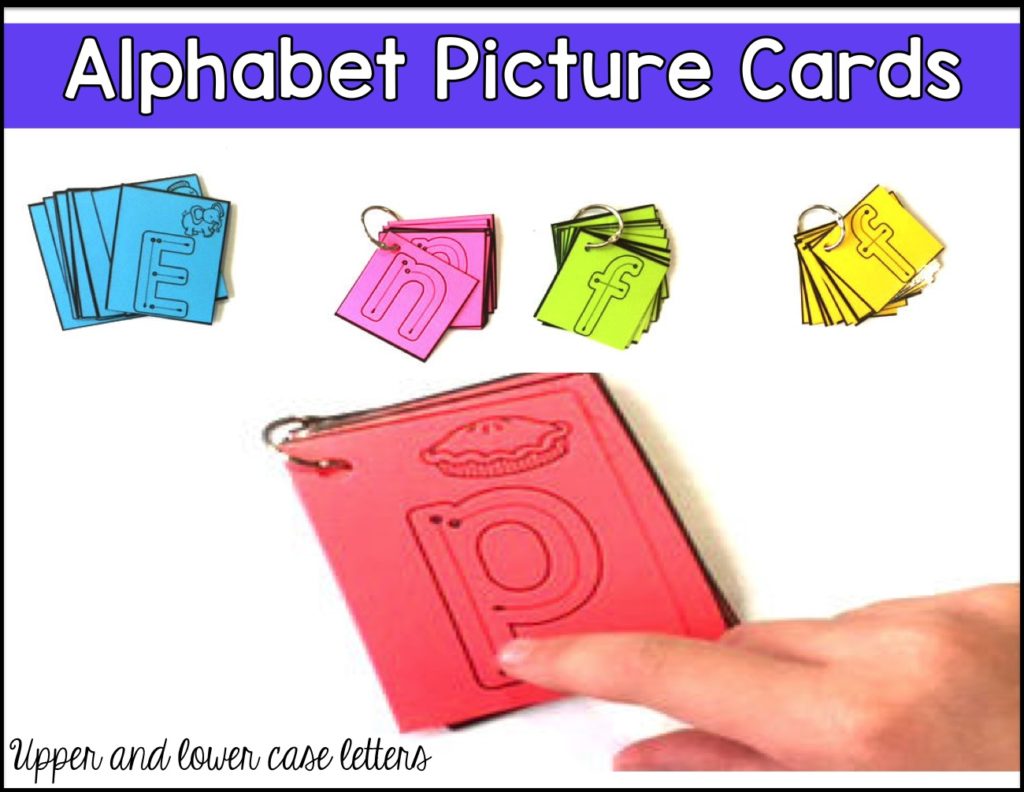
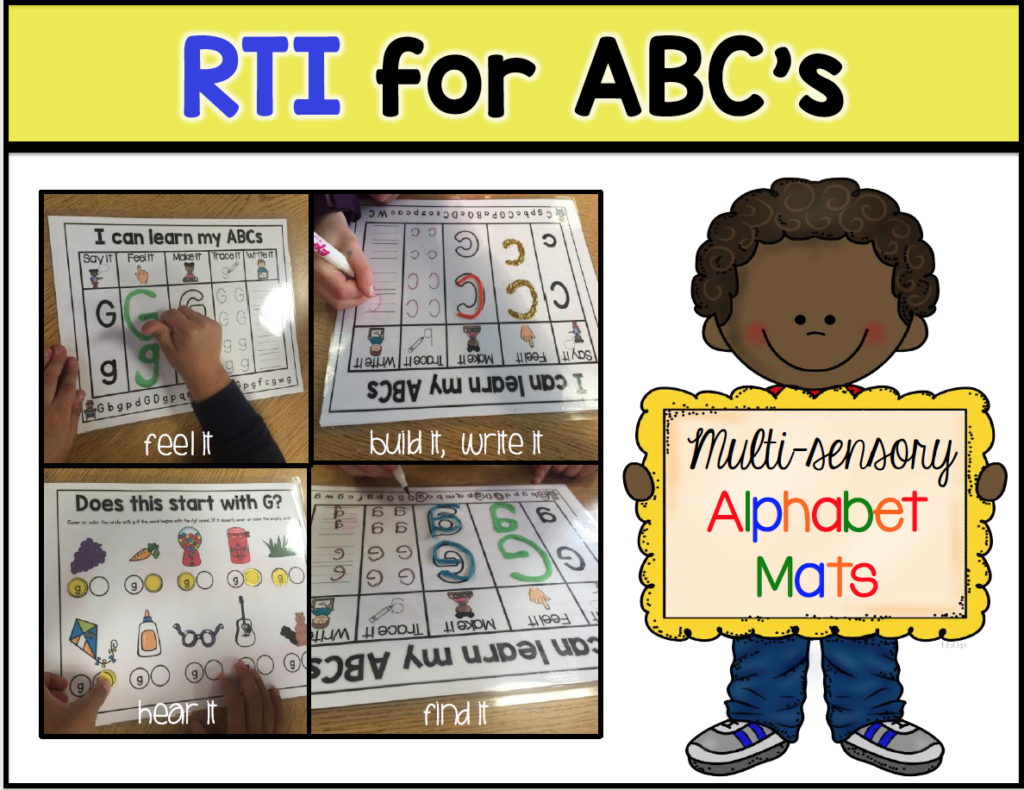
When I first introduce a letter, I give students time to see it, trace, and build it using sand trays, play dough, wikki stix, or Play foam.
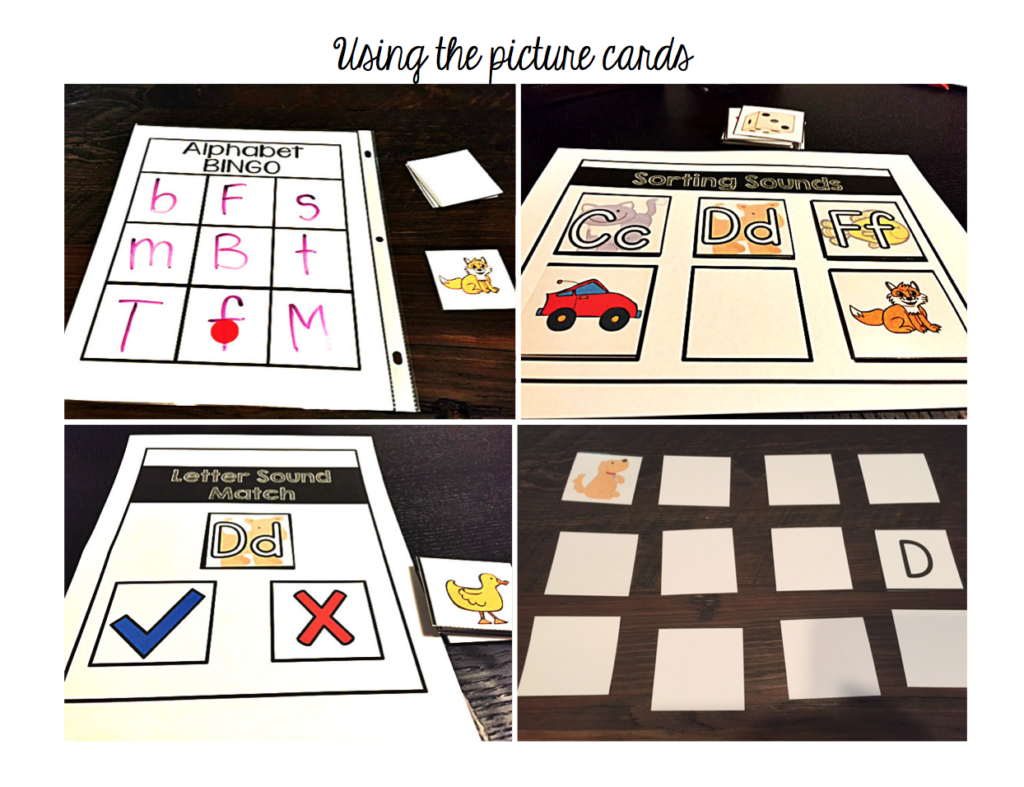
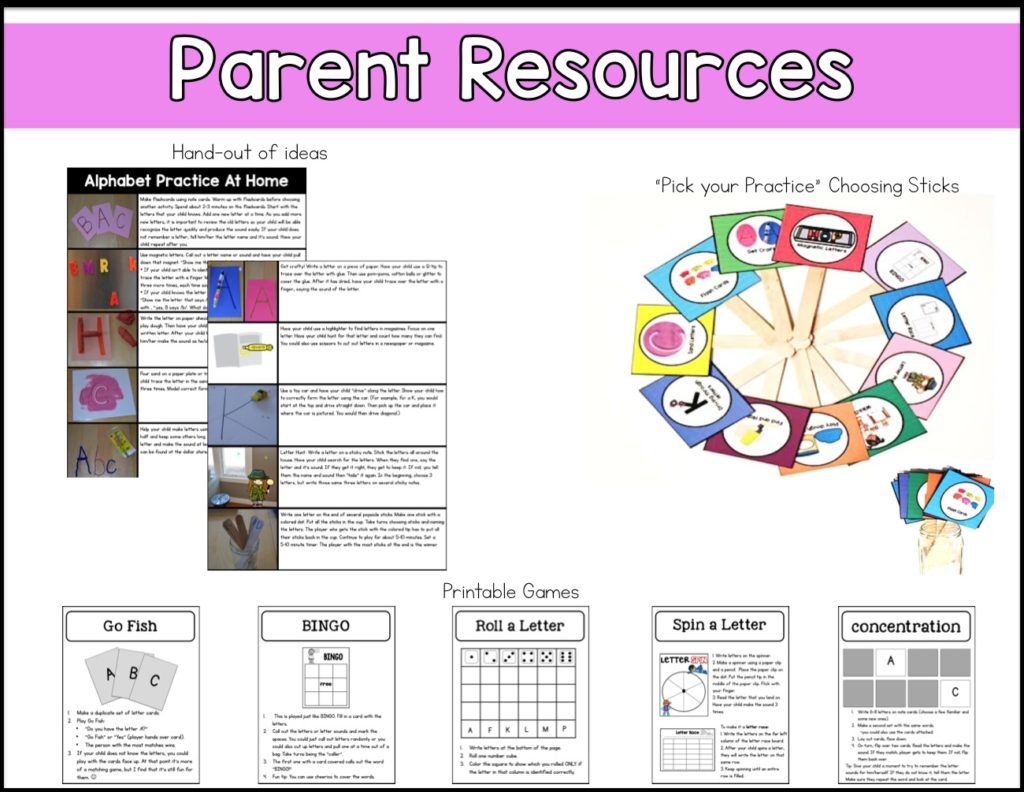
Playing Memory is always a great way to practice retrieving letter names as well. When they flip over a letter, they say the name and sound, then try to find its match.
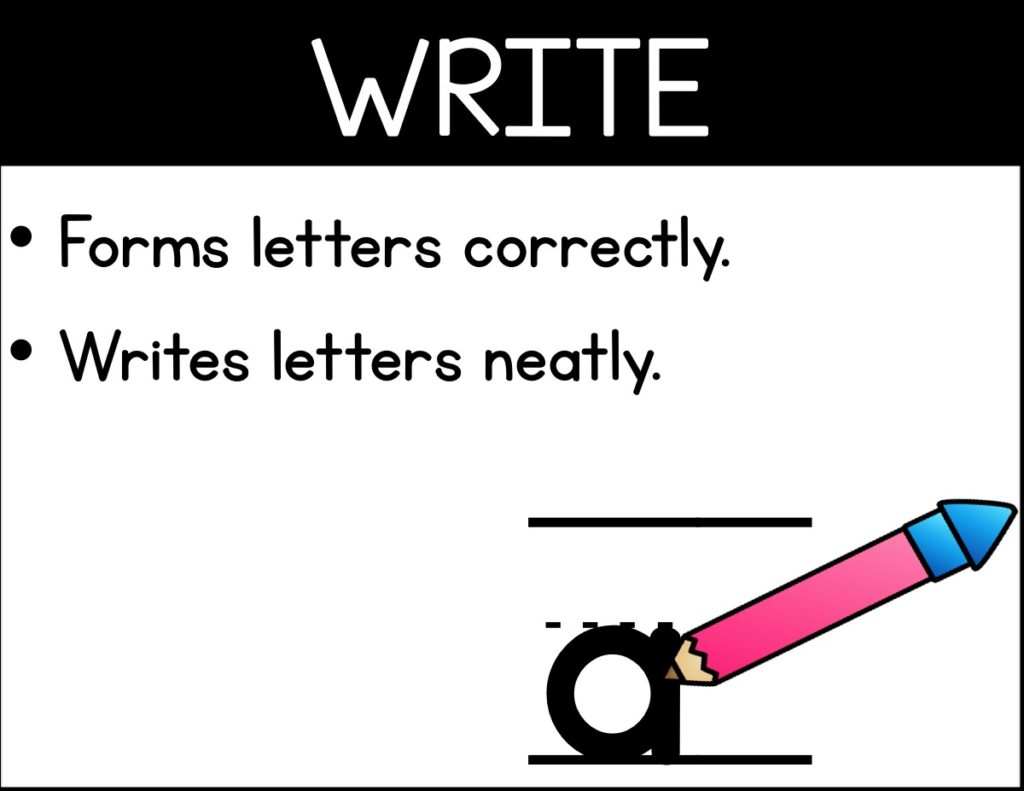
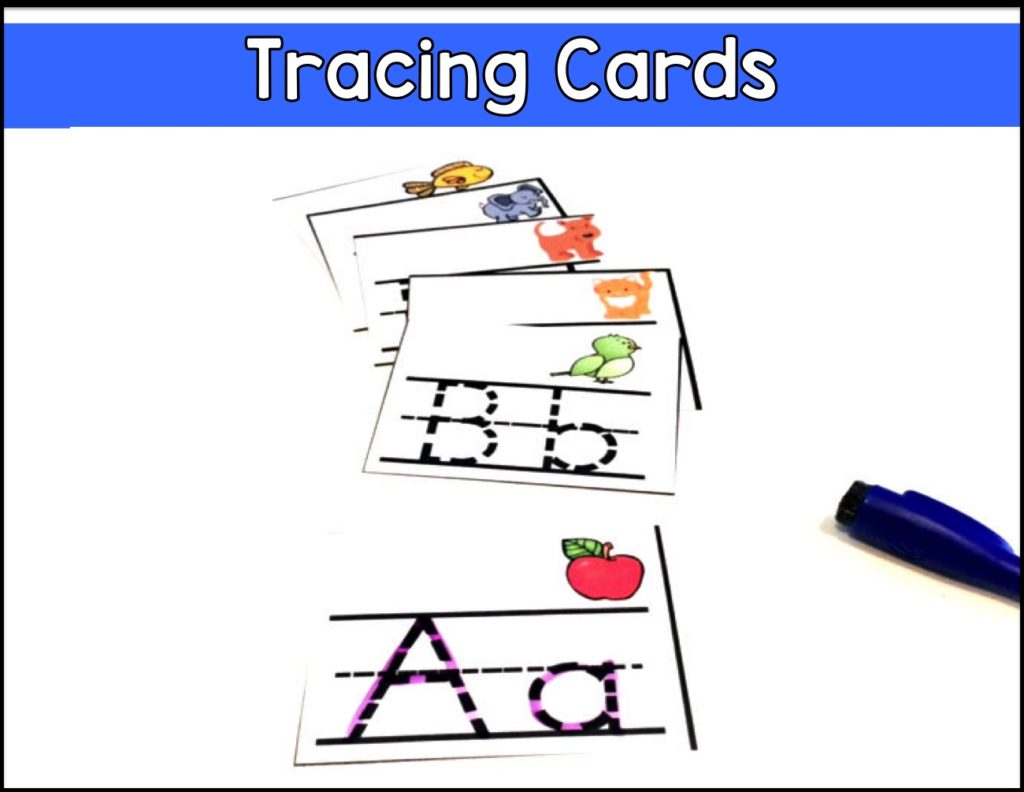
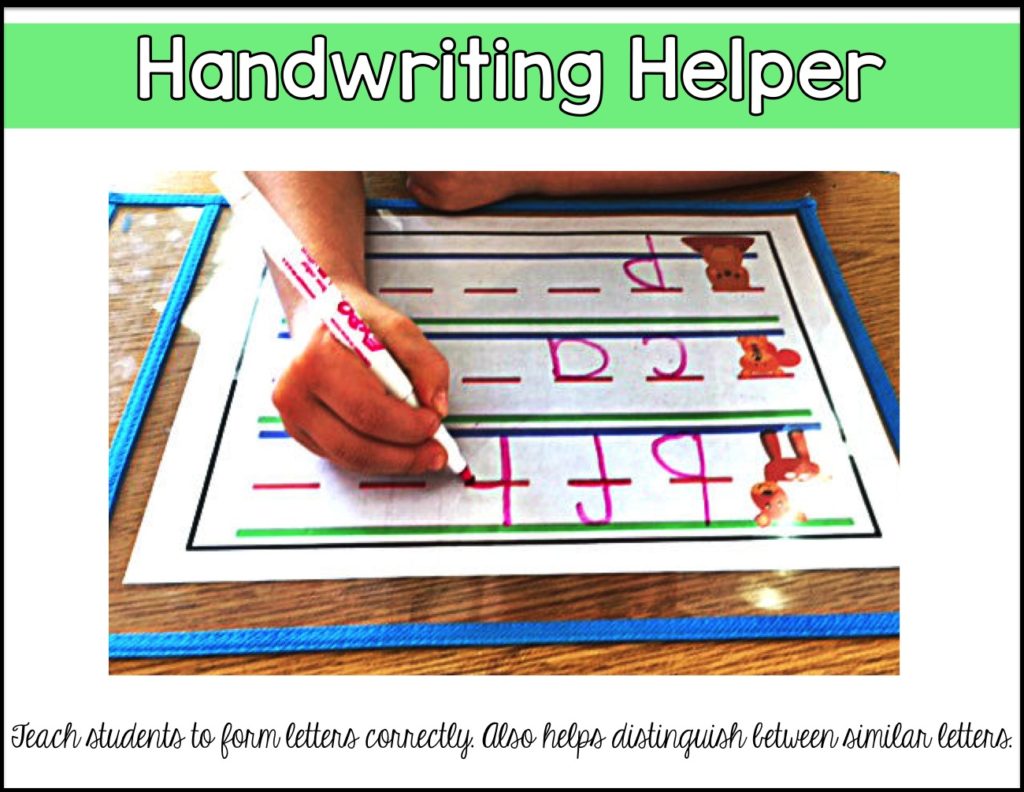
- Students can look at a letter and form it correctly. This requires fine motor skills as well as a knowledge of how to form the letters correctly. Keep in mind that many kids will develop their own way of making letters so they may have bad habits to break.
- Students can write the letter from memory. This takes retrieval as well as fine motor skills. They have to remember what that letter looks like, think about how to form it correctly, and have the fine motor skills to follow through.
- Lesson 1:
- Introduce with visual.
- Teach physical movement, what your mouth, tongue, and lips do, and if it is stretch or stop.
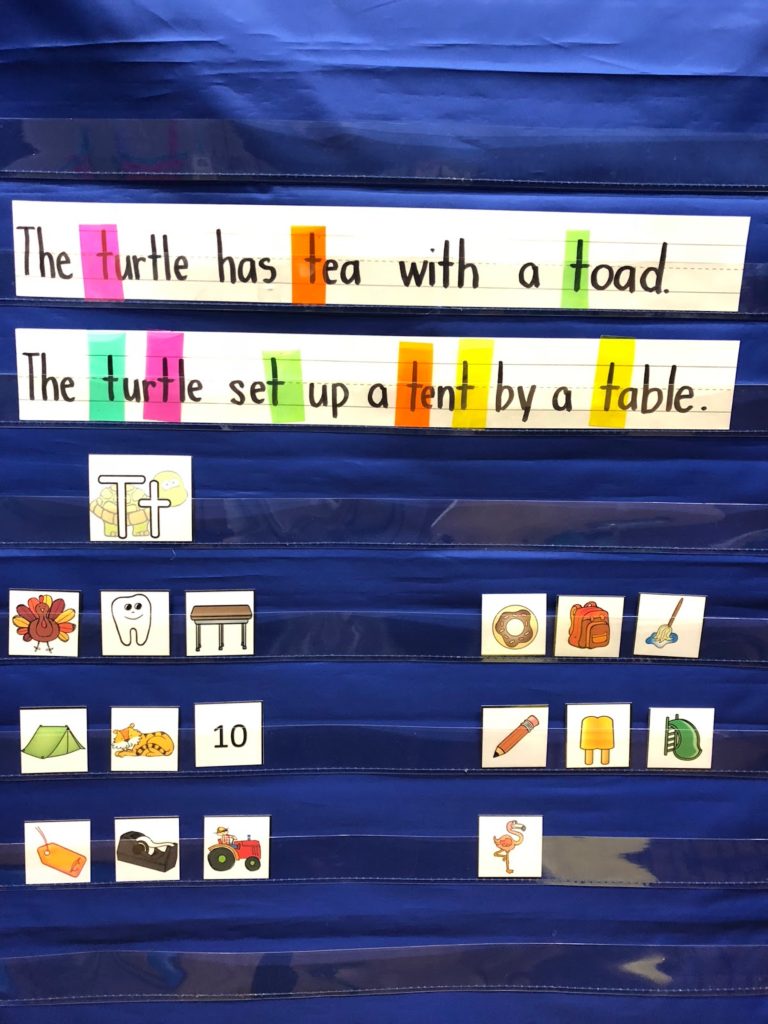
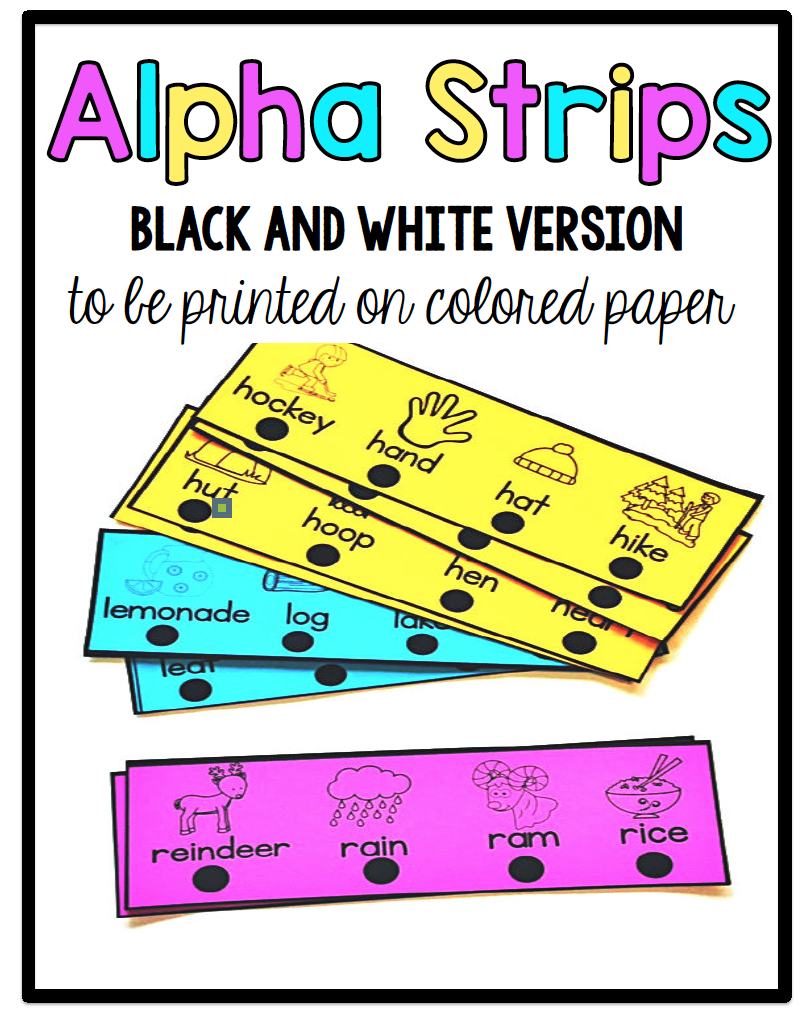
- Show pictures of things that start with letter and make up sentences to write on sentence strips.
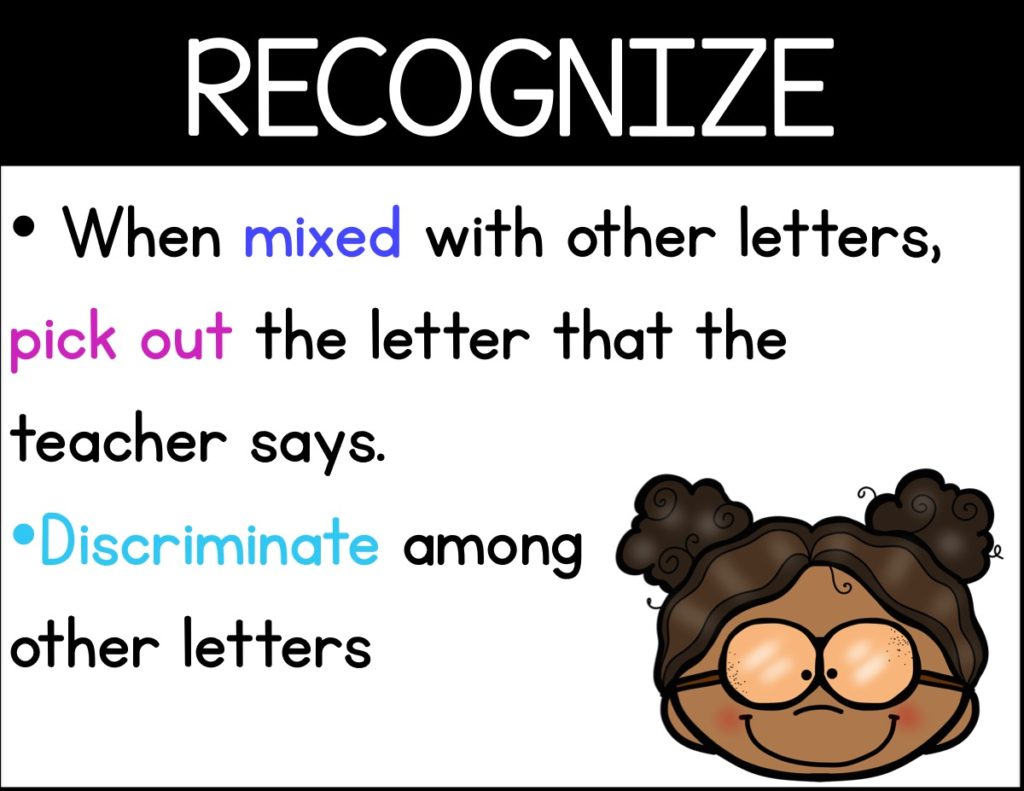
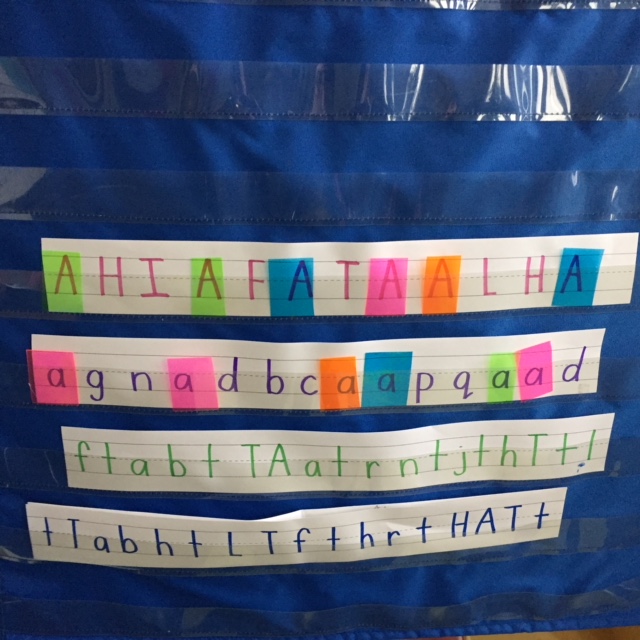
- Recognize: Call on students to point out the target letter in your sentences.
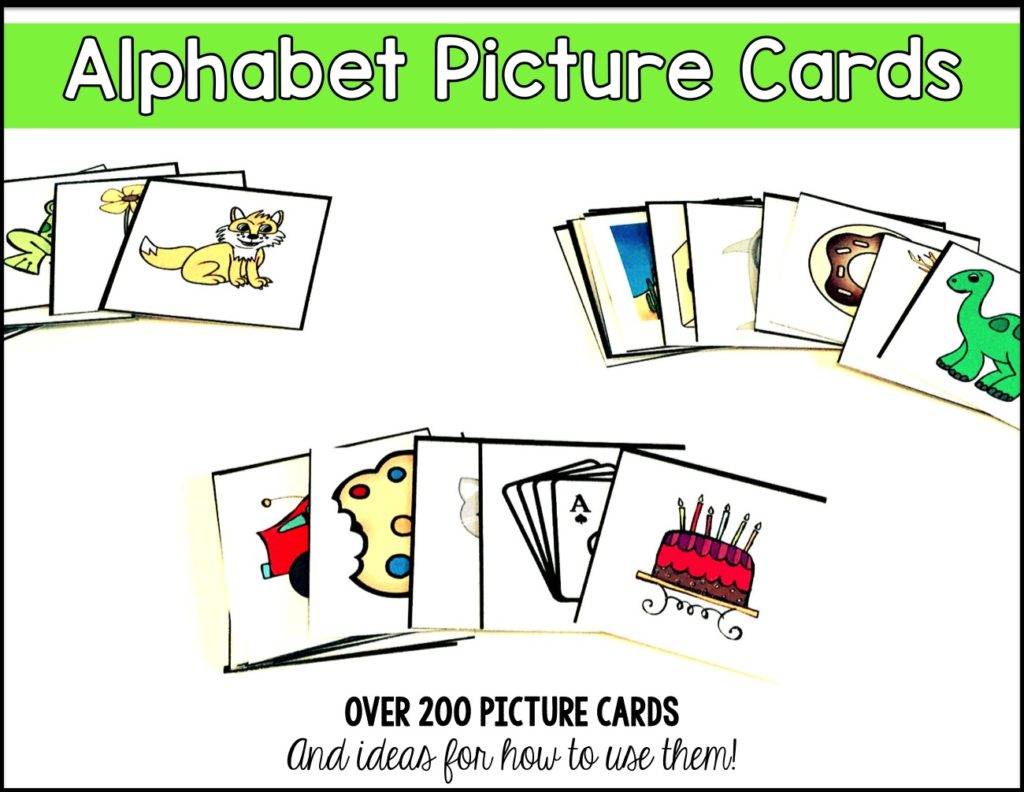
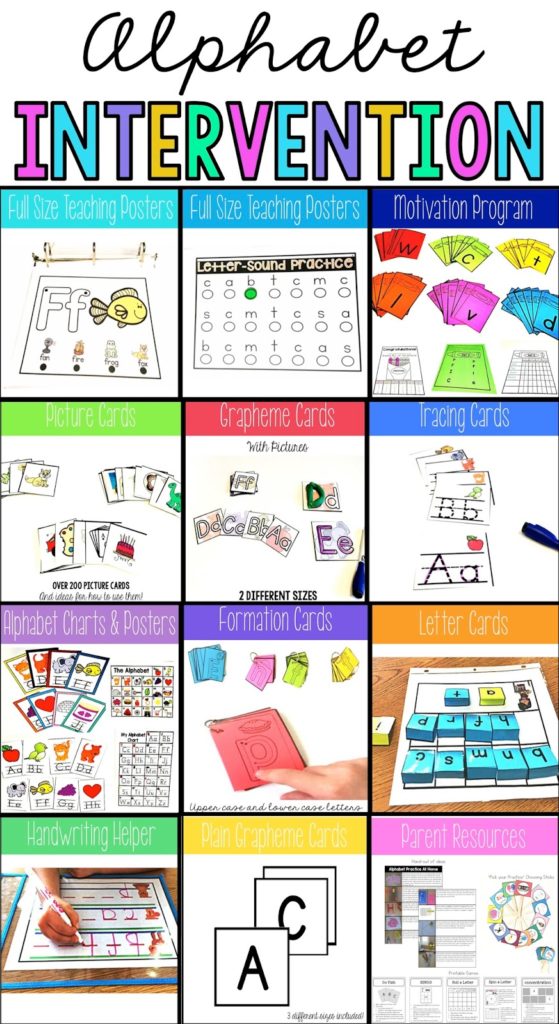
- Sound-Symbol: Sort picture cards (For every card that makes the target sound, have the whole class make the sound while they do the physical movement. For example, when the picture card started with T, the class said /t/ while tapping their finger on their palm- instead of saying yes or no.)
- Lesson 2: Forming the letter
- Show students how to form the letter. Point out the features of the letter (straight lines vs. curves, circles, etc.)
- If possible, build the letter using pieces. (Here is a resource for that)
- Listen to a song that shows how to write it (so many on youtube!) and get them moving
- Model how to write it and have students draw it in the air with you. Talk as you write it (“Start up top. Pull down. Lift up and cross the top.”)
- Give your students practice writing independently.
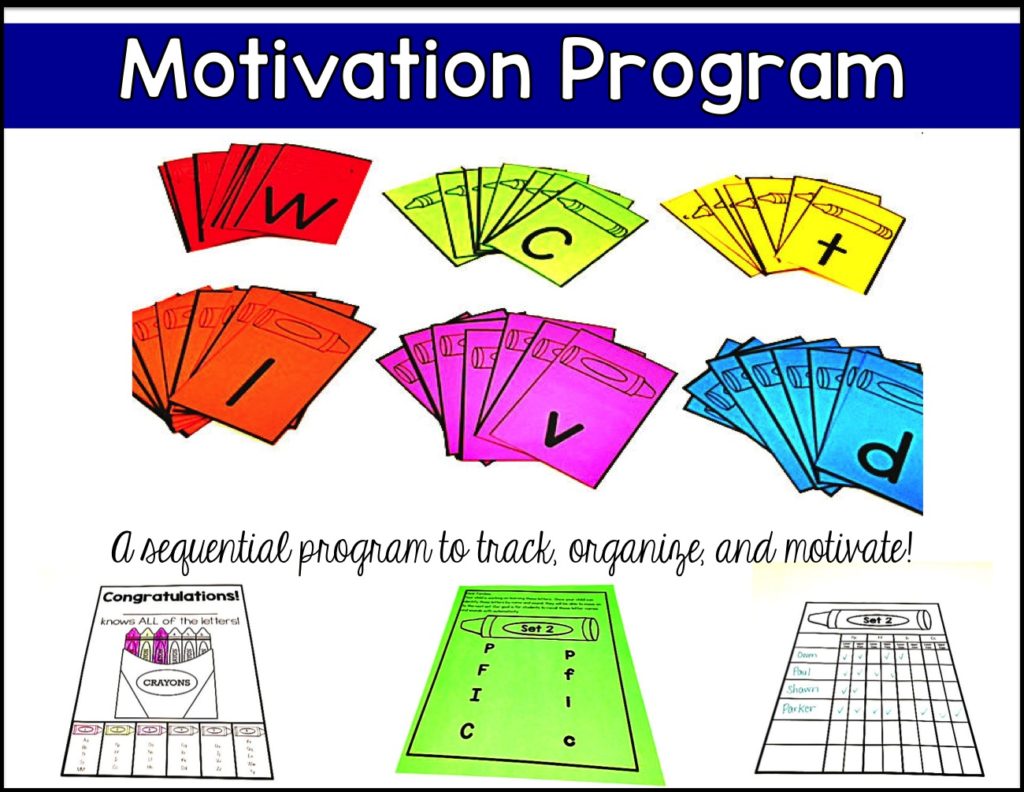
- I divided the alphabet into 6 groups.
- I gave each group a color.
- I introduce group one first, using all the resources I’ve mentioned.
- I hit it hard with this one group! I communicate with parents that these are the letters I want them to practice at home.
- We do several activities with these letters, giving them opportunities to feel, see, write, match, and sort.
- I keep track of their progress (which letters they are remembering and which they still need practice with).
- They need to retrieve each letter (upper and lowercase) three times before moving on to set 2. They color a crayon in their crayon box (pictured above) to show they have mastered these letters.
- Then I introduce set 2 and send home set 2 to practice.
- I review set 1 at the beginning of every group to make sure it sticks.
- I work with ONLY the letters in set 1 and 2 when planning activities.
- LOTS of repetition.
- Once they master set 2, they move on set 3 and so on.
- This doesn’t mean that they won’t be exposed to the other letters. They will be exposed in their regular ed classroom plenty! They will be exposed when writing. They will be exposed through learning each other names. They will be still learn other letters that you have not focused on yet.
The goal here is set up a sequential, systematic, and explicit program during your small group intervention time to assure that they get plenty of practice and opportunities to master every letter.
