One of the biggest challenges I face as a teacher is figuring out how to organize all of my materials! Creating phonics resources to use with my students actually brings me so much joy, but finding a way to organize and store them sometimes takes the wind out of my sail.
Over the years, I’ve tried many different phonics storage solutions! I think I found a system that works for me, based on my space. In case anyone else out there struggles with organization and storage solutions, I thought I’d share what I do. To be honest, I am not an organized person by nature. I really struggle with being scattered in my head, so being organized is a must!
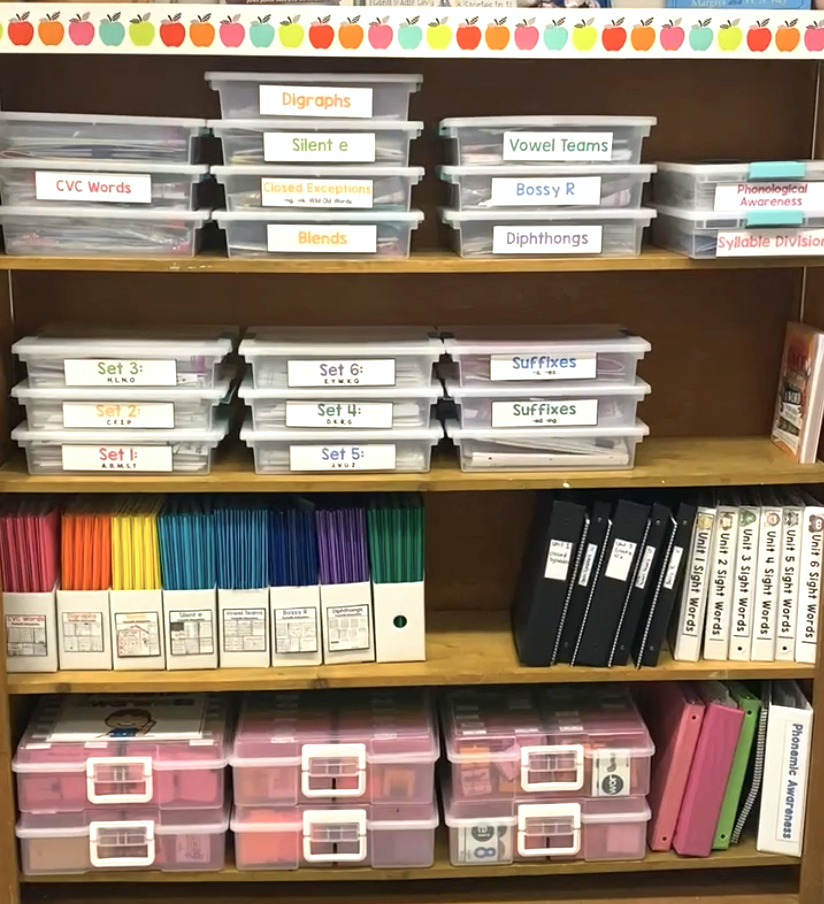
Want links to all of these storage options? Click here for a document that has all the links in one place.
Storing Phonics Smaller Materials
I have a lot of smaller items, like picture cards and word cards. There are a few different options for organizing phonics materials like this.
The Phonics “Suitcase”
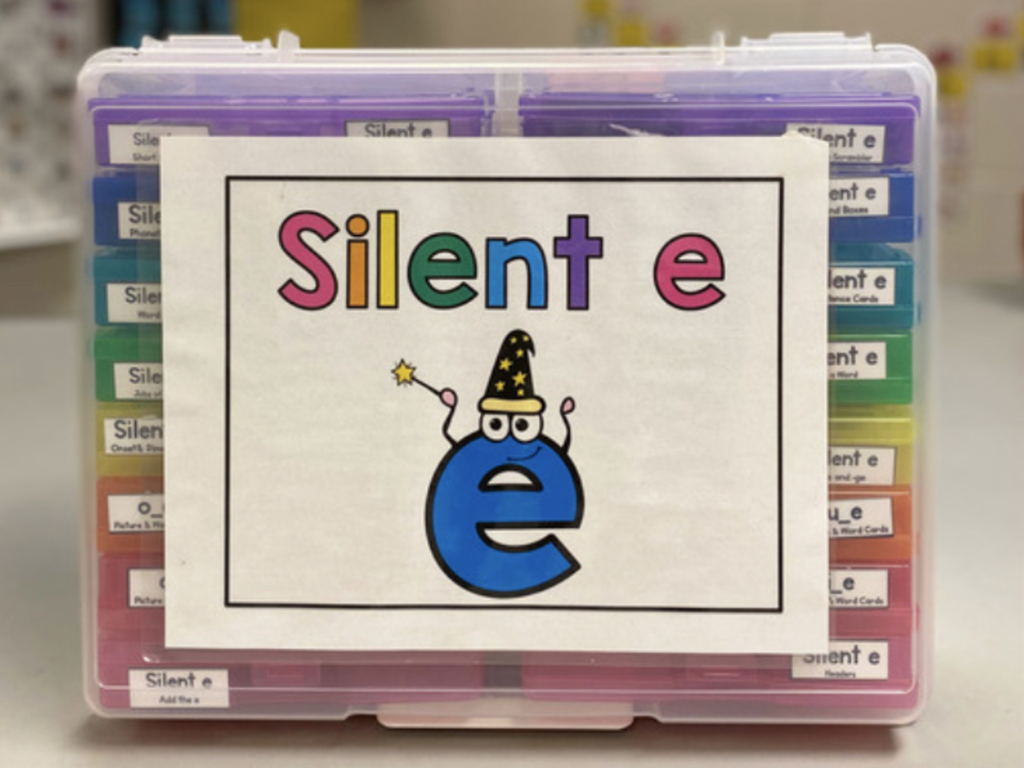
This suitcase is the best! (It’s actually called a Photo and Craft Keeper.) It fits several smaller tubs inside, which is perfect for phonics instruction. This is my “suitcase” for my phonics resources for silent e. (Note that it hasn’t always been full. At one time, this suitcase had materials for CVC words, digraphs, blends, and silent e but my resources have grown over the years.)
Below, you’ll see my “suitcase” which shows how I organize my phonics materials focusing on CVC words and digraphs. Some of the contents of these bins include picture cards, word cards, onset-rime cards, sentence scrambler cards, and phrases. I love this option because it’s easy to store away when I’m not using it, yet also easy to access when I am using it.
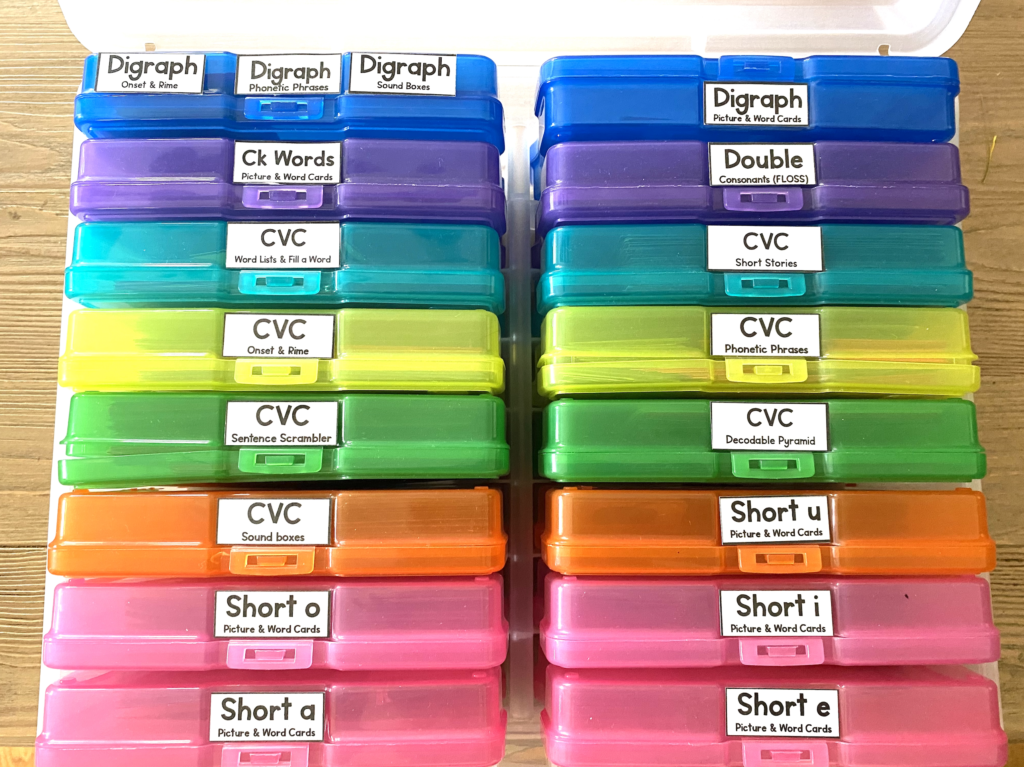
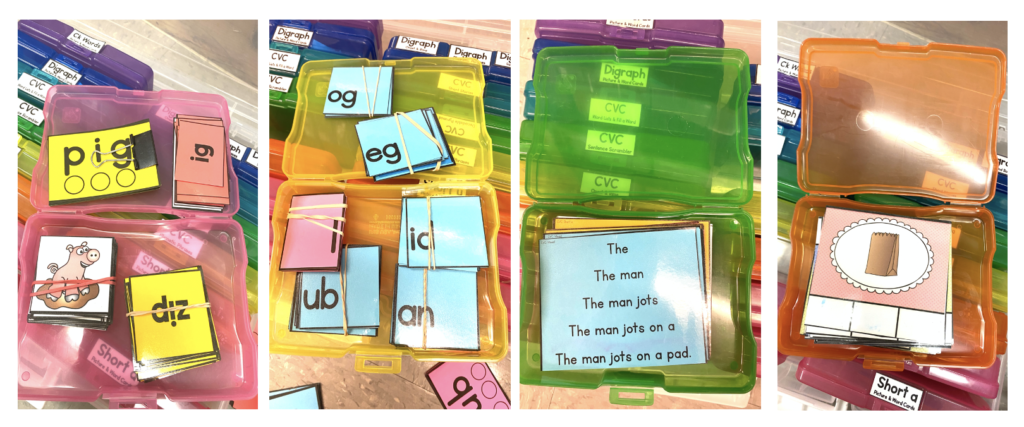
I use binder clips and rubber bands to organize within each bin.
Here are links for these bins and the labels:
- Amazon Affiliate links here (set of 2) and here (set of 1).
- Michaels Non-affiliate link: They are originally 49.99, but they often will go on sale for 14.99 or 16.99. If you can wait, I would wait until the next sale! They go on sale a lot!
- Click here for a link to the free labels that you see above (also some editable labels)
Click here for a video showing a little more of what is inside.
To see an Instagram story that shows more of what is in these bins, click here.
The Pencil Pouch
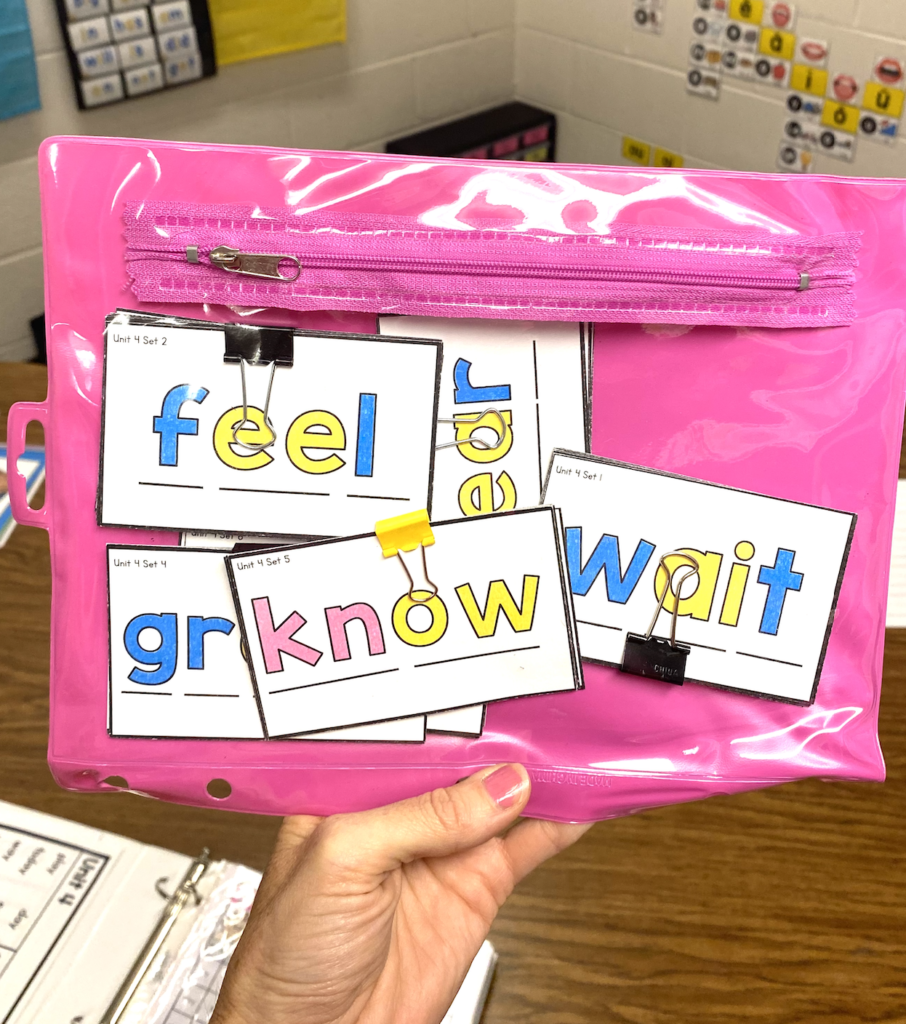
Another way to organize and store smaller items is with pencil pouches. You can put all of your word and picture cards for a particular phonics skill in one pouch. For example, you could put picture cards, word cards, and sentence cards with the short a sound all in one pencil pouch. To separate them, you can use a rubber band or a binder clip.
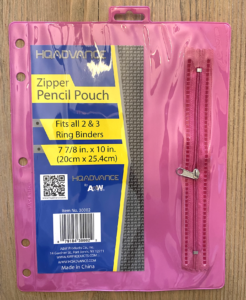
I use these to store my high-frequency word cards, which are divided phonetically.
I don’t have a link to these specific pencil pouches because I’ve always just found them on sale at a local store. For some reason, I can’t find these online. I found another option to link, though. You can find some on Amazon here, (affiliate link) or you can check a dollar store near you.
Little Drawers
This is how I store all of my alphabet picture cards here. I like the easy access to the cards I need.
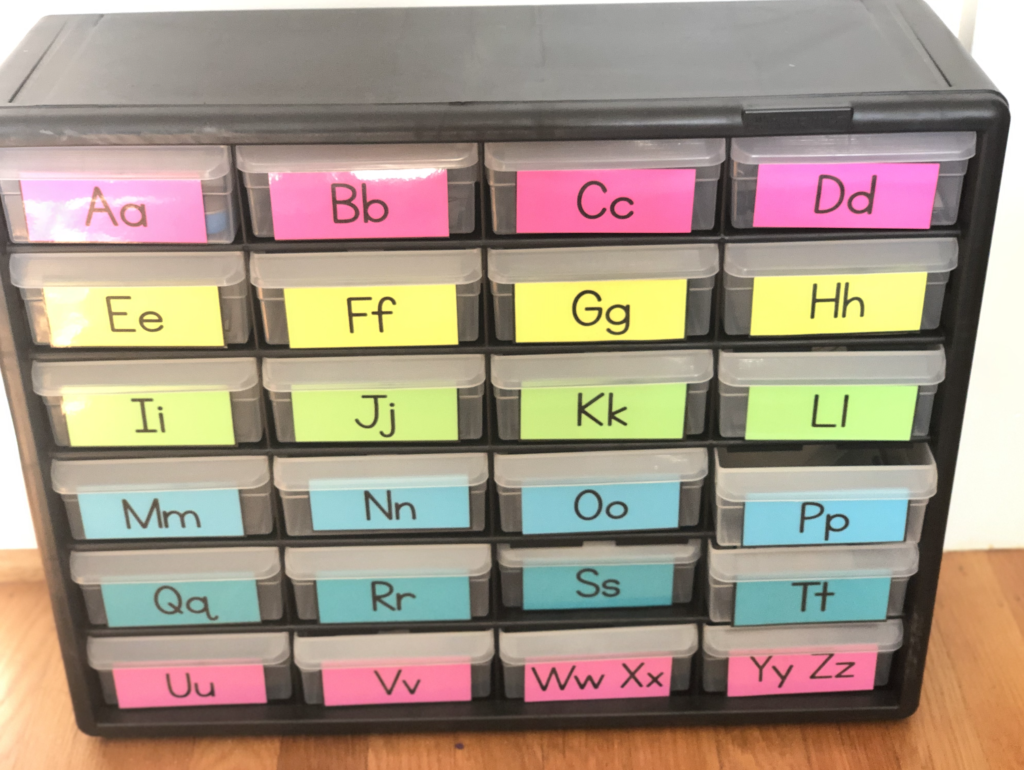
Admittedly, I don’t really need this anymore, but I have it and I like it so I use it. I could store my picture cards with the other materials that I use for each set of letters. (If you scroll down to see my flat phonics bins, you’ll see bins that are labeled Set 1, Set 2, etc. Those are my alphabet bins. To learn more about how I teach the alphabet, click here.)
Link to the storage item and labels:
Storing Phonics Materials in Larger or Mixed-Sized Items
Plastic Envelopes by Skill, Theme, or Season
These plastic envelopes are great, too!
You can use these to organize phonics materials by skill. For example, you could have an envelope filled with silent e materials. It could hold a mixture of small or large items, but they all focus on the same skill. You can simply grab and go with these!
These folders are also great for organizing by theme or season. I use these to store some of my seasonal phonics activities.
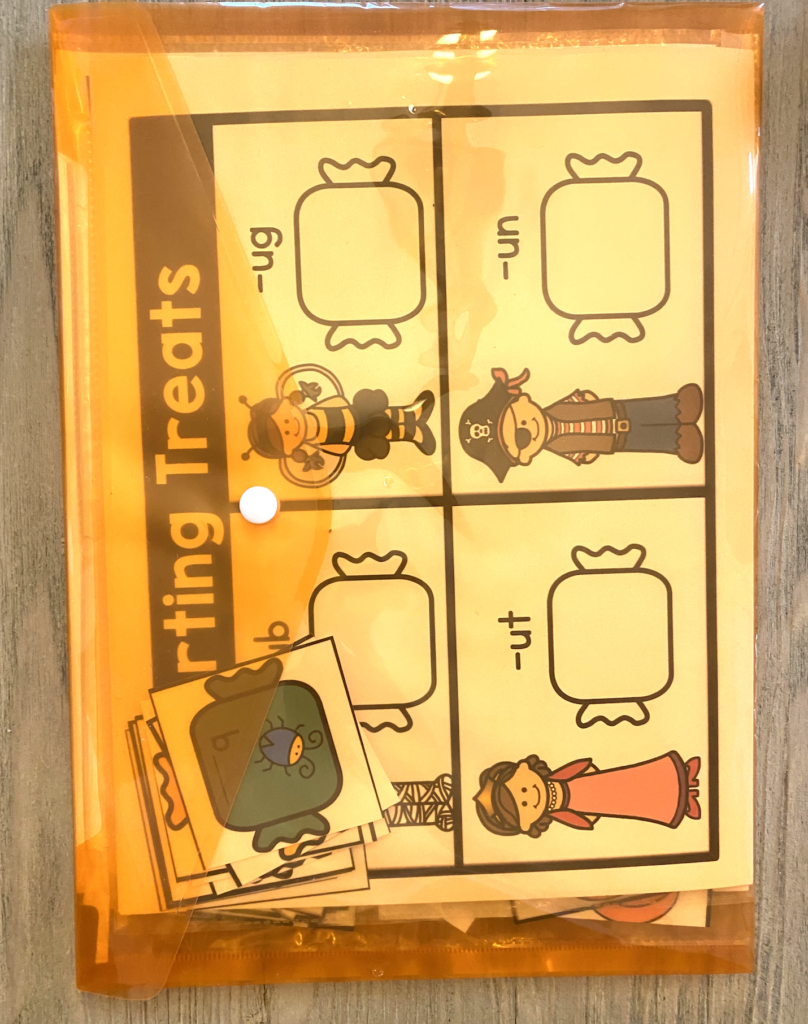
When I taught first grade, I made these literacy centers. As a classroom teacher, I stored them differently because I used them differently. Now, as an interventionist, I don’t use them as centers. Instead, I use them in a guided setting with my small groups. Kids love seasonal activities! This folder (shown above) has my October-themed center activities.
To see how I used to store my literacy centers as a classroom teacher, read this blog post.
If you have several of these, you can then put a bunch together in a magazine holder.
Affiliate links to these folders found here ( Set of 28 folders 13.1 x 9.3 inches) and here (Set of 10 folders 3.25 x 9.25 inches).
The Flat Bins
Flat, stackable bins are great for an easy storage solution. Because they stack well, they don’t take up too much space. I put full-page activities in these.
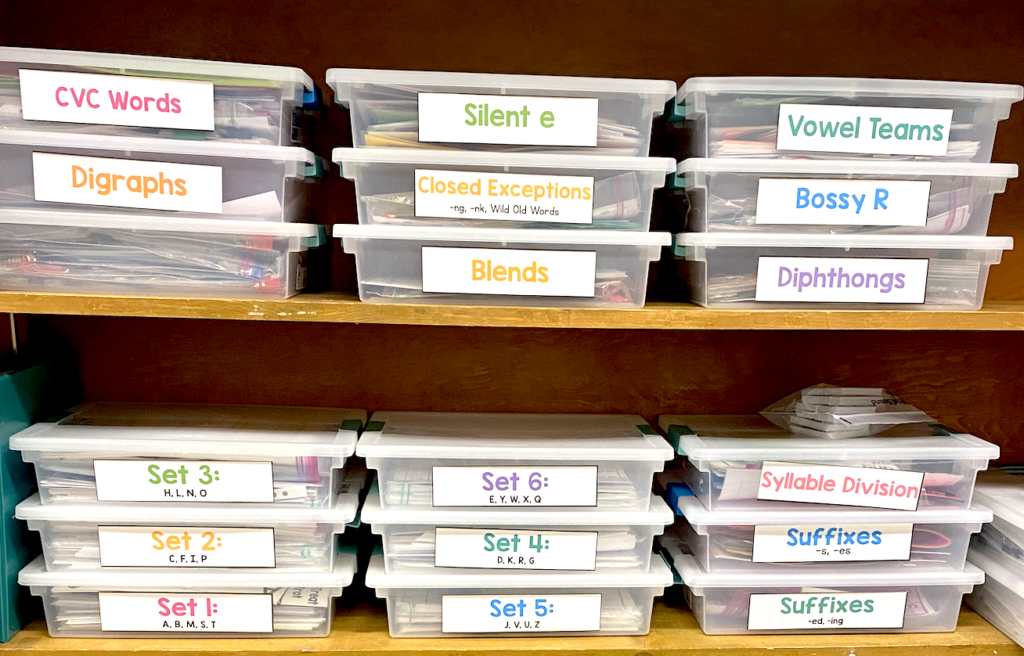
I organize further by using gallon-sized plastic bags when needed. I also use large binder clips to keep certain things together and separate different activities. I actually have two bins for CVC words (that’s the unlabeled bin) because I have so much stuff!
As you can see below, have short e activities together in a gallon-sized bag. Inside that bag, each individual activity is clipped together with binder clips.
The picture on the right is another CVC bin. The bag I’m holding has some phonics games. Some game “boards” go in plastic sleeve protectors and then little cards that go with the game are tucked inside the sleeve protectors.
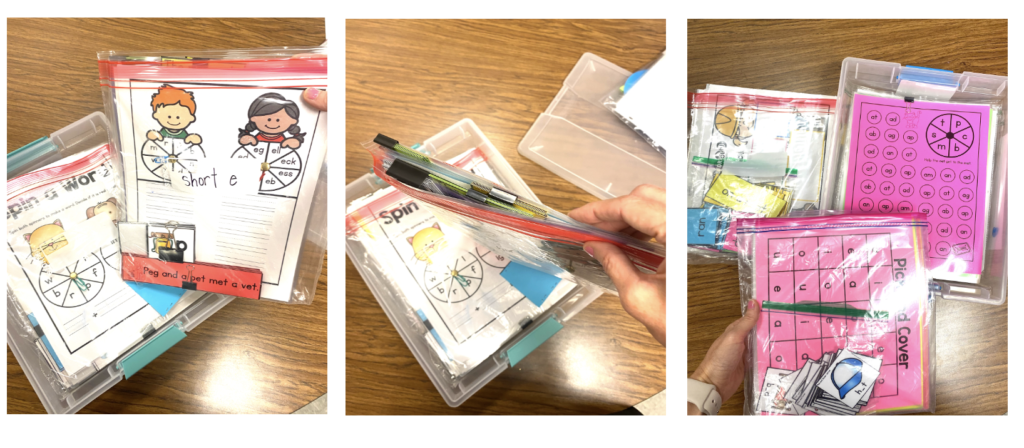
The size of these is 14 x 11 x 3.25. I’ll leave a link below but I’ve found better deals just when I’m out and about at an actual store. These are the Sterilite brand and they are called “Large Clear Clip Storage Box.” (I definitely didn’t buy all these at once! It’s been several years of buying a few at a time.)
Here are the links to the bins and the labels:
- Amazon Affiliate link here (set of 6).
- Click here for the free labels that you see in the picture above.
To see an Instagram story that shows more of what is in these bins, click here.
To see a video of what’s inside the Alphabet bins (labeled Set 1, Set 2, etc.) click here .
To see a video of what is inside one of the CVC bins, click here.
Binders
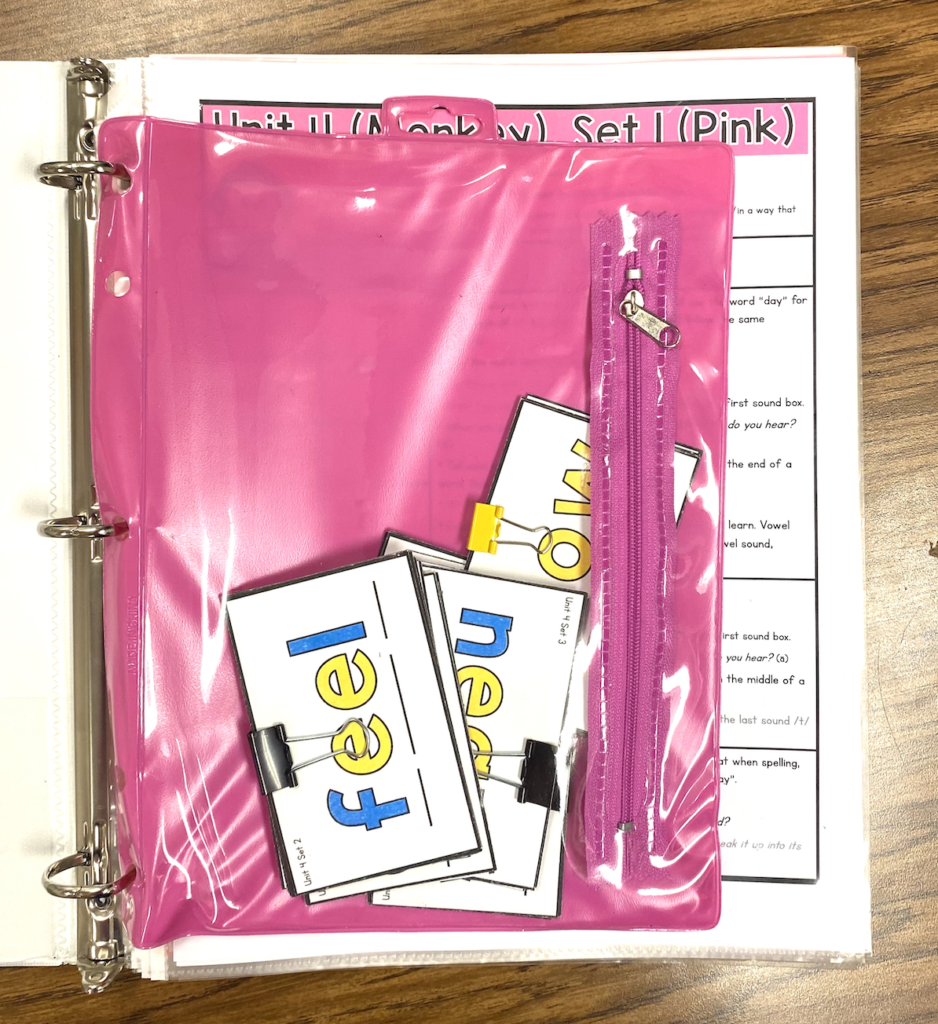
I used to store a lot in binders, but realized that doesn’t work for bulkier items. It does work for organizing things that are mostly just paper. I use binders to store my high-frequency word units. This is an older photo because I’ve since transferred to slightly bigger binders so I can keep more copies in them.
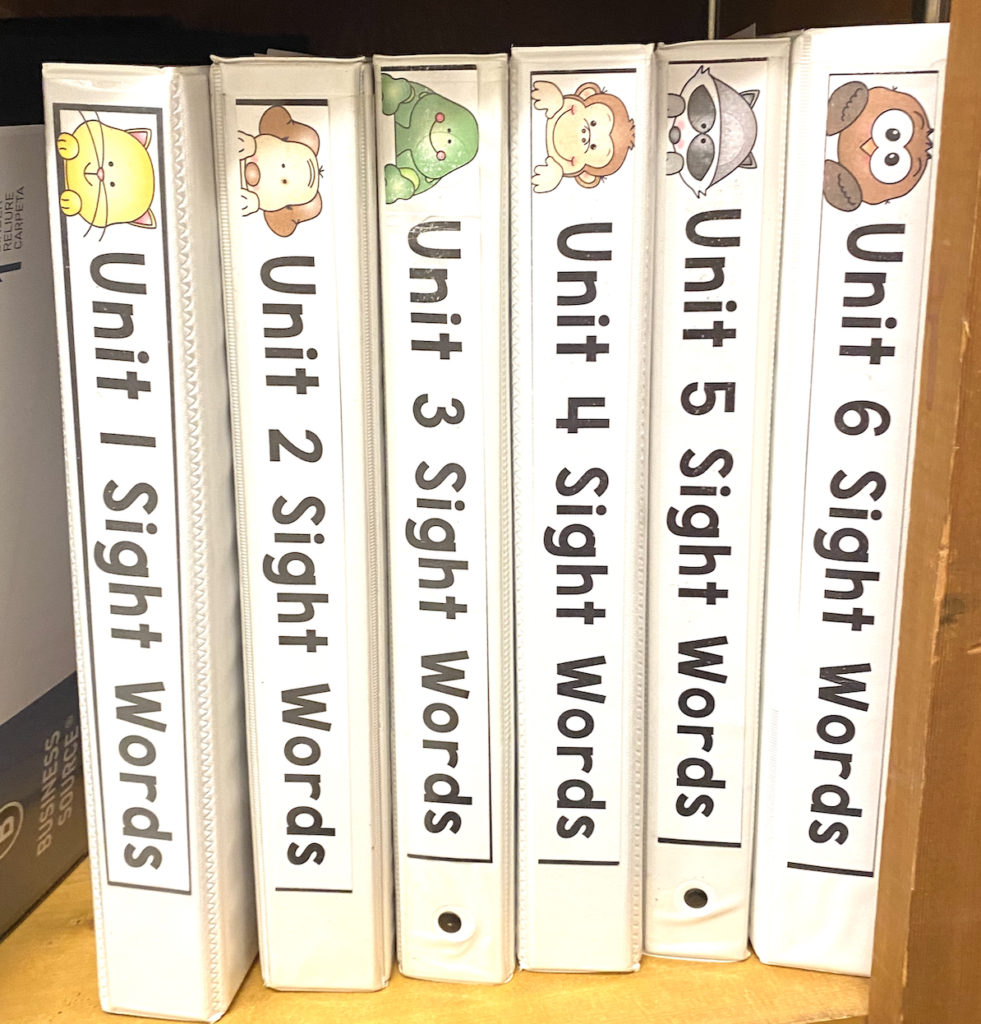
Inside, I keep the words in a pouch. Then, behind that were the teacher guide pages, automaticity game, sentences, and phrases. When I used these one-inch binders, I would just keep one copy of each activity in the binders. When I wanted to use one of the activities, I would pull that out and make the copies I needed. I’ve updated to bigger binders because now I have made 6 copies of each activity and want to reuse them. I put all copies in one-page protector and keep them in a binder. When I want to use those pages, I take them out and place each page in its own page protector for the students in my group to use. After we use it, it goes back in the binder for next time! That way, I’m not always making copies.
Filing Cabinet
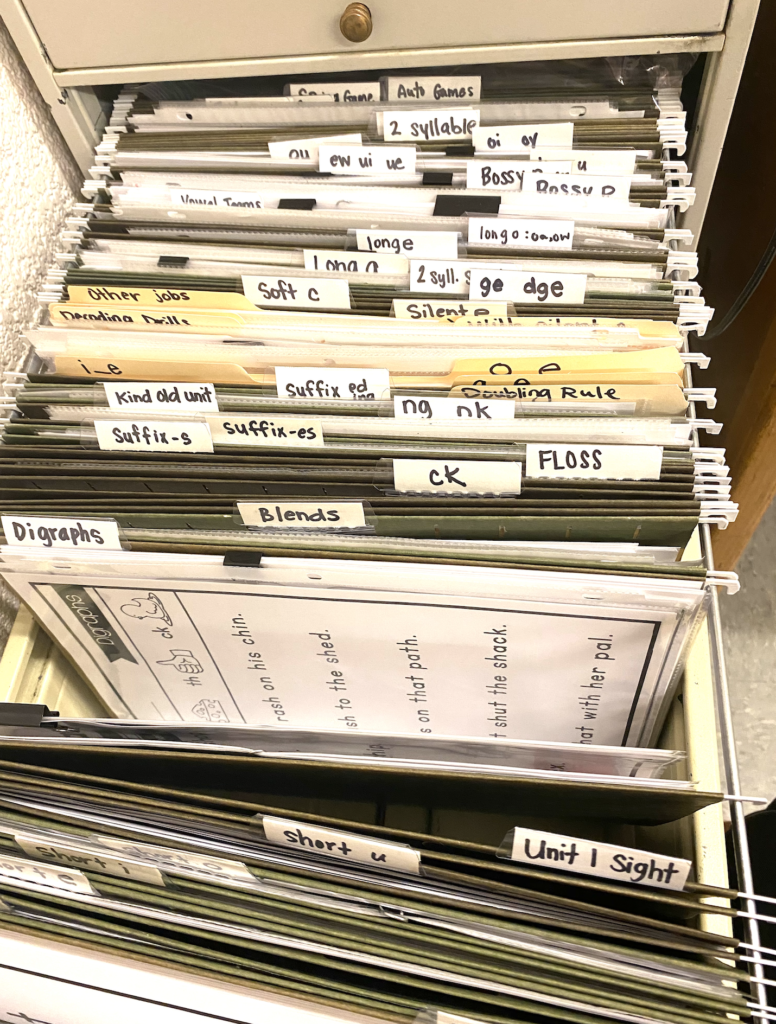
Back in the day before technology, we had to keep every “Master” in a filing cabinet. Now, most of my “masters” are just on my computer. I don’t print out one master copy to just store away. I still do use filing cabinets though. As I mentioned above, I like to make enough copies of an activity for a small group (6 copies usually) and then reuse them.
So for example, below you see my digraph hanging folder with a few different things. The page you see is just decodable sentences. Inside that page protector is 6 copies of that same decodable sentence page. When I need to use it again, I’ll take it out and put each page in a separate page protector to give to each student. Then, it goes back in the filing cabinet. You could do this same thing in those flat bins, but my flat bins are already full with laminated activities, so this is how I store those extra copies.
To see a video describing how I use this filing system, click here.
I hope this gives you some ideas to get started with organizing and storing your phonics materials.
Phonics Resources and Blog Posts
To learn more about how I teach phonics, click here.
To learn more about how I structure my lessons, click here.
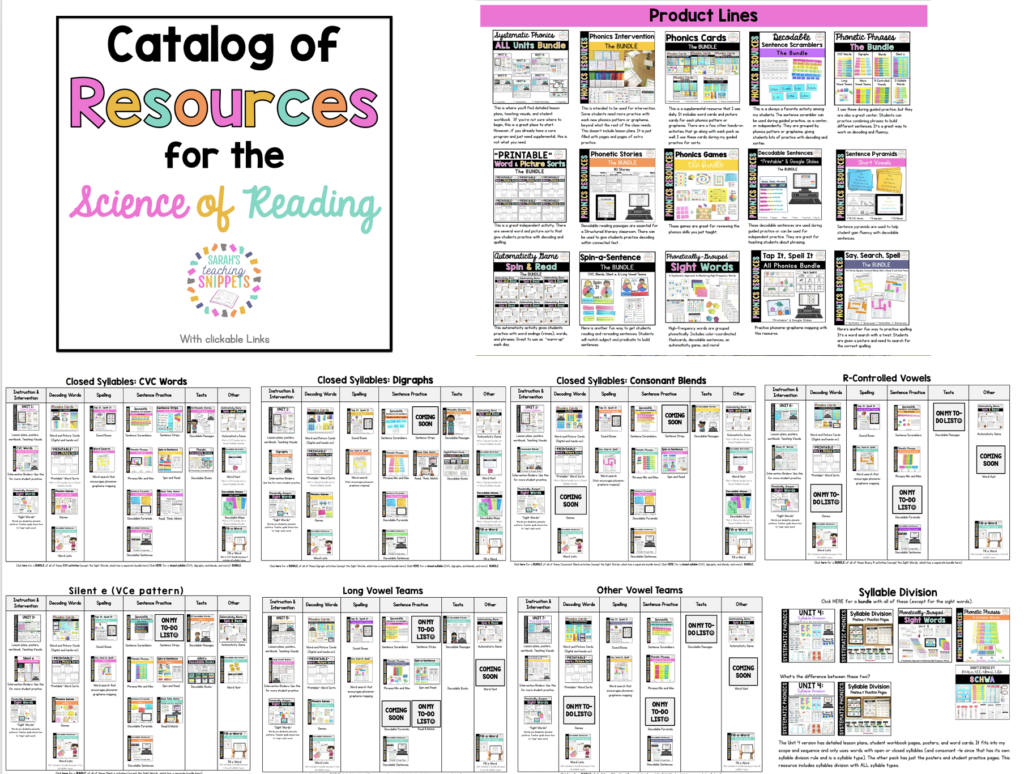
To see all of my Science of Reading-aligned resources, check out this catalog.
